
Select Studio Features and Set Prices
First, think about what your customers do most often. For example, for self-media creators, you can start by enabling writing and images; when someone needs them, add music and video. A small number of clear entry points are easier to introduce than a whole screen of unfamiliar tools.
Enter from the administrator settings of the subsite. The two main sections used below are Capabilities and Price.
¶ Select Tools Your Customers Use
Open Capabilities, enable the tools you plan to operate, and disable entry points that are not currently provided. When needed, click Edit to change them to names and icons that are easy to understand without exaggerating the features.
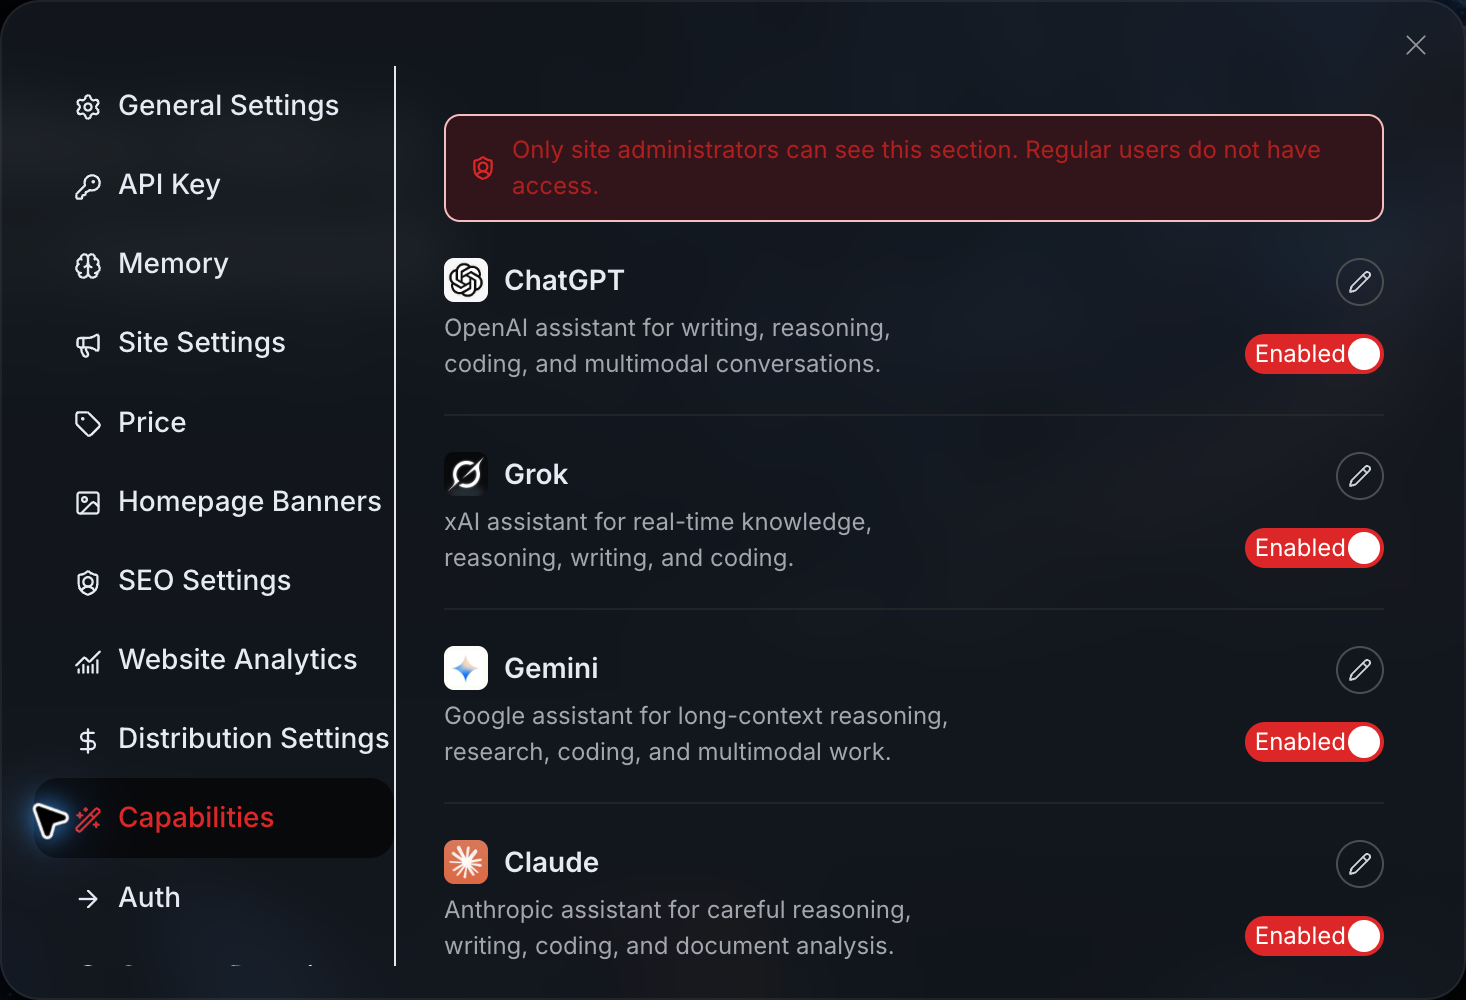
To change to a name that is easier for customers to understand, click the pencil on the right side of the tool to open Customize:
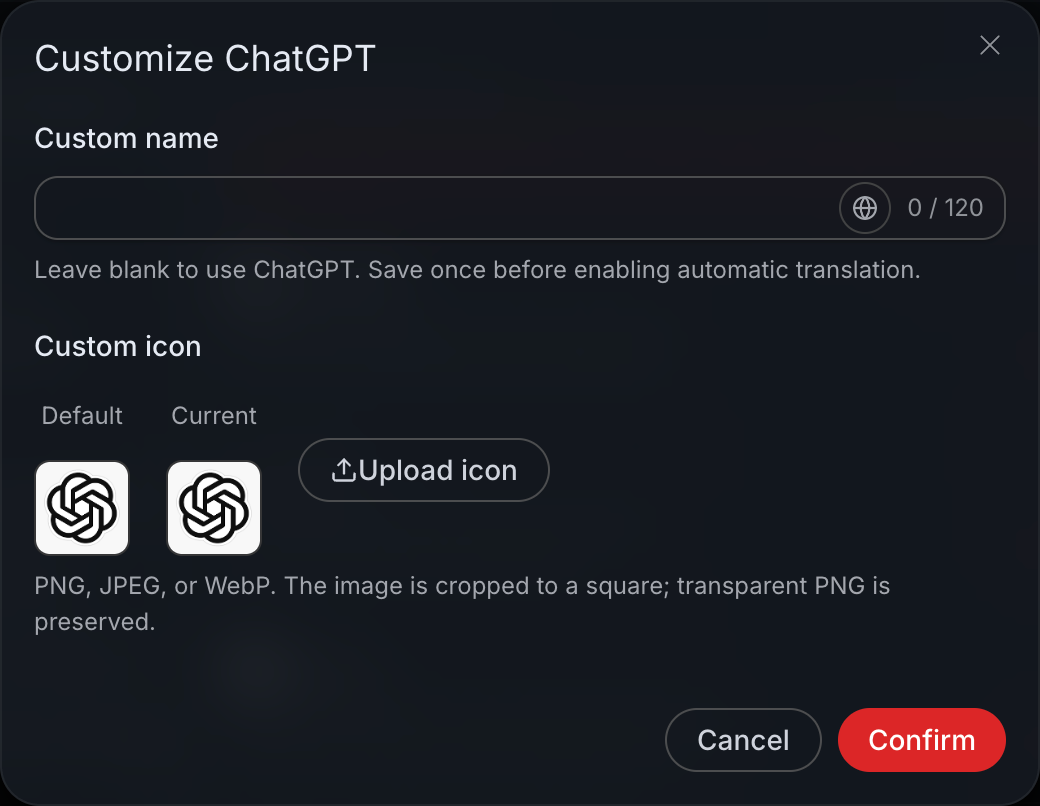
- Enter the display name in Custom name. Leave it blank to use the original name; do not imply that changing the name turns it into another model.
- To change the icon, click Upload icon. PNG, JPEG, and WebP are supported. Images will be cropped into a square, and transparent PNG files will retain their transparent background.
- Click Confirm to save. When automatic name translation is needed, save once first, then click the globe button to enable it.
The customization window for chat tools can also set the display name and icon for each model separately. When the model name is left blank, you can still upload a custom icon; after clicking “Use default icon” and confirming the save, the model's default icon will be restored while retaining the name you entered. Changes affect only the display of the current subsite and do not change the actually invoked model or billing. After saving, check the result in the model selector on the chat page.
In the AI Assistant area of the chat tool, you can save custom instructions for that model group and select Skills. Switching “Show distribution entry” will retain these configurations. To remove instruction or Skill bindings, clear the instructions or deselect them in the edit window for the corresponding model group, then confirm the save; unbinding does not delete Skill files.
After saving, use an incognito window to view the homepage and the left/bottom navigation: the tools you intend to recommend can be found, and tools you do not offer are not crowded into the entry points.
Note: Capability switches and individual service visibility are two layers of configuration. Hiding an entry point is display control, not revoking the customer's API permissions.
¶ Set the Site-Wide Price First, Then Handle Exceptions
Open Price, set the site-wide markup percentage; if a certain service should use a different price, then set an individual service override.
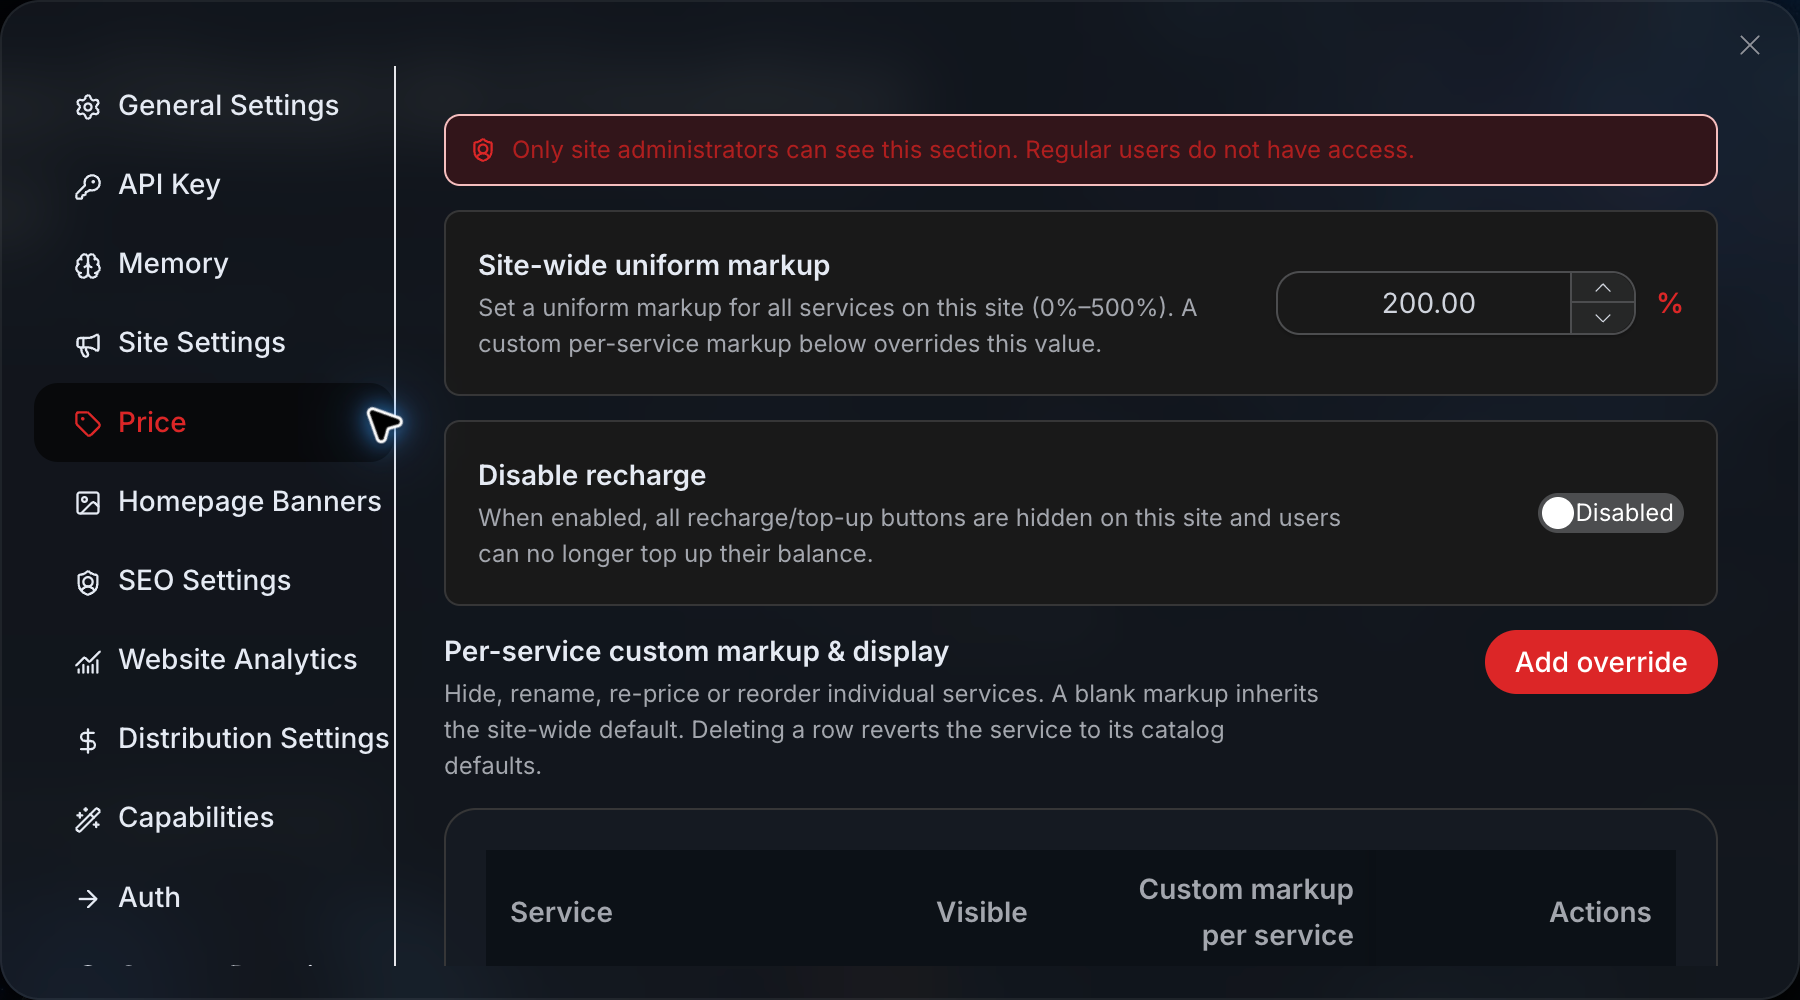
When looking at the image, first find the site-wide percentage, then look at “Individual service custom markup and visibility” below. The values in the screenshot are the configuration at that time, not recommended prices.
| Your idea | How to set it | Which percentage is used in the end |
|---|---|---|
| Use unified pricing for most services | Enter the site-wide percentage | Services without individual settings use it |
| One service needs separate pricing | Enter a separate markup for that service | Individual service settings take priority |
| Do not want to keep the exception anymore | Delete the override for that service | Restore default display and inherit the site-wide percentage |
Calculate an example: Suppose the platform price of an item is 100 and the site-wide markup is 10%, then the channel price is 110; if that service has an individual markup of 5%, it is 105, not 10% added first and then 5%. These numbers are only to help understanding; the actual amount is subject to the checkout page.
To set an individual service, enter the individual service customization area, click Add, select Service first, then fill in Custom Markup per Service:
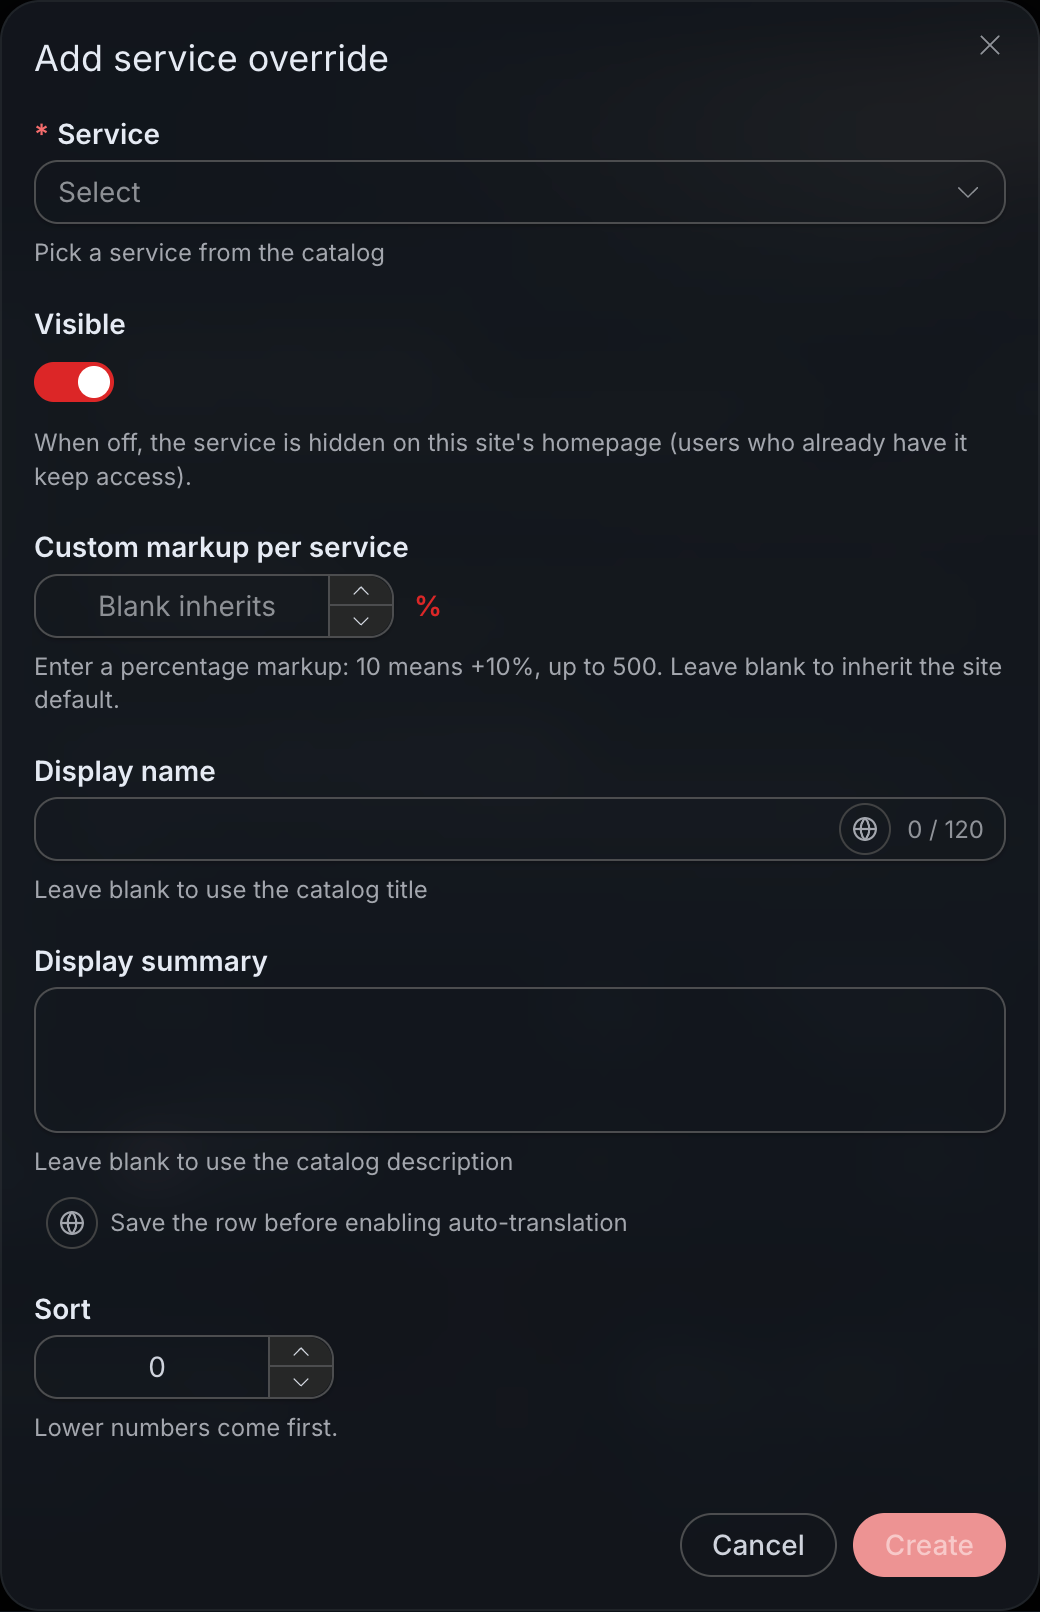
Leaving the markup blank inherits the site-wide percentage; entering 0 means no markup, not free. The form can also adjust the display name, description, sorting, and visibility. Save after making changes, then check again from the customer's perspective.
¶ Should “Disable Top-Up” Be Enabled?
If you want customers to purchase on the subsite themselves, keep the top-up entry. Only use “Disable Top-Up” when you explicitly do not want to display the purchase entry.
This switch is equivalent to hiding an entry point. It does not clear existing balances, nor can it prevent customers from purchasing shared packages through other entry points. It is not a budget cap, much less an independent account switch.
¶ Switch to the Customer Perspective and Check Once
- Open the subsite in incognito mode, enter a main recommended tool, and check the name, icon, and availability.
- Select a service without an override, then select a service with an override, and compare the prices on the checkout page.
- If top-up is hidden, confirm that the entry point has indeed disappeared; but do not describe it as “customers cannot make purchases.”
Formally executing generation tasks will incur corresponding charges. Check the price first, then perform small-scale verification; do not generate in bulk.
Prices not changing according to the site-wide percentage? First check the individual service overrides, then check whether the correct subsite is currently open. Display currency and final order settlement currency should also be viewed separately.
¶ How Subsite Markups Become Revenue
For orders subject to the new distribution rules, the full discounted markup difference is credited to the site owner at the time of ordering; referral commissions are calculated based on the discounted platform base price. When the same person is both the site owner and the referrer, the two portions are combined into the original distribution reward, and the history page displays the breakdown. Old orders continue to use the original rules.
For example, if the platform base price is 100, the subsite selling price is 120, and the referral percentage is 10%, while the site owner is also the only referrer: the revenue is a referral reward of 10 plus a markup difference of 20, totaling 30. If the customer receives a 10% discount, it is 9 plus 18, totaling 27. The actual amount is subject to the order and effective distribution rules; risk control interception or refunds will affect the final revenue.
Revenue can be converted into points according to existing methods; when cash settlement is needed, contact the platform for manual processing. The same available reward can only be used once, and amounts already converted into points cannot be settled in cash again. If a refund occurs after settlement, it will be deducted from subsequent rewards; this does not mean that any deficit already incurred is waived. Accounts, balances, and plans still belong to the shared system. The sub-site price is not an independent tenant price that the account must follow across all entry points.