
Create Your API Site
If clients want to integrate AI into their app, website, or workflow, provide them with a developer portal where they can check services, view prices, and read documentation. This article focuses on setting up the portal, there's no need to write API code right now.
Log in with the webmaster account to Platform, and prepare the brand name and subdomain prefix. Do not create the site using a client testing account.
¶ Find "Site Management" and Create a Site
Go to Site Management in the Console, click Create, fill in the required prefix and name on the page, and wait for the list to refresh after submission.
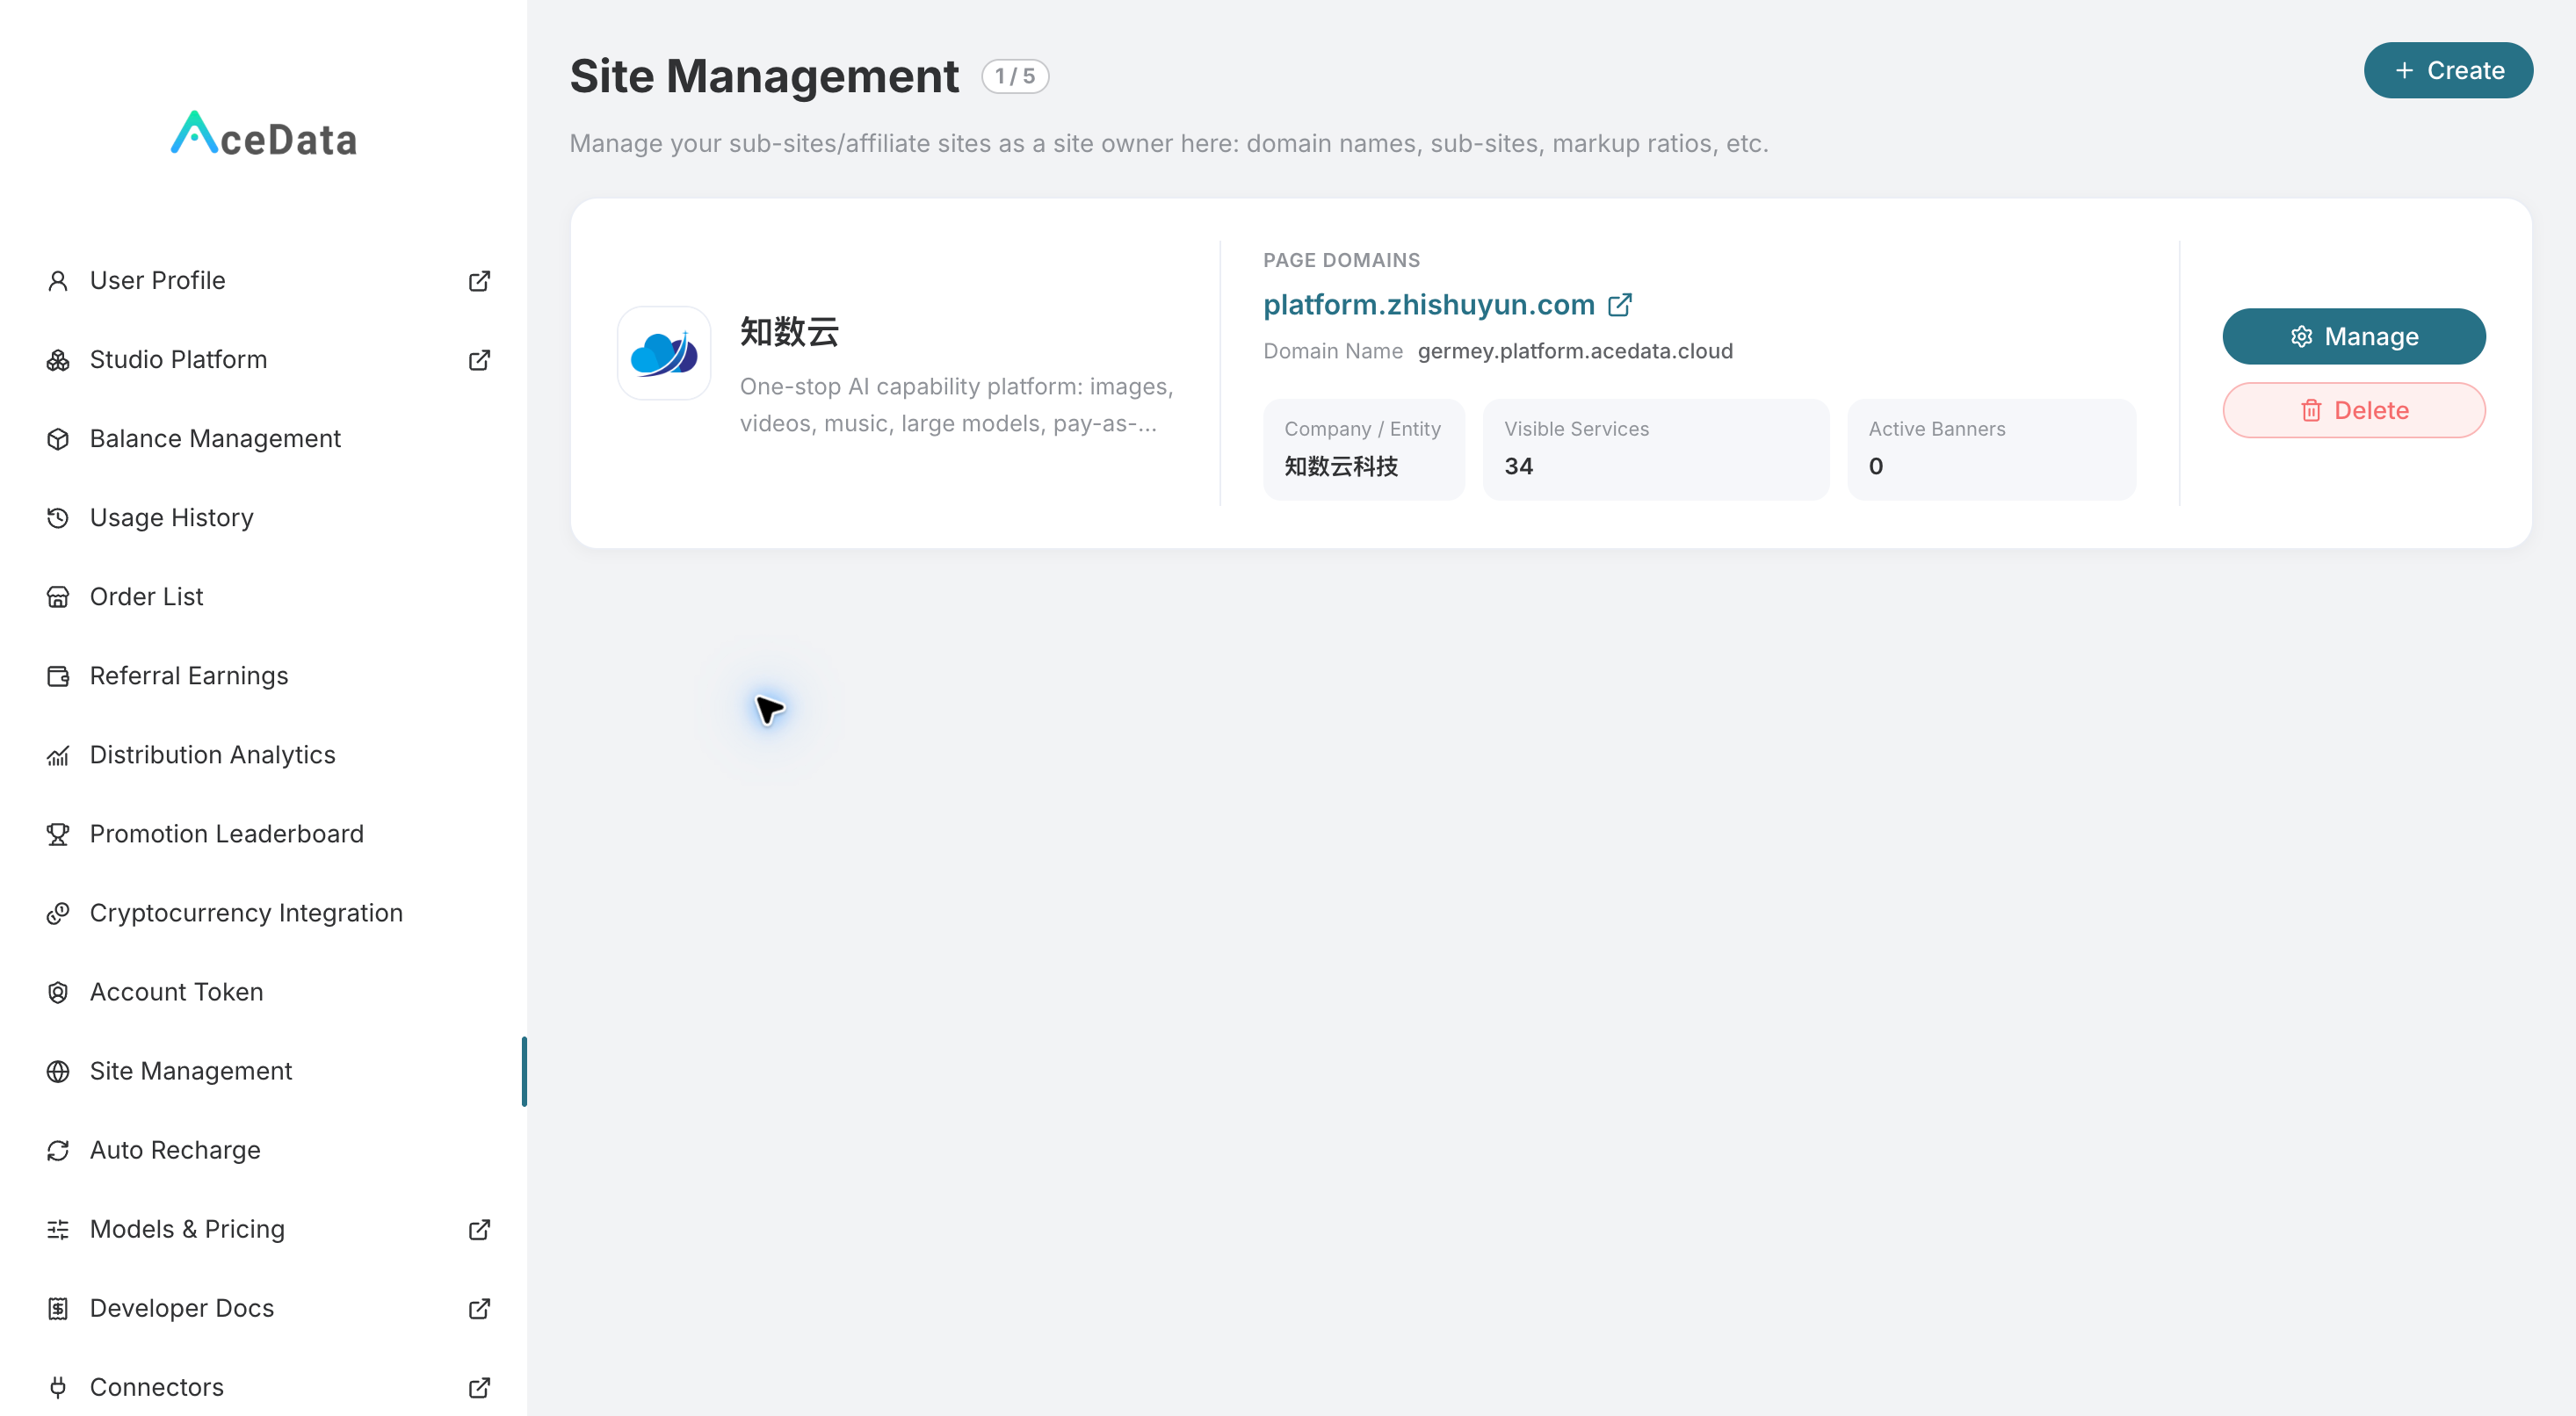
First, verify the site name and domain on the card. Click "Manage" to configure the website; do not accidentally click delete.
The system will assign a URL. If both the official domain and the system domain are displayed on the card, it does not mean two sites have been created, but rather different access points for the same site.
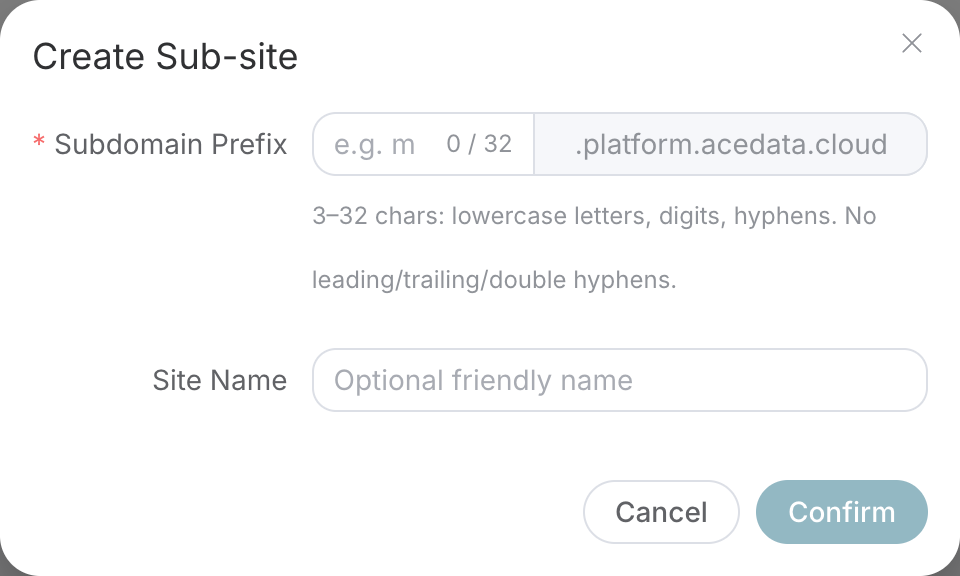
The prefix should be 3 to 32 lowercase letters, numbers, or hyphens, and cannot start or end with a hyphen or use them consecutively. The .platform.acedata.cloud on the right has been automatically filled in by the system, so there is no need to fill it in again. Enter your brand name for the name field, and finally click "Confirm."
¶ Fill in the Most Basic Brand Information
Click on the site card Manage → Site Settings. First, fill in the site name, description, upload the Logo and Favicon, and then save.
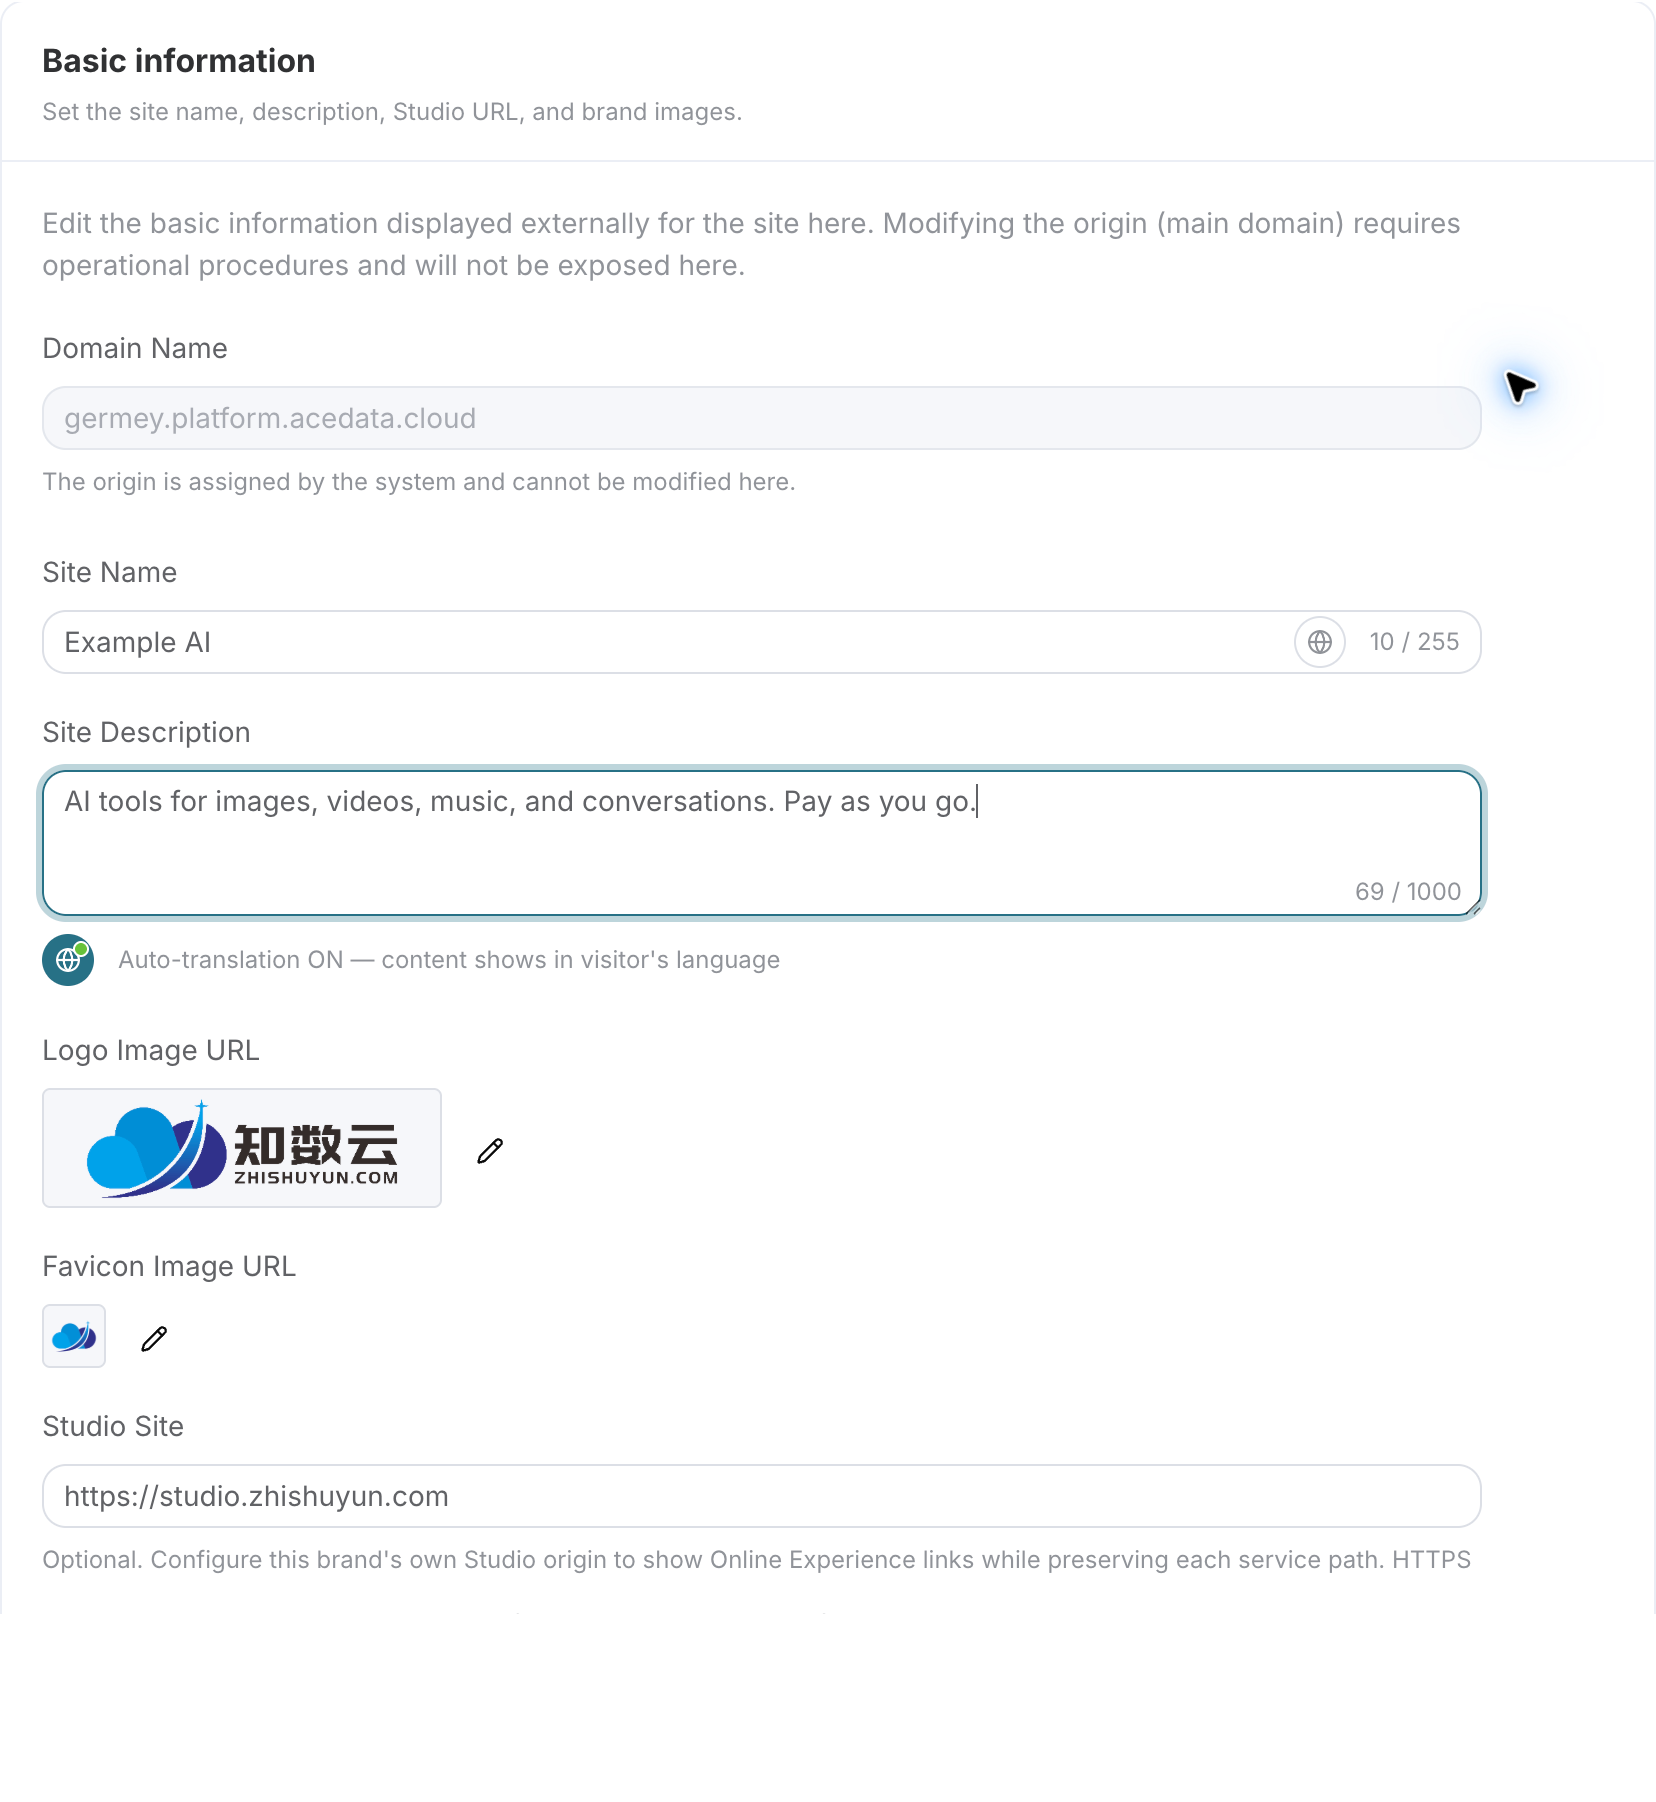
| Field | Possible Entries |
|---|---|
| Site Name | Your brand name |
| Description | For example, "Providing chat, image, and video APIs for app developers" |
| Logo | Brand image displayed on the page |
| Favicon | Square icon on the browser tab |
| Studio Address (optional) | HTTPS root address of the Studio for the same brand; leave blank if not available |
The origin (system URL) assigned by the system is read-only; to change it to your own URL, go to "Custom Domain," not this field.
¶ Which Sections to Look at on the Left?
Currently, there are 10 workspaces, grouped by tasks for easier understanding:
| What to Do Now | Corresponding Workspace |
|---|---|
| Make the site look like yours, allow clients to log in | Site Settings, Authentication Settings |
| Set up the homepage and navigation | Navigation Menu, Homepage Banner |
| Decide what to display and at what price | Services and Pricing, Documentation Management |
| Set up new client affiliations | Distribution Settings |
| Change to your own URL | Custom Domain |
| Complete operational information | Site Statistics, Terms and Privacy |
These entries may be located in the "Settings Directory" drawer on mobile. The top tabs in old tutorials do not reflect the current interface; prioritize finding by the section names here.
¶ Click "Visit Site" to See What Clients Will See
Click the Visit Site in the upper right corner of the details, copy the URL to an incognito window, and check the homepage, service directory, documentation, and login entry. If the banner is not configured, it will show an empty state, which does not indicate a creation failure.
First, ensure the system domain is functioning properly before binding the official domain. If there are issues opening the site, it will help distinguish whether the problem lies with the site itself or domain resolution.
After completing this article: There should be a site card in the list; the management page can save brand information; the incognito window can open the system URL.
No "Site Management" entry? Confirm that you are logged into the web version of Platform and check the current account permissions and whether site features are enabled. If the old name still appears after changes? First, confirm that you are editing the same site, then check the save prompt and browser cache.
Next article: Configure API Brand and Homepage · Return to Roadmap