
Configure API Brand and Homepage
This article lets customers know three things as soon as they enter the website: what you offer, where to start, and who to contact if they encounter problems. First, complete the brand, login, and customer service; the banner and statistics can wait a bit.
Go to Site Management → Your Site → Manage. Prepare the Logo, browser icon, customer service entry, and main information.
¶ Change the brand, keep a customer service entry that can be found
In Site Settings, fill in the site name and description, upload the Logo and Favicon. If multiple languages are needed, pay attention to the globe button next to the text: save the source text first, then enable automatic translation as needed.
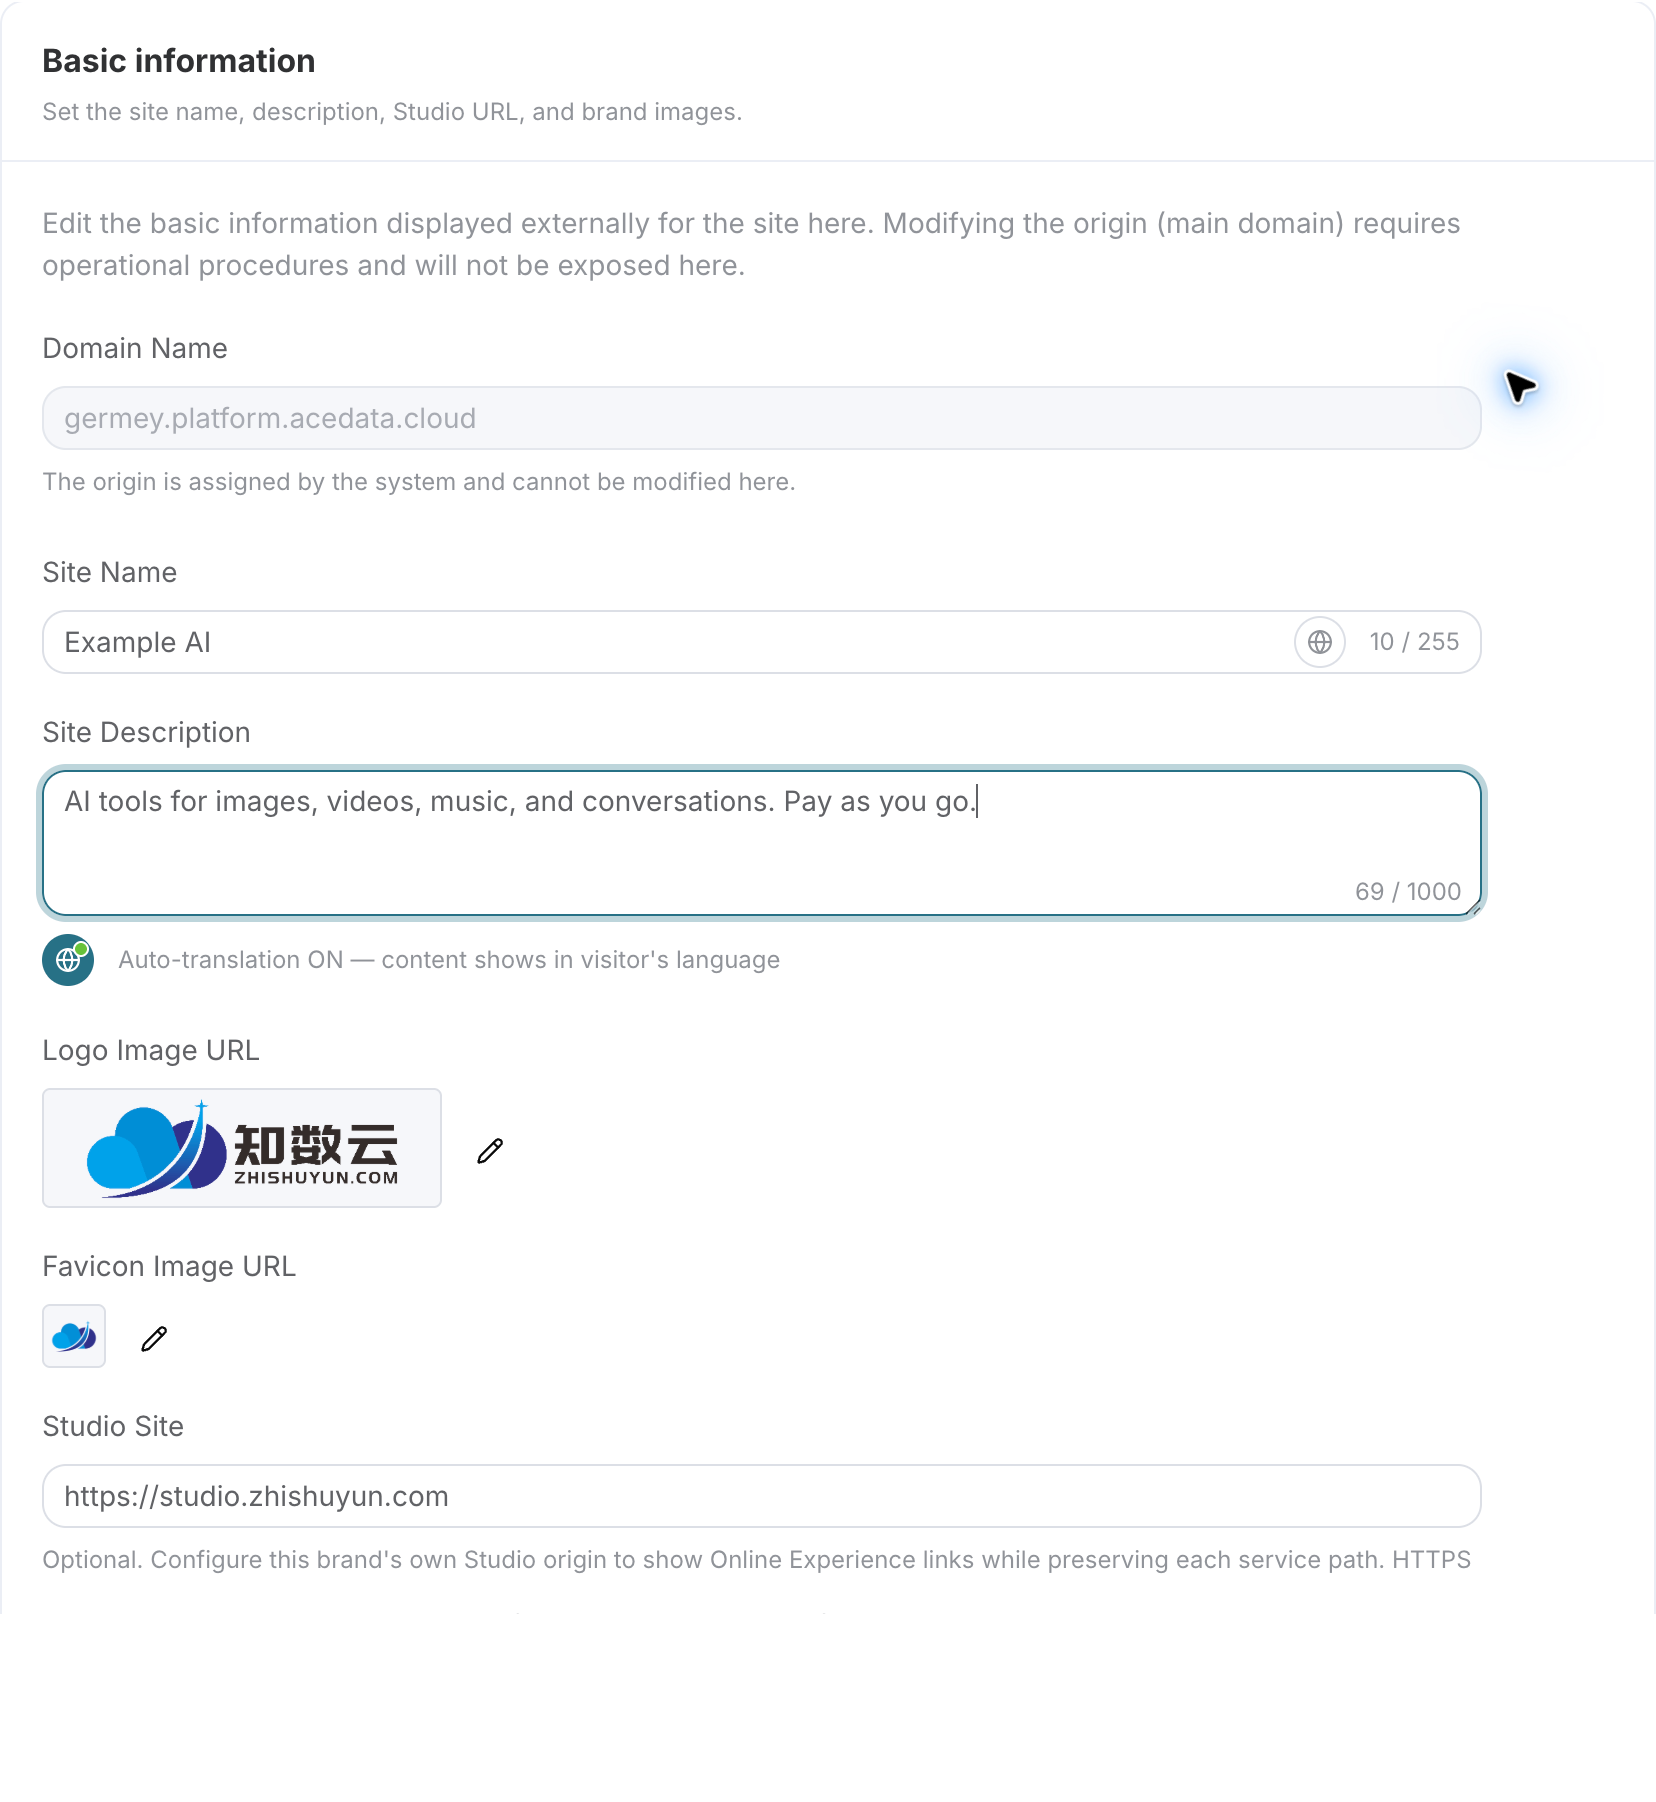
In the image, Example AI is an unsaved English filling example; the existing brand Logo remains unchanged.
Continue to find the customer service and external link area, and fill in the actual contact information you maintain. After saving, click "Visit Site," open the customer service entry in an incognito window, and check the links and QR codes.
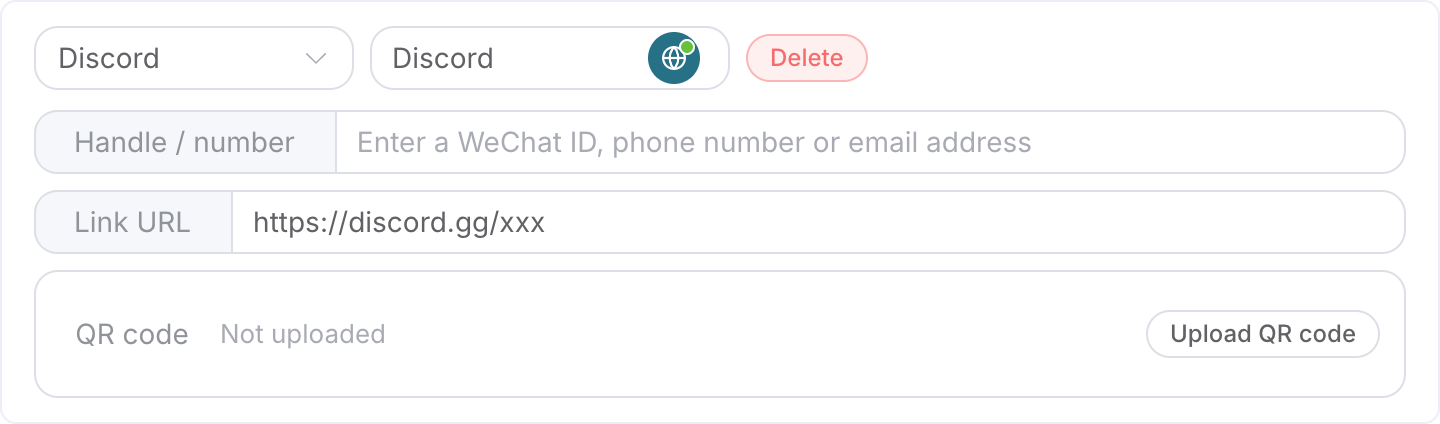
Online shot on September 6, 2026. The links in the image are just configuration examples, do not copy them; each channel must fill in at least one of the account/number, link, or QR code. The customer service floating window will not display if no channels are added.
Company, copyright, filing, and other main information can be checked in Terms and Privacy. Do not disclose administrator accounts, internal configurations, or credentials as customer service information.
¶ Connect the Studio of the same brand
If you have also opened a Studio, fill in its HTTPS root address in Site Settings → Studio Site, for example, https://studio.example.com, without adding specific tool paths.

After saving, go to the corresponding service page to check "Online Experience": it should open your Studio and retain the access path for that service. If you do not have your own Studio, leave it blank for now, do not randomly fill in another website.
¶ Ensure customers can log in smoothly
Open Authentication, enable the prepared login methods, and then select a default method from them; at least leave one.
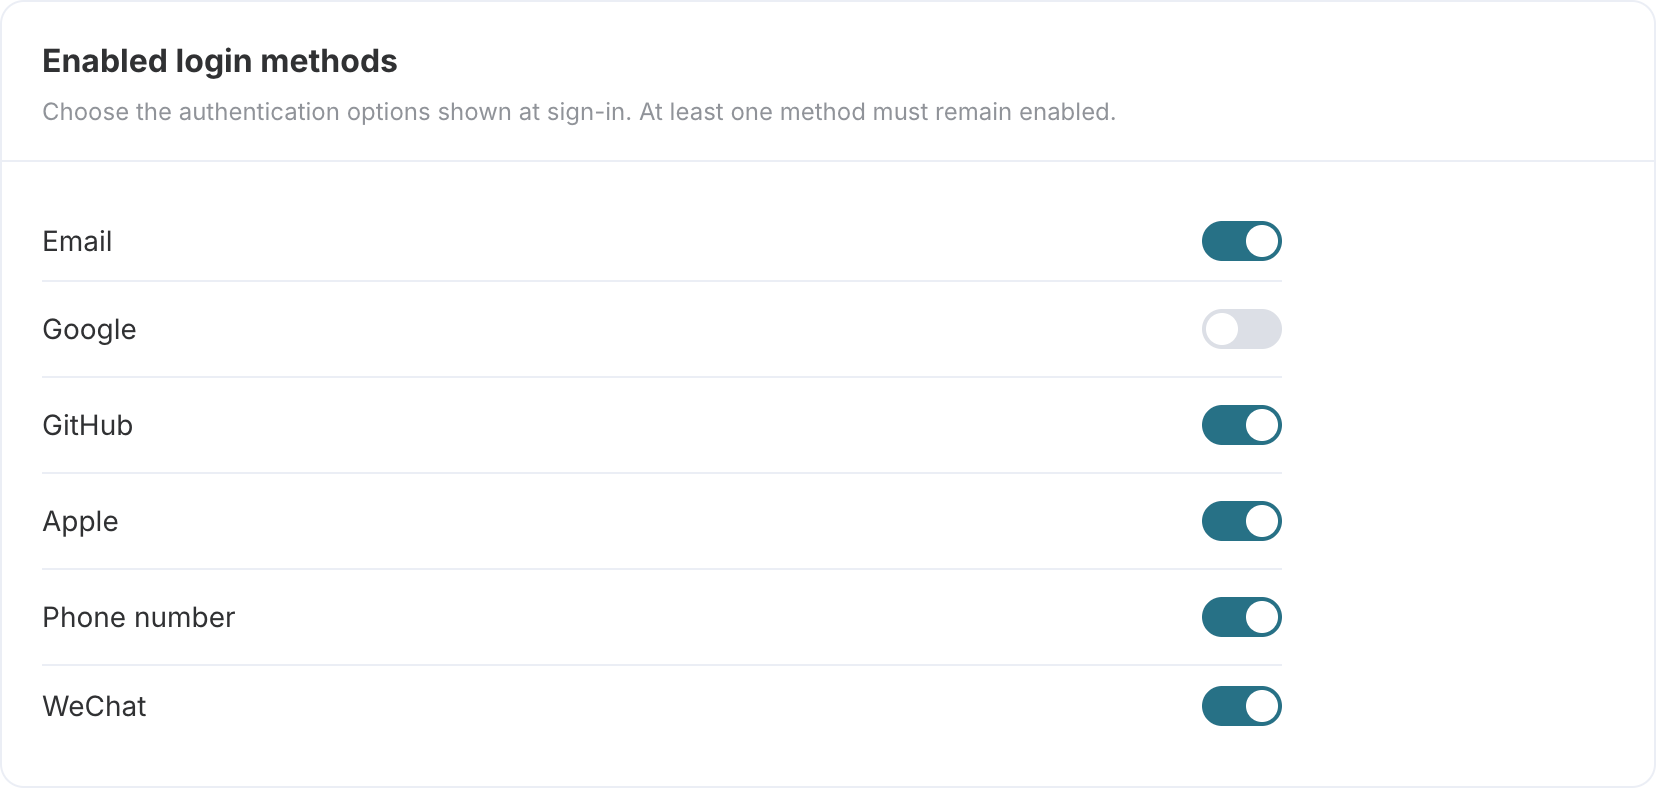
After saving, log out, complete the login from an incognito window, and confirm you return to your site. Logging in through a shared authentication domain is normal, and the brand will display after the site information loads.
Further down is the Login Presentation Mode, which determines how the authentication interface opens on the web. Choose according to how you want customers to see it, save, and verify from a non-logged-in window.

Disabling a login entry only changes the display and does not delete existing customer accounts.
¶ Prioritize the content most needed by customers in navigation
Open Navigation Menu:
- Site Navigation: The menu that visitors see on public pages.
- Console Navigation: The menu that customers see in the console after logging in.
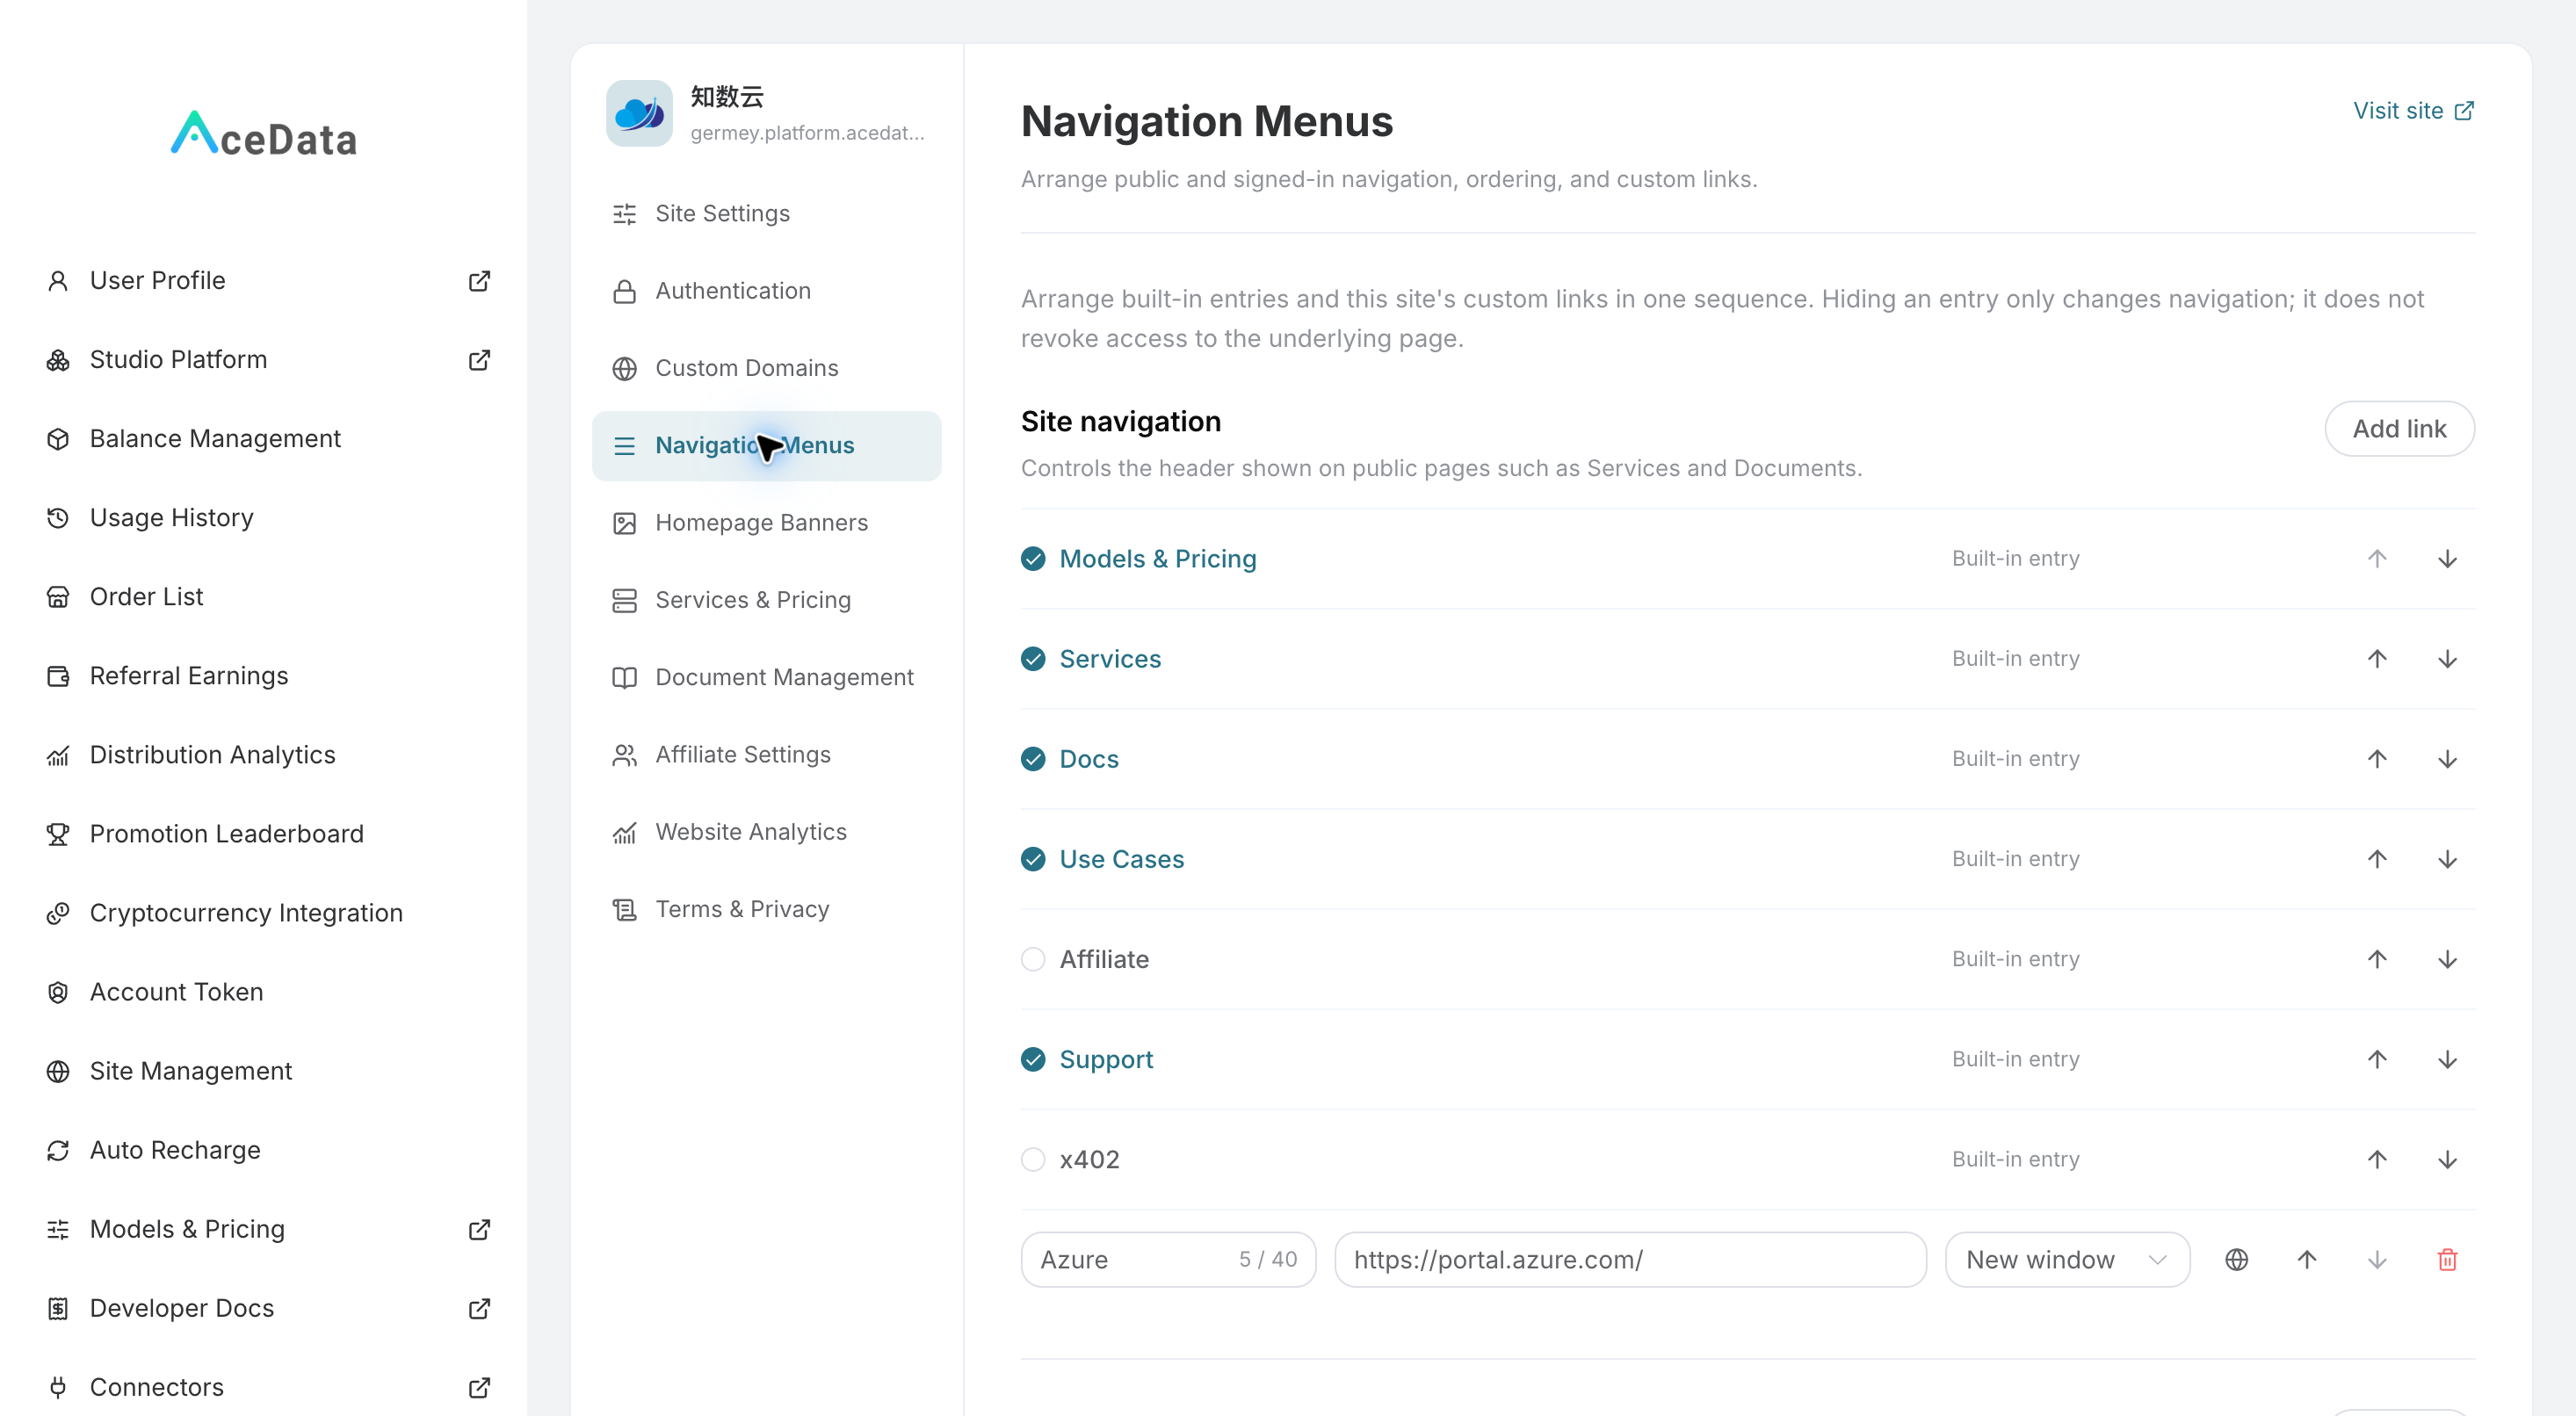
First, keep the main entries like services, documentation, and customer service. Use short titles for custom links, and clicking them should indicate where to go. After saving, click each one once.
Hiding a menu only hides the entry, it does not revoke access; others may still open the page through the original link.
¶ If there are promoted services, create a homepage banner
Open Homepage Banner, click Add Banner, fill in the image, redirect link, title, and subtitle, then set "Visible," sorting, and the required validity period. The form is long, continue scrolling down to find the sorting and save buttons.
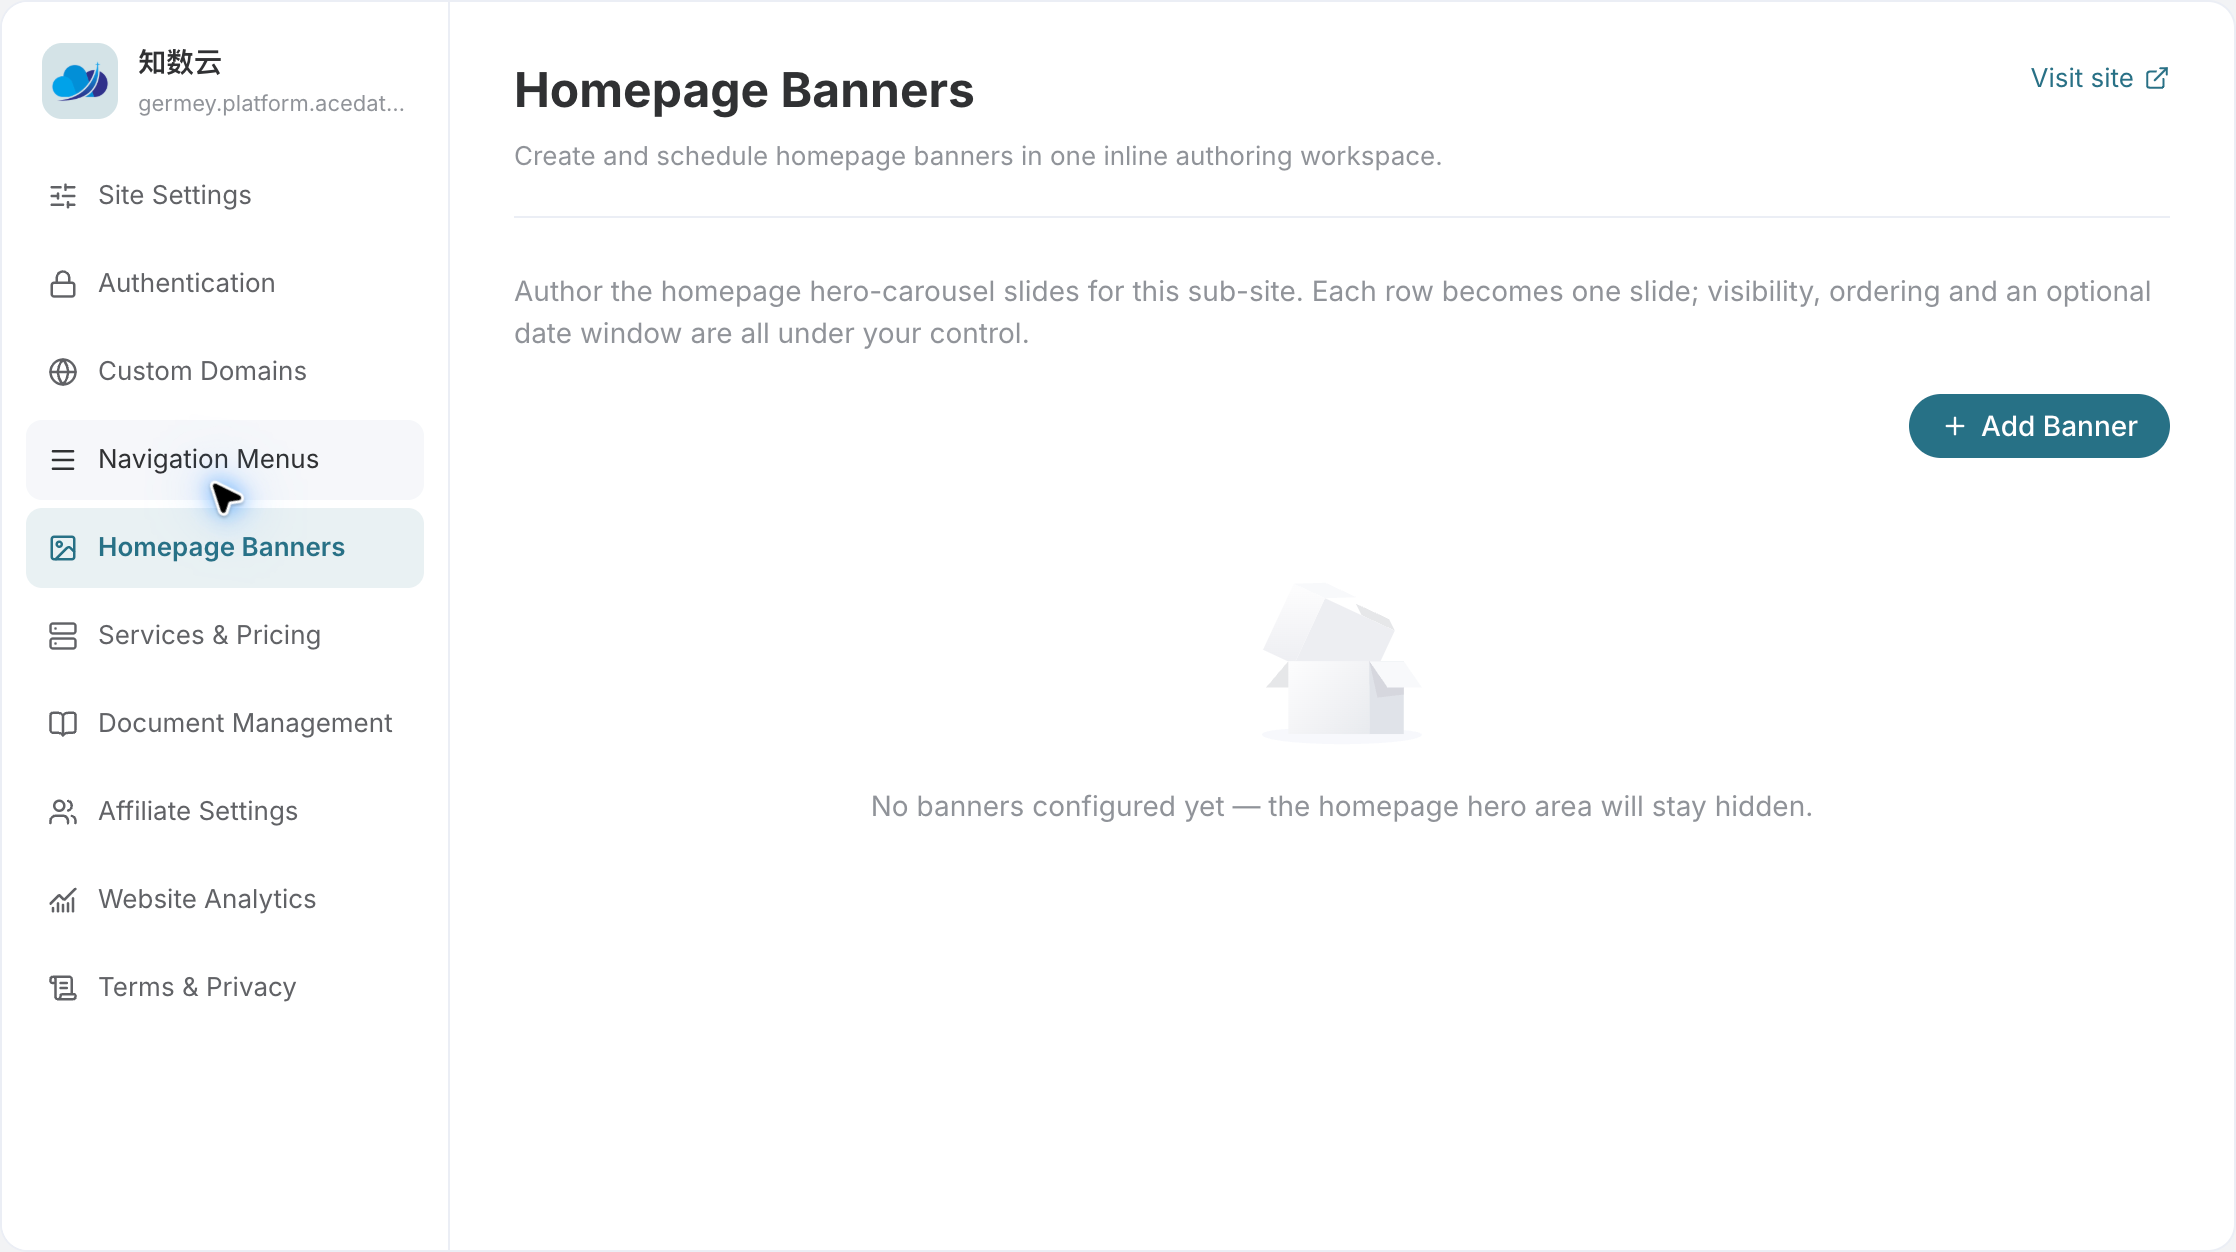
This is the interface when no banner has been added, not the completed homepage.
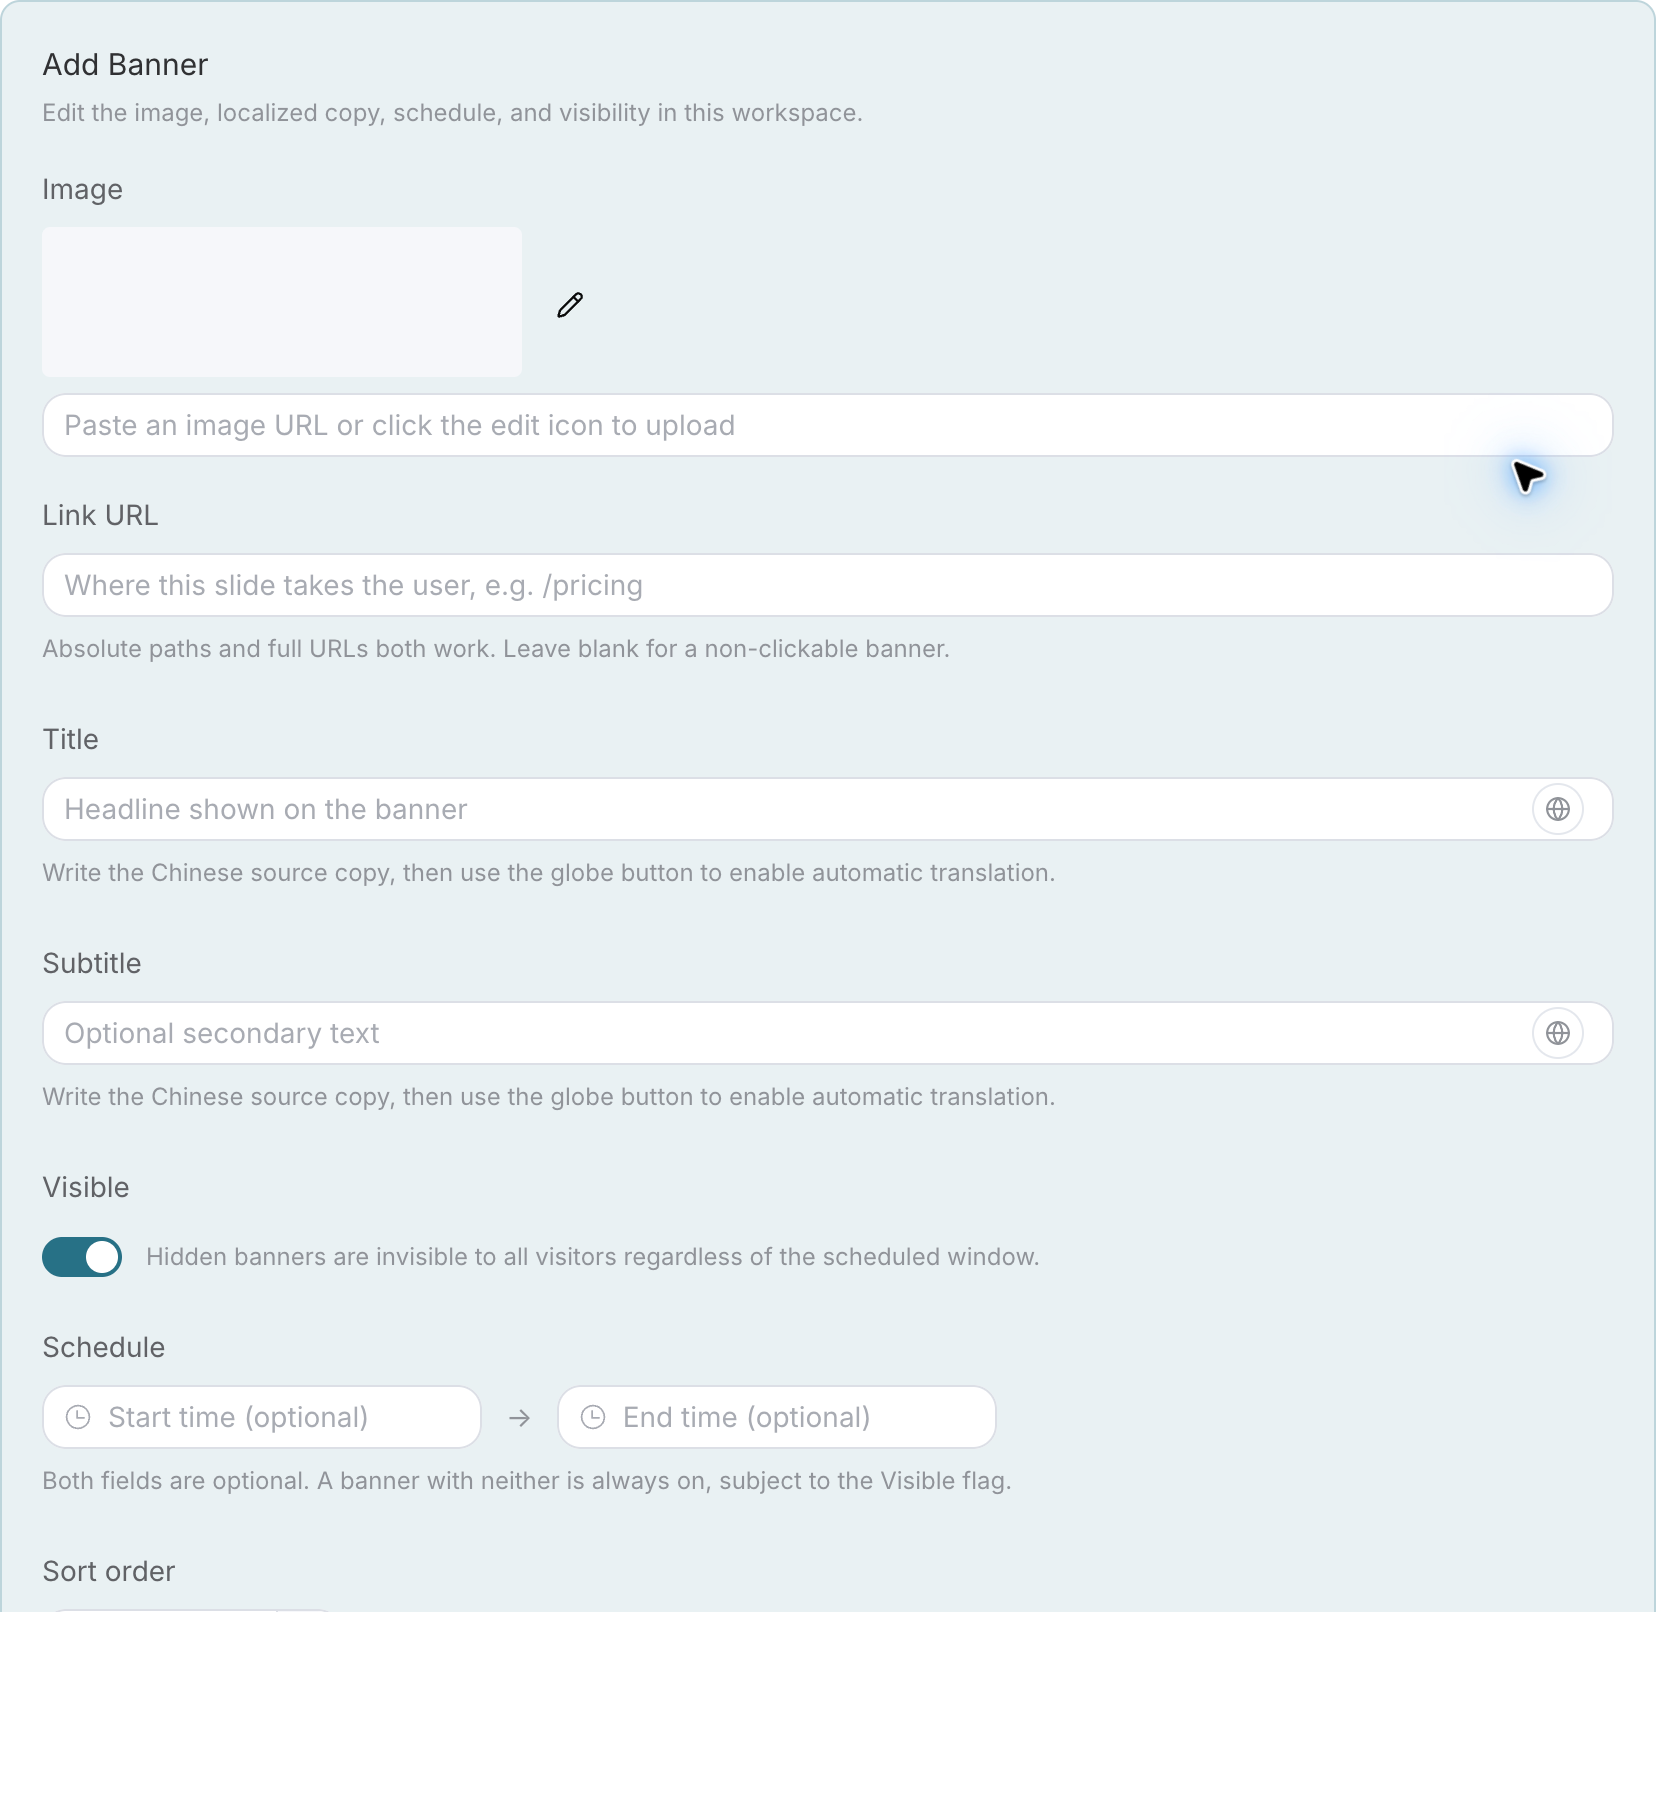
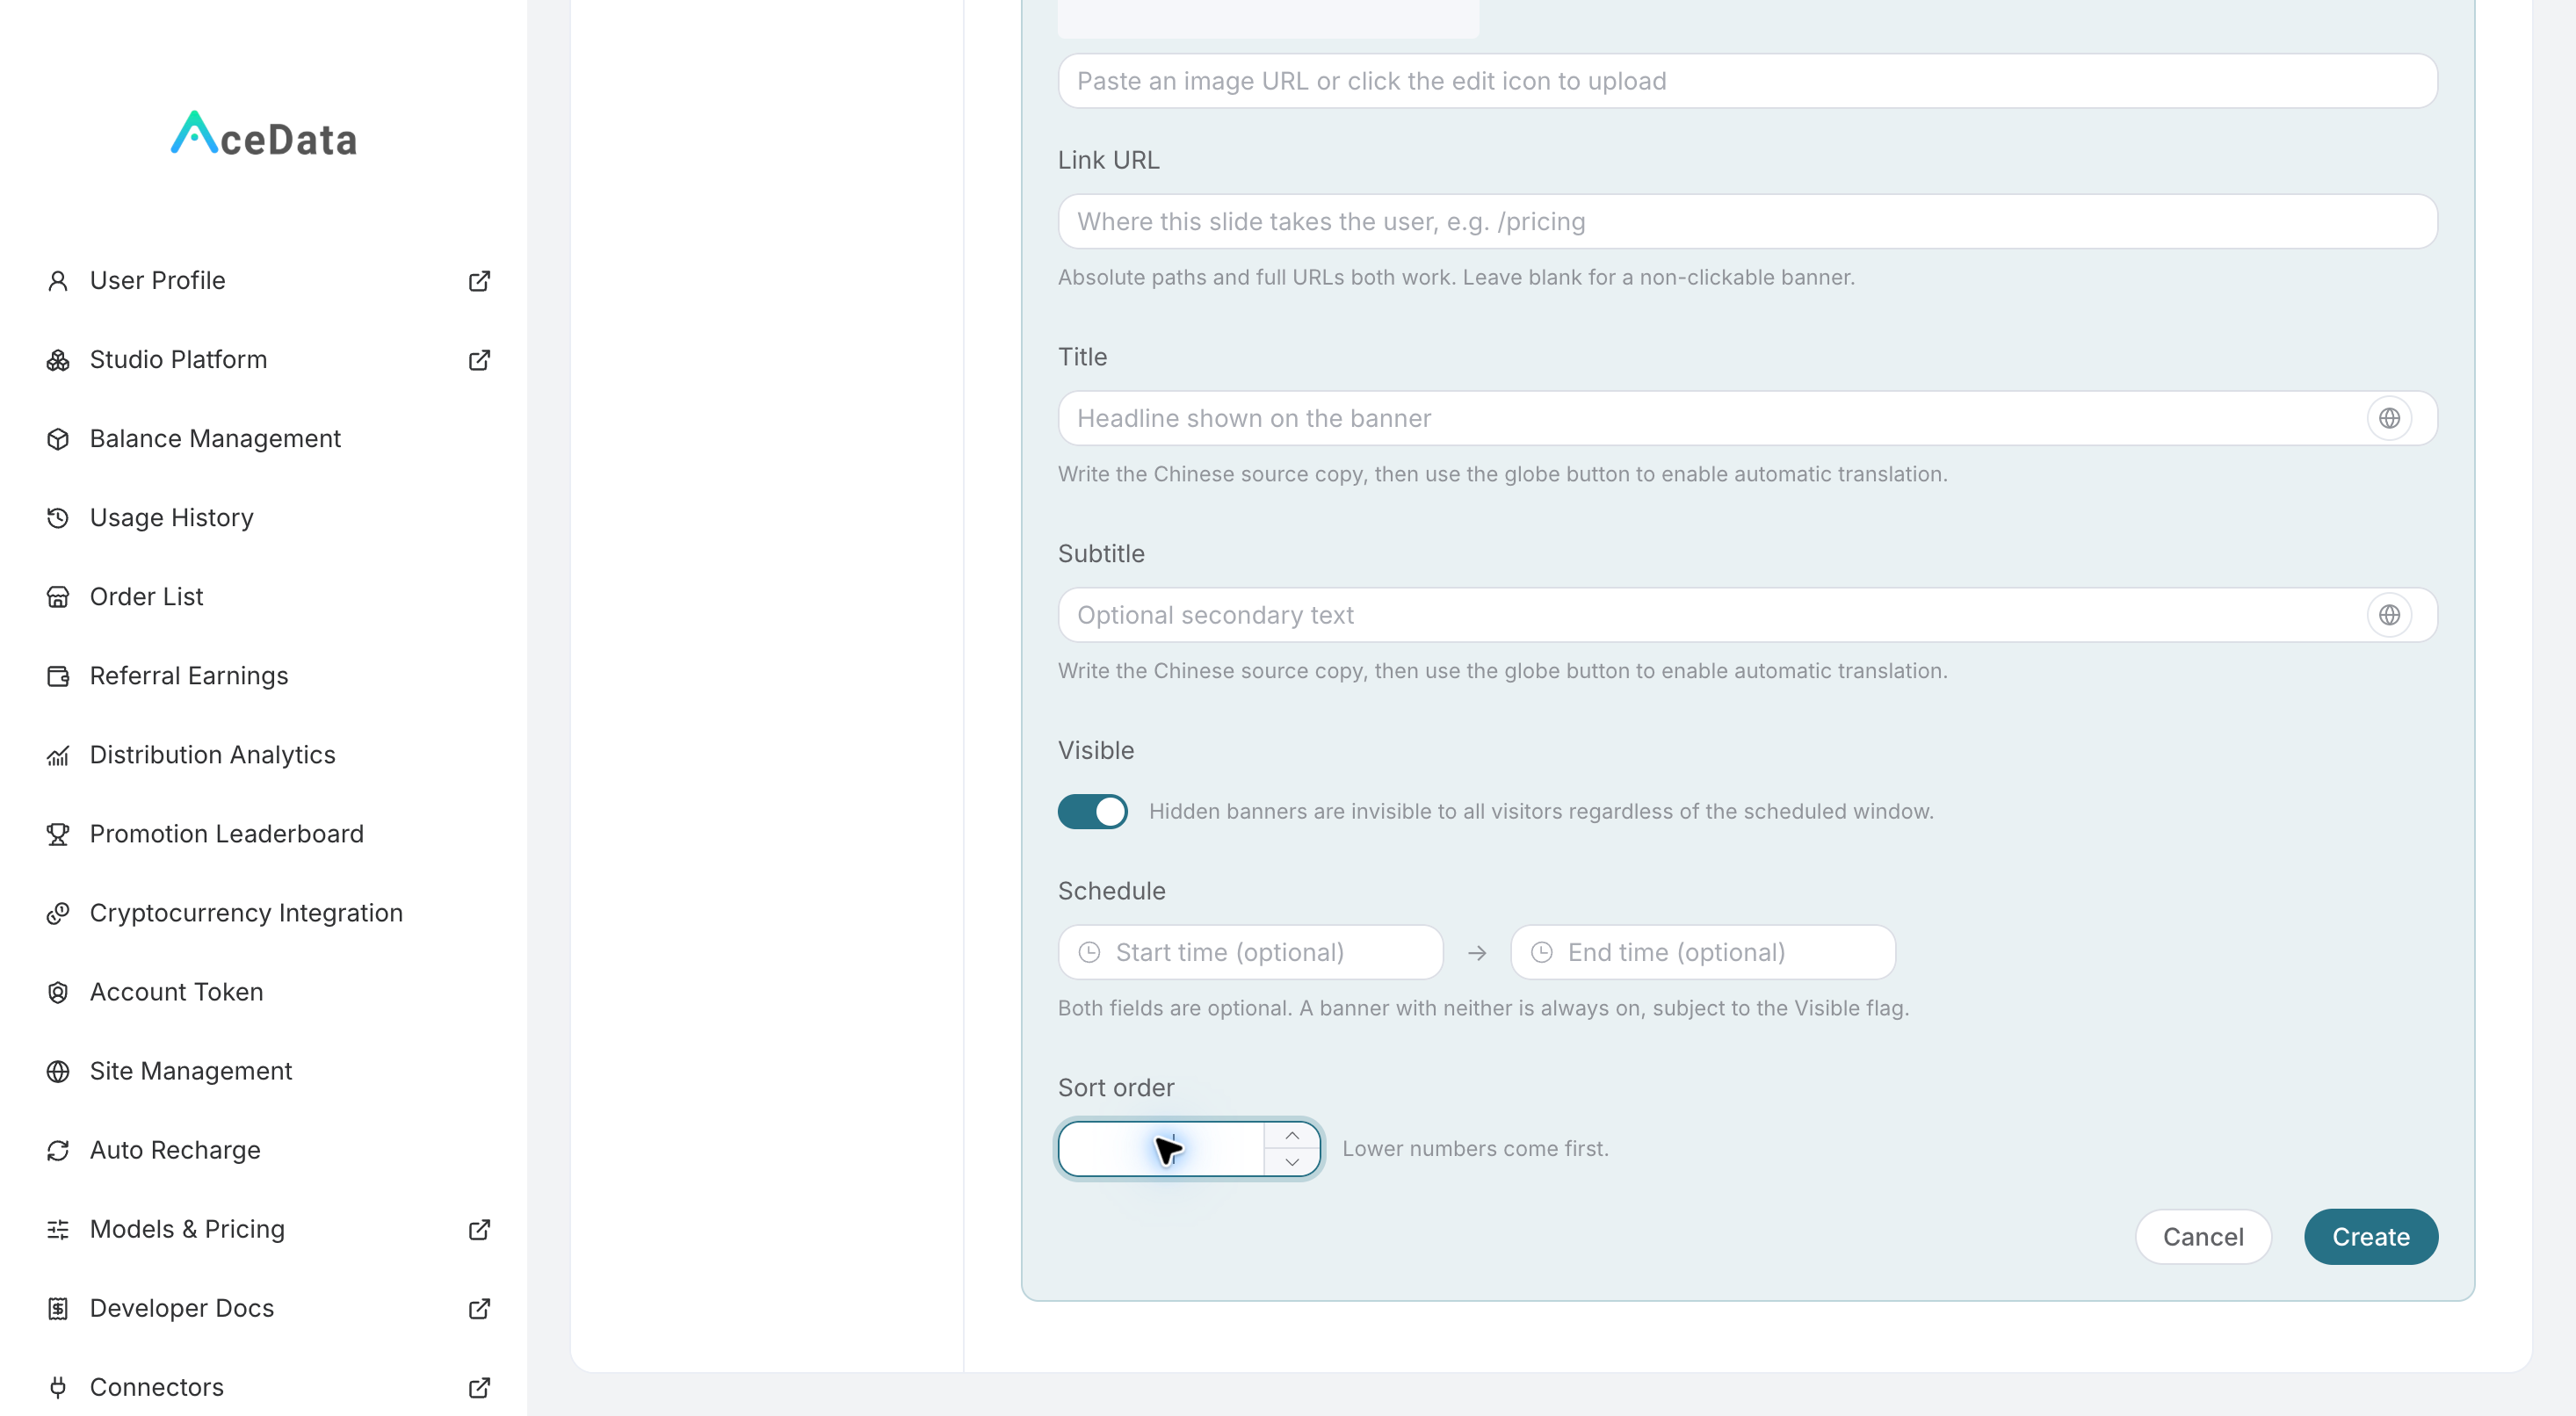
Continue down, check Visible, validity period, and Sort order, and finally click Create:
A set of easily understandable copy examples:
| Banner Content | Example |
|---|---|
| Title | Add AI-generated images to your application |
| Subtitle | View image generation and editing API, complete integration as per documentation |
| Redirect Link | The documentation address for your promoted image service |
Replace the examples with your own real services. When the redirect link is left blank, the banner cannot be clicked; if both validity periods are not filled, whether to display still depends on the "Visible" switch. The smaller the sorting number, the closer it is to the front.
If multiple languages are needed, save first, then separately enable automatic translation for the title and subtitle; only saving the source language will not automatically enable translation. The current form does not have a separate "button text" field, so there is no need to look for this input box.
¶ Before officially opening, complete the terms and privacy
Open Terms and Privacy, check the legal entity, copyright, filing, and other information. Review the default template, and replace any inapplicable parts with custom Markdown.
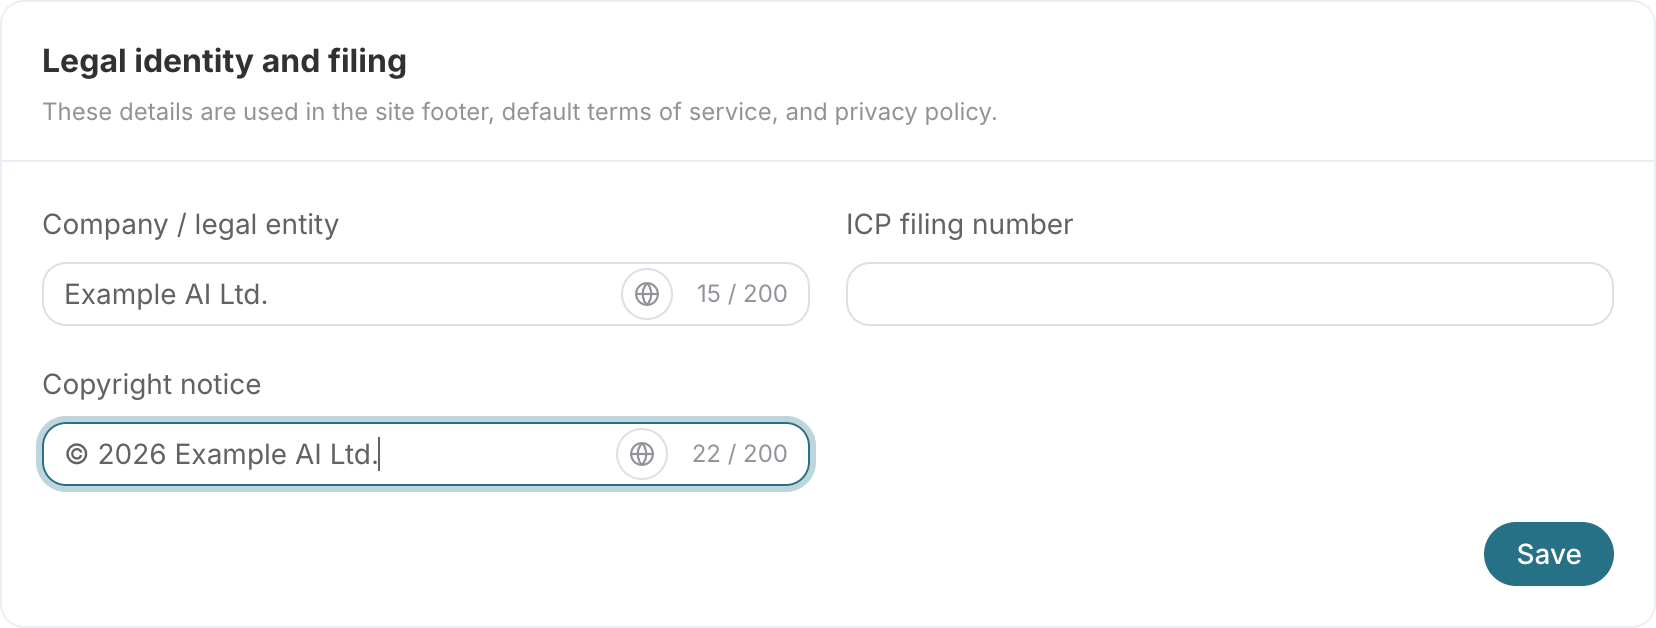
In the image, Example AI Ltd. is an unsaved English filling example, not your legal entity. Please fill in your real information, and then check the terms and privacy content below.
Open the terms and privacy page from a non-logged-in window to confirm that customers can access it. The template is just a starting point and cannot replace the business owner's review of payment, customer service, and data processing methods.
¶ Website statistics are optional
When needing to understand access conditions, fill in GA4, Baidu Statistics, Clarity, or Umami corresponding identifiers in Website Statistics, without pasting any JavaScript or HTML.
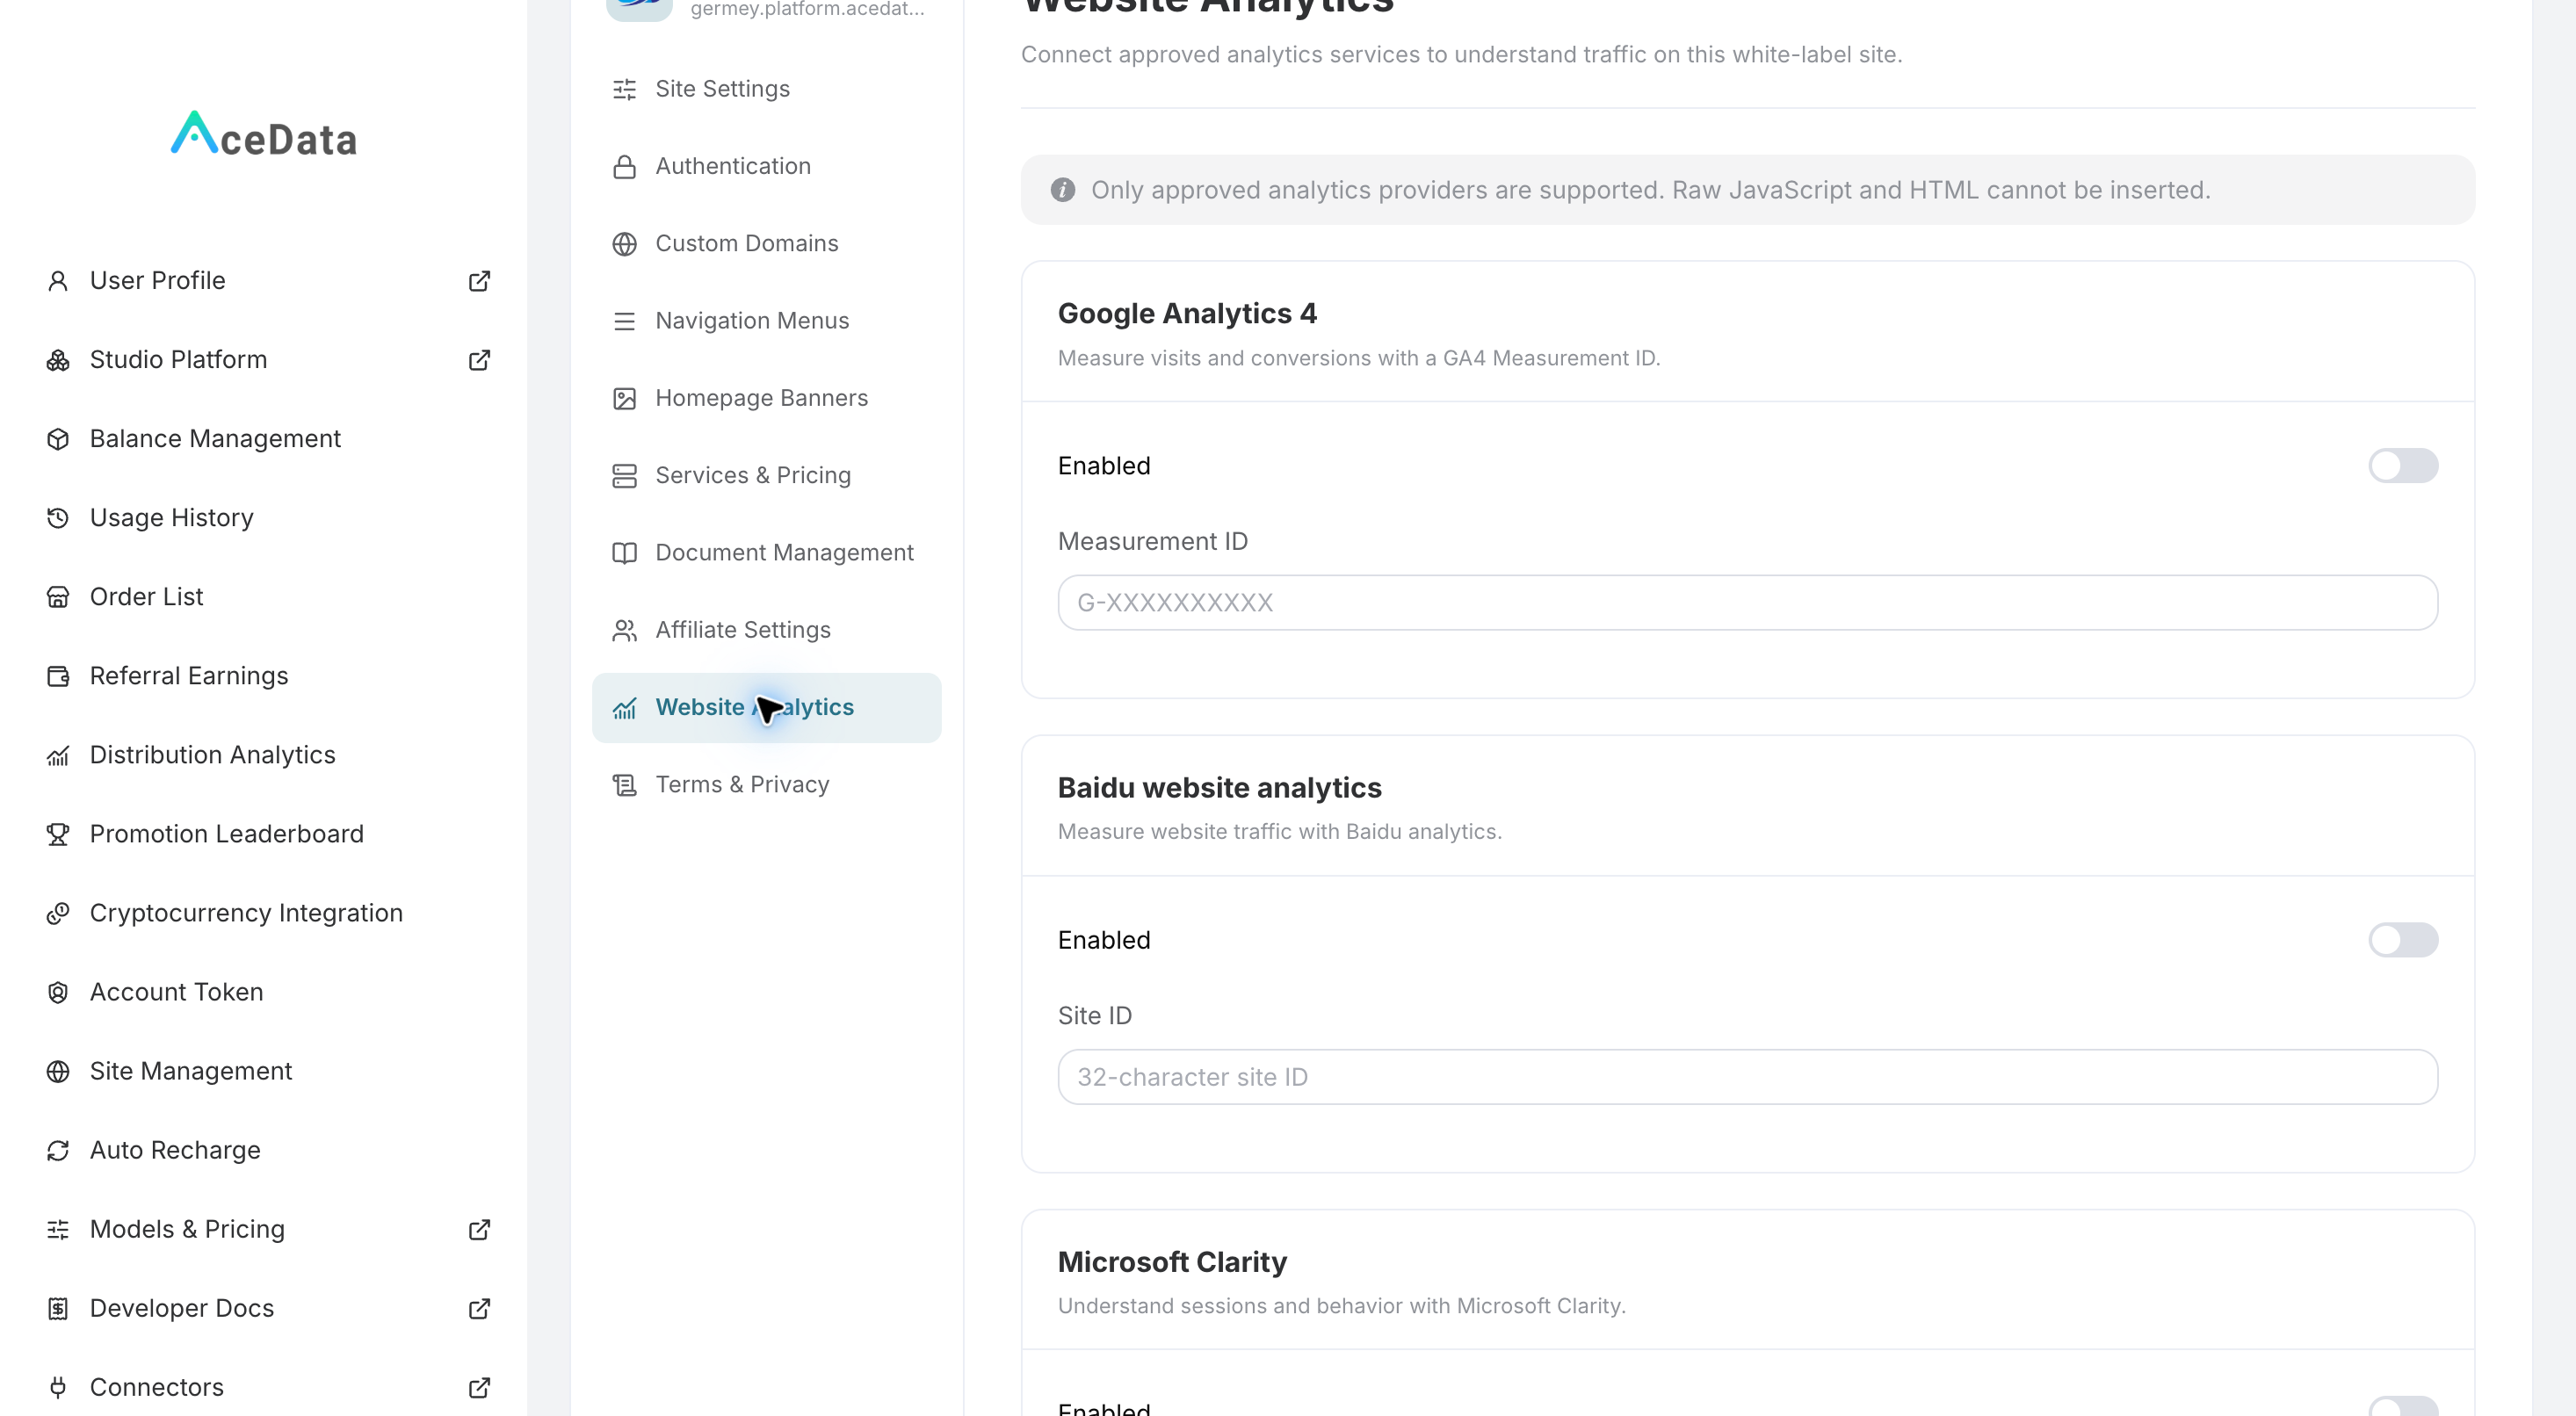
Synchronously update the privacy policy before enabling, and check after enabling whether the data comes from your official domain.
This article is completed: The homepage brand is correct; navigation, login, customer service, and terms can be opened; the banner has a real destination, or is temporarily not configured.
¶ Search and Share Preview: Hand over to technical colleagues for review
The Platform provides a branded first screen (SSR) for supported crawlers, while regular browsers may first receive a generic SPA shell before loading the brand. Both must check title, description, canonical, OG, and Favicon separately, not just the browser title or the result of a single default curl.
Next article: Organize API Services and Documentation · Return to Roadmap