

Creating a tutorial video is usually more troublesome than imagined.
First, you need to understand the original text, organize the script, then divide it into chapters, write the narration, and prepare visual prompts. After the images and voiceover are generated, you still need to create video clips, and finally combine the visuals and audio together.
If any part goes wrong, the work that follows may need to be redone. Especially for tutorial videos, the content must not only be accurate, but the visuals and narration also need to match, which is indeed very time-consuming.
This time I used a different approach: using Ace Data Cloud Studio to let the Agent break down the task, then complete it step by step in the order of script, narration, images, and video.
The whole process is not about clicking a button and then leaving it alone, but checking after each stage is completed. If something is unsuitable, adjust it before moving on to the next stage. This way, you can both control the final result and avoid switching back and forth between multiple platforms.
The illustration below is my ideal working state: the computer is processing the video, while I drink coffee and look at my phone nearby, occasionally coming back to check the progress.

¶ So, how exactly should you get started?
The task this time is very clear: choose an existing blog article and adapt it into a complete video.
I chose a tutorial article on Ace Data Cloud:
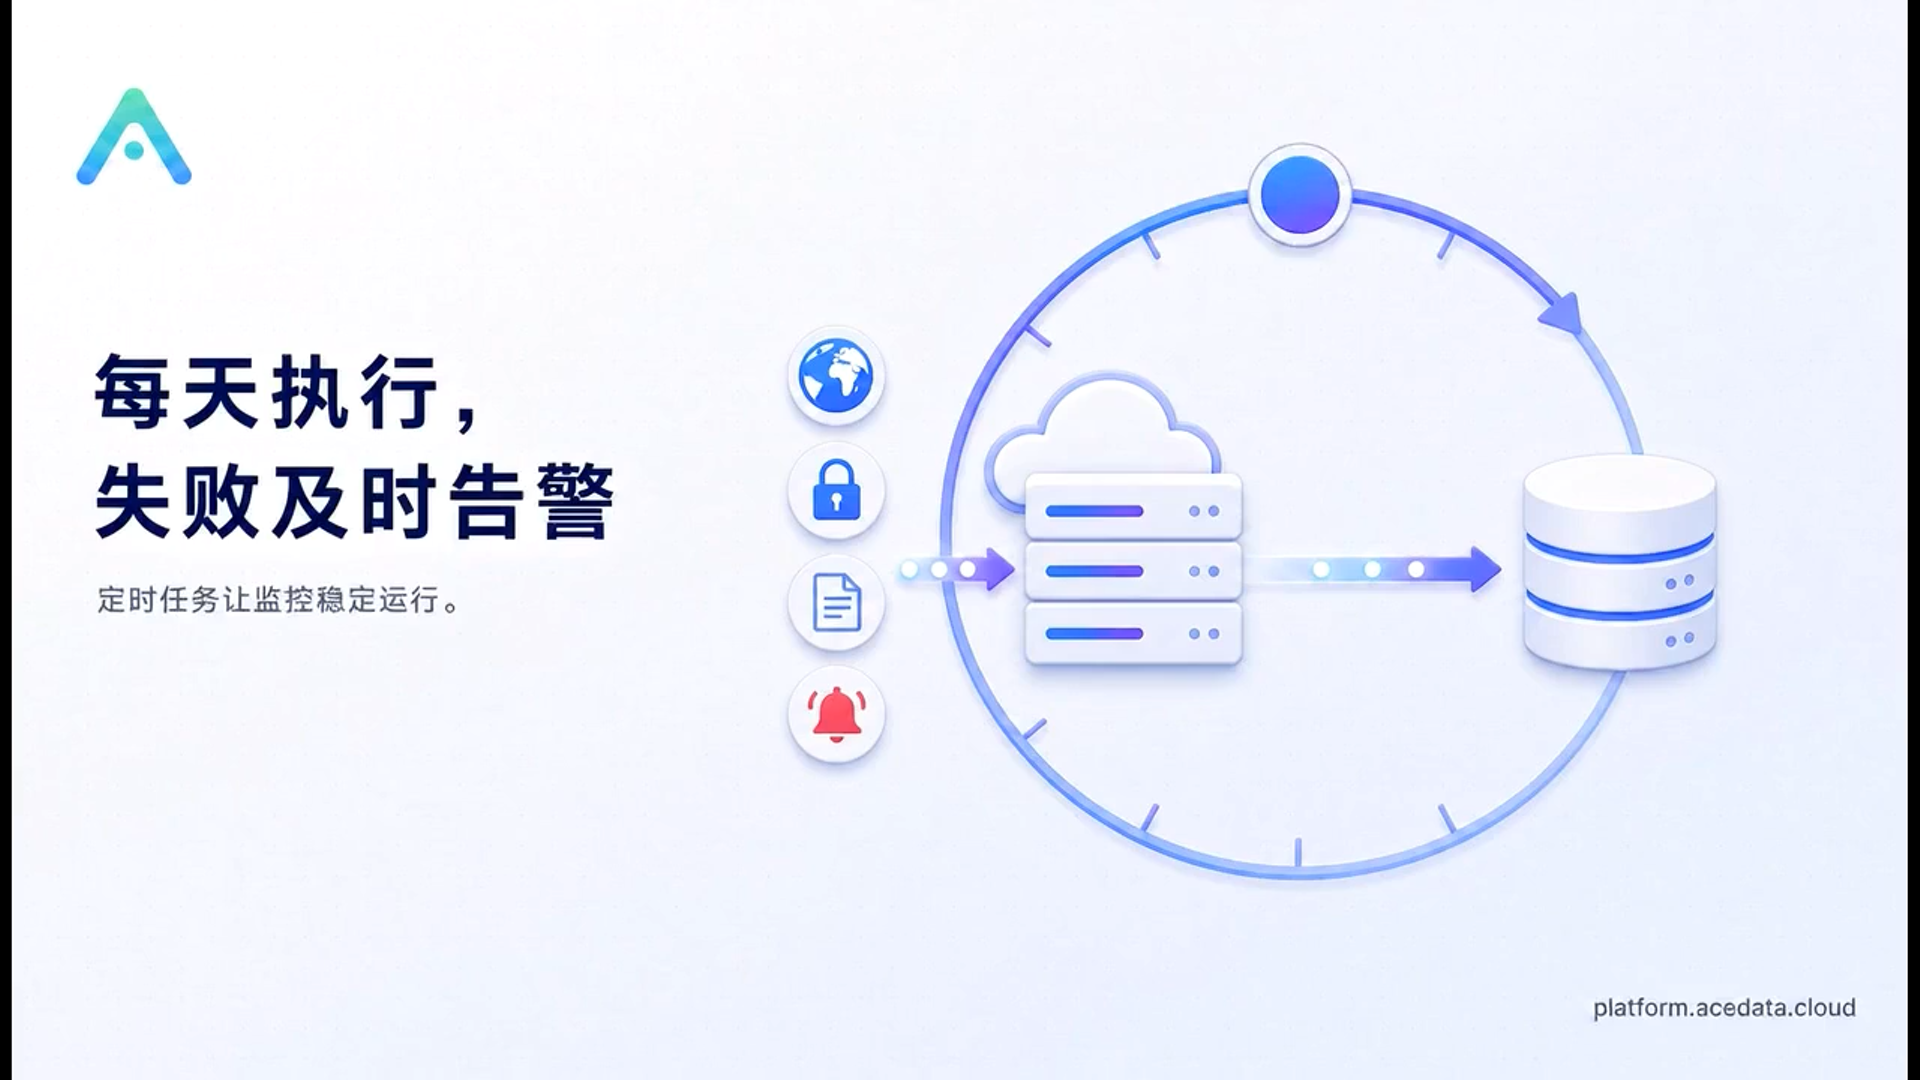
Use SERP API to Monitor SEO Keyword Rankings Daily
Next, open:
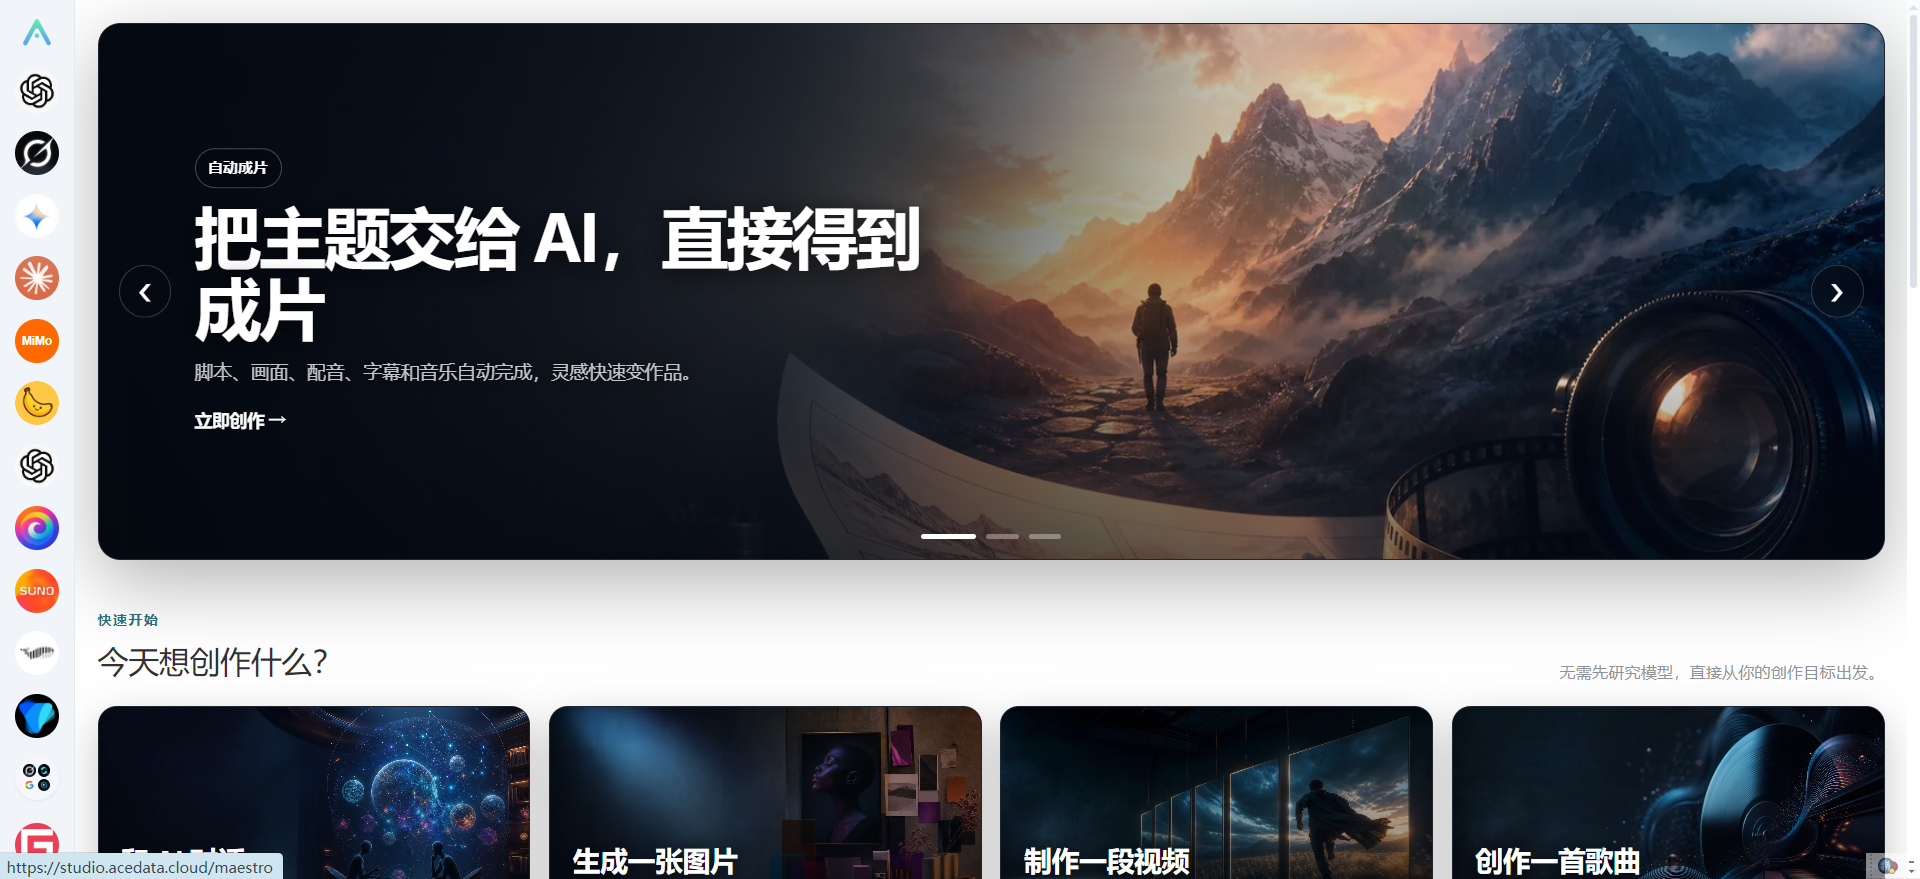
After entering Studio, you can start directly from the creation task without needing to build a complex workflow in advance.
¶ Hand the video creation Skill over to Studio
I prepared a video creation Skill in advance.
Its purpose is not to directly generate the final video, but to first organize the original article into a structure suitable for video presentation, including what chapters the video should be divided into, what each chapter should explain, how the narration should be written, what the visuals should show, and what prompts should be used for images and video respectively.
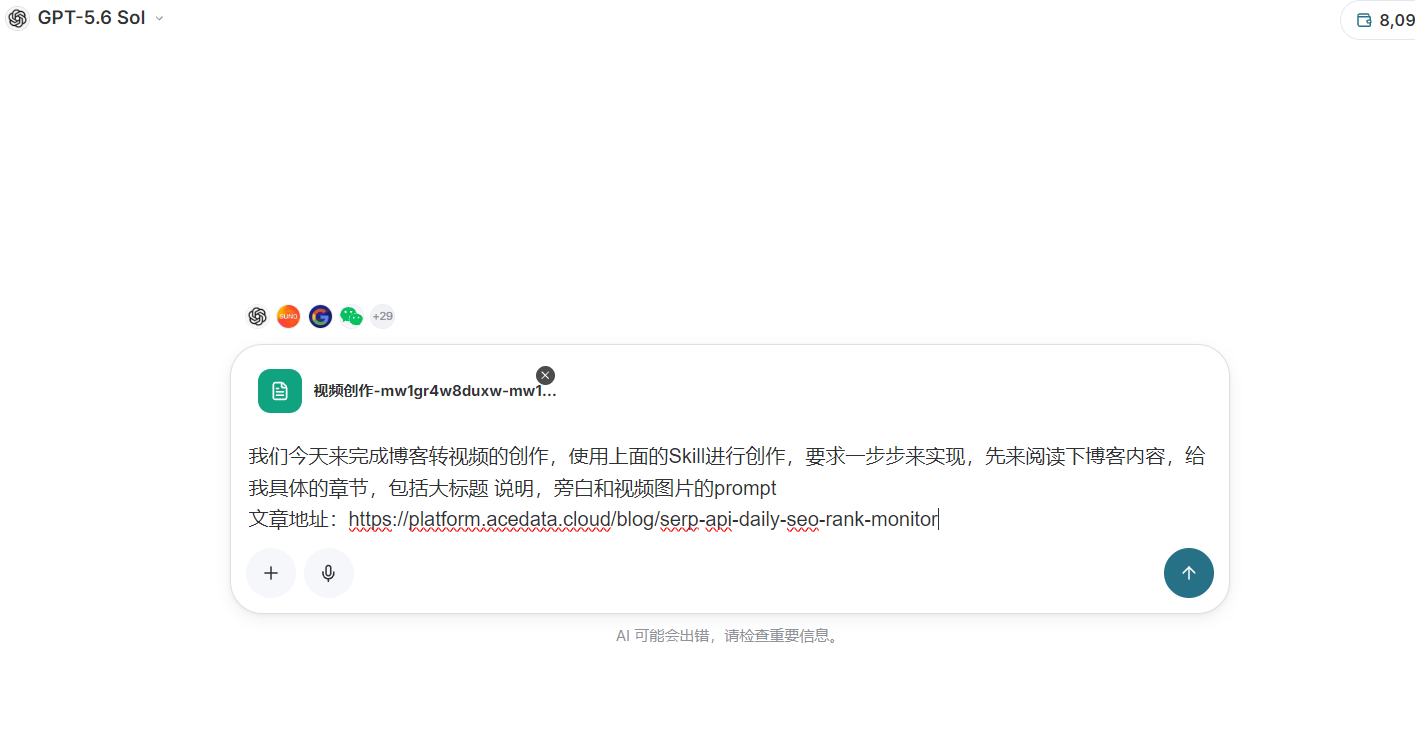
When using it, drag and drop the Skill file into Studio's chat box, then tell the Agent the article URL to process this time and the specific requirements.
The general idea of the requirement I provided was:
Read the specified blog article and adapt it into a video. Please first output the complete chapters, including the title, description, narration, and generation prompts for images and video for each chapter. Complete the entire task step by step, and do not generate all content at once.
¶ Organize the video outline first, do not rush into creating visuals
After submitting the task, the Agent will first read the article and then organize the video chapters based on the article content.
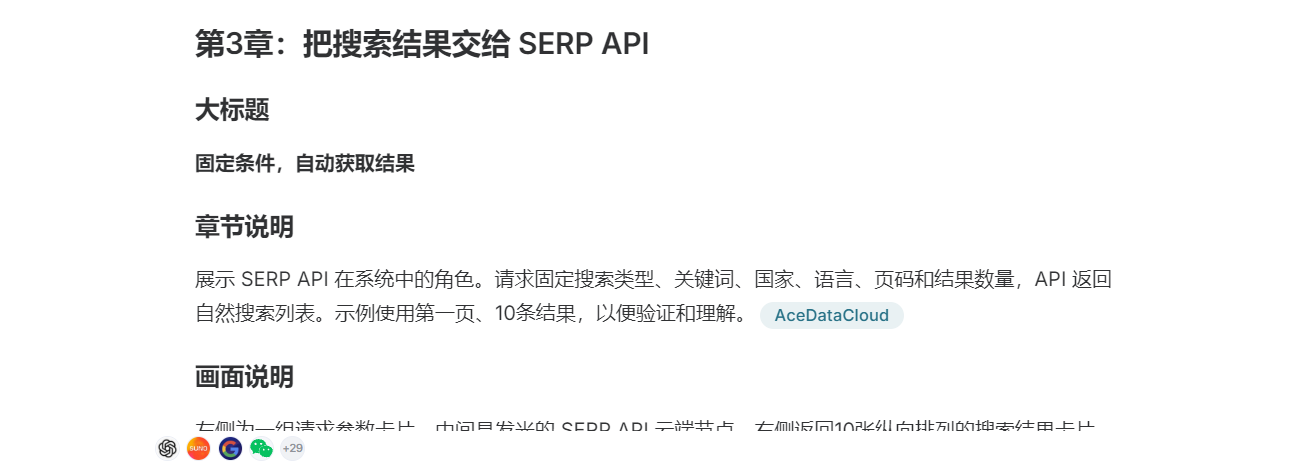
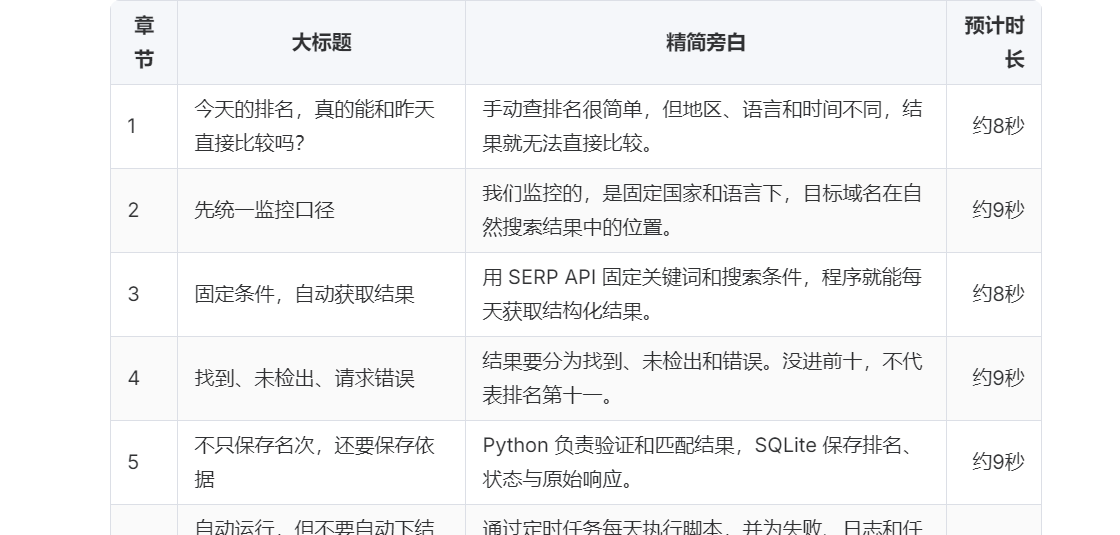
The generated content is relatively complete. Each chapter includes a title, content description, narration, and corresponding image and video Prompts. This way, whether generating static visuals or creating video clips later, there is a relatively clear execution checklist.
For example, the part of the original text introducing the SERP API was separately organized into a chapter, with additional details on what the visuals should display.
The Agent will also estimate the duration of each chapter. In the first generation, this video was divided into eight chapters, with an estimated total duration of about two and a half minutes.
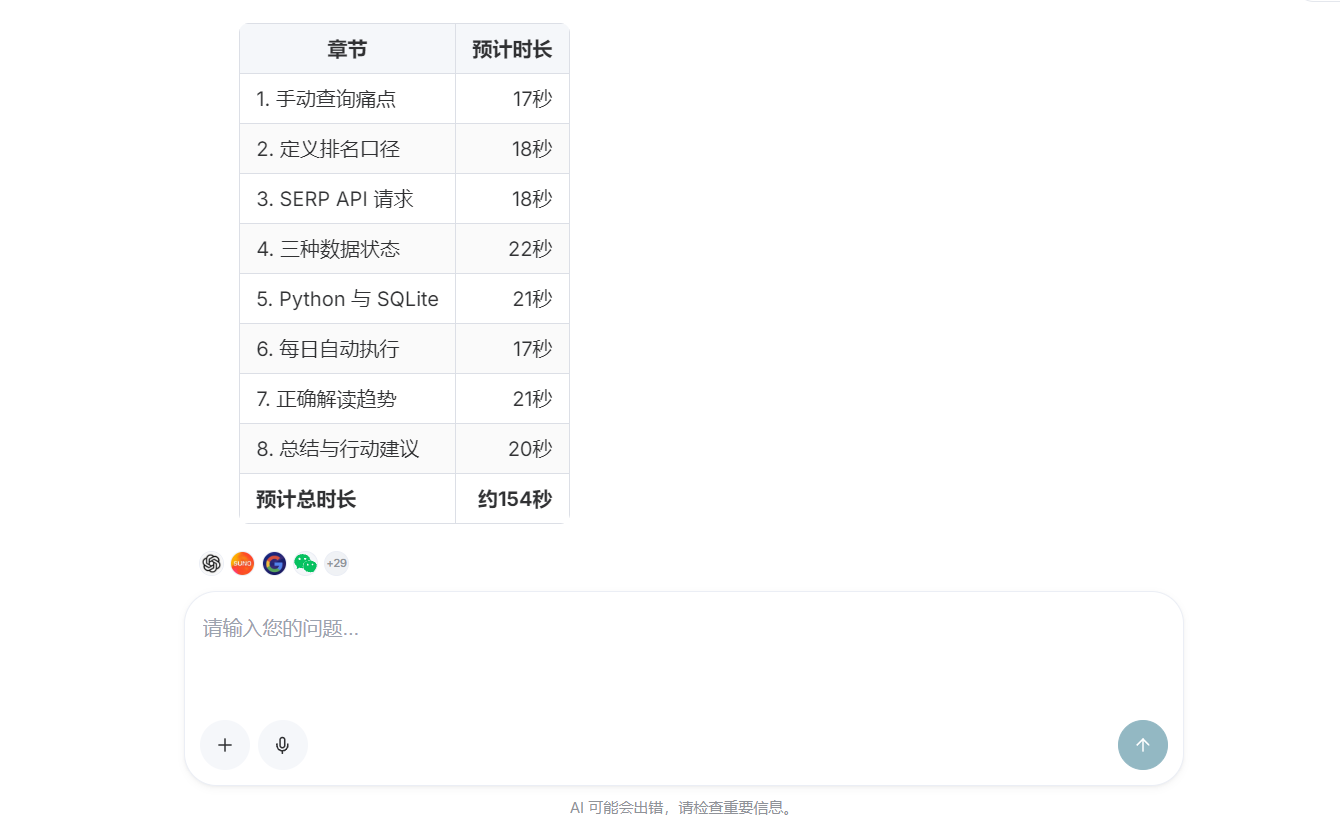
Here, it is recommended to pause first and carefully review the content rather than immediately starting to generate images.
Because the cost of making changes is lowest at this stage. If you wait until the images, audio, and video have all been generated before going back to revise the narration, the earlier materials will likely all need to be redone as well.
¶ Shorten the narration and control the video pace
After reviewing it, I found that the first version of the narration was a little too long.
For tutorial videos, more information is not necessarily better. If the narration is too long, viewers may feel tired listening to it, and the video pace can easily become sluggish. More troublesome still, the visuals need to match longer audio, which will also increase the difficulty of generating the video later.
So I directly asked the Agent to shorten the narration, requiring it to retain the key information while removing repetitive explanations and overly formal sentences.
After the adjustment, the narration for each chapter was controlled to about eight to nine seconds, and the overall pace became noticeably more brisk.
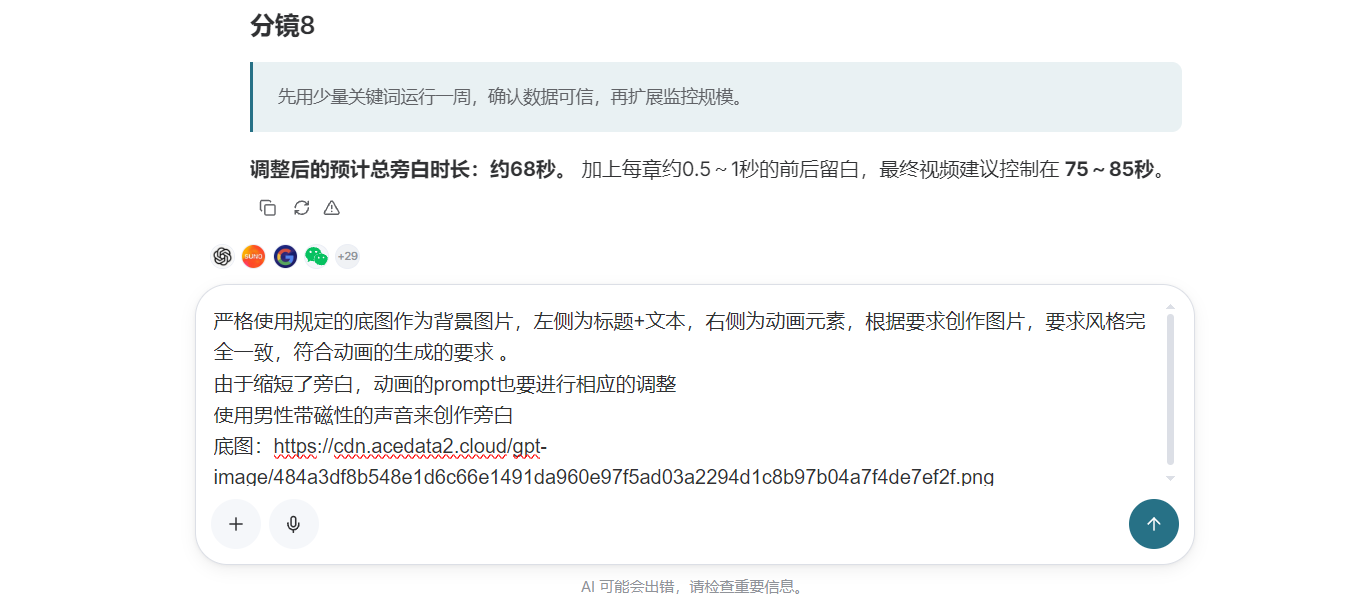
After the narration becomes shorter, you cannot only modify the text; you also need to adjust the image and video Prompts accordingly. Otherwise, a situation can easily occur where the narration has already moved on to the next key point while the visuals are still staying on the previous section.
My approach was to have the Agent reorganize the visual descriptions based on the new narration, ensuring that the visual content of each chapter still remained consistent with the narration.
¶ Set a unified base image to maintain visual style
After confirming the script, you can begin generating images and narration.
Before formally generating them, I specified a base image for the Agent, which is the visual reference image.
This is not mandatory; you can also use only text descriptions. But if the entire video contains multiple chapters, I still recommend preparing a base image. It can help the model maintain relatively consistent colors, composition, and brand style, avoiding several consecutive shots looking like they came from completely different videos.
Since the narration duration had been modified earlier, I also asked the Agent to regenerate the corresponding visual Prompts instead of continuing to use the old version.
¶ Choose a suitable narration voice
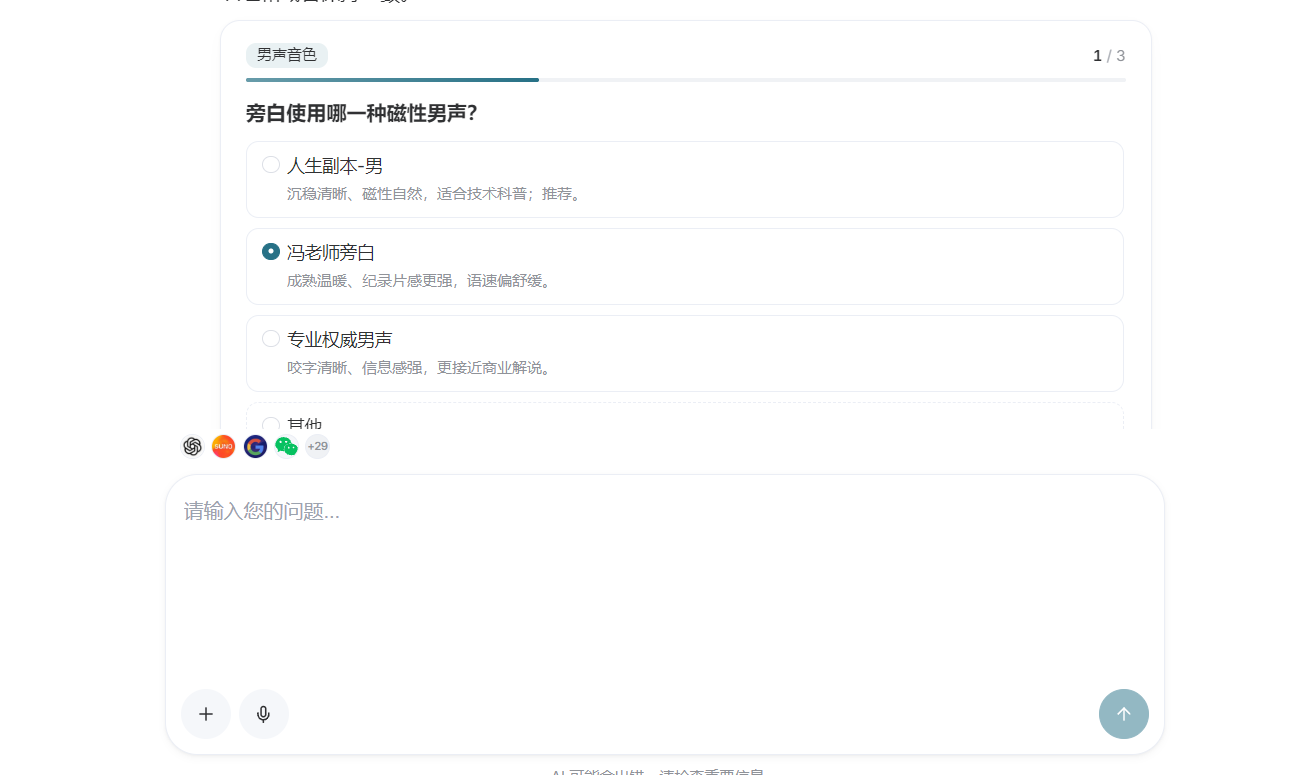
After the visual requirements are confirmed, Studio will call a voiceover tool according to the task requirements.
There is no absolute good or bad voice; it mainly depends on the type of video. Tutorial videos generally do not need overly exaggerated emotions. A clear, stable voice with a speaking speed that is not too fast is sufficient. If the automatically selected voice is not suitable, you can also directly ask the Agent to replace it. It is best to first generate a short preview, confirm that the voice, speaking speed, and pauses are all fine, and then process the remaining chapters in batches.
This time, the images were created using GPT Image 2, and the voice-over was generated using Fish Audio. These models can all be called directly in Studio. As long as the corresponding connectors are configured in advance, there is no need to write separate API code.
The same applies when generating videos later: the Agent can continue to call the connected video models. Image generation takes some time, so just wait patiently during this stage.
¶ Review sample images first, confirm the direction, then generate in batches
I did not generate all the images at the beginning. Instead, I first asked the Agent to create two sample images.
This may seem like an extra step, but it actually saves more time. Through the sample images, you can check the aspect ratio, overall style, brand elements, and composition in advance, and also determine whether the images are suitable for later production into videos.
If the sample images are unsuitable, you only need to adjust the Prompt or the base image, without wasting the generation costs for all subsequent chapters.
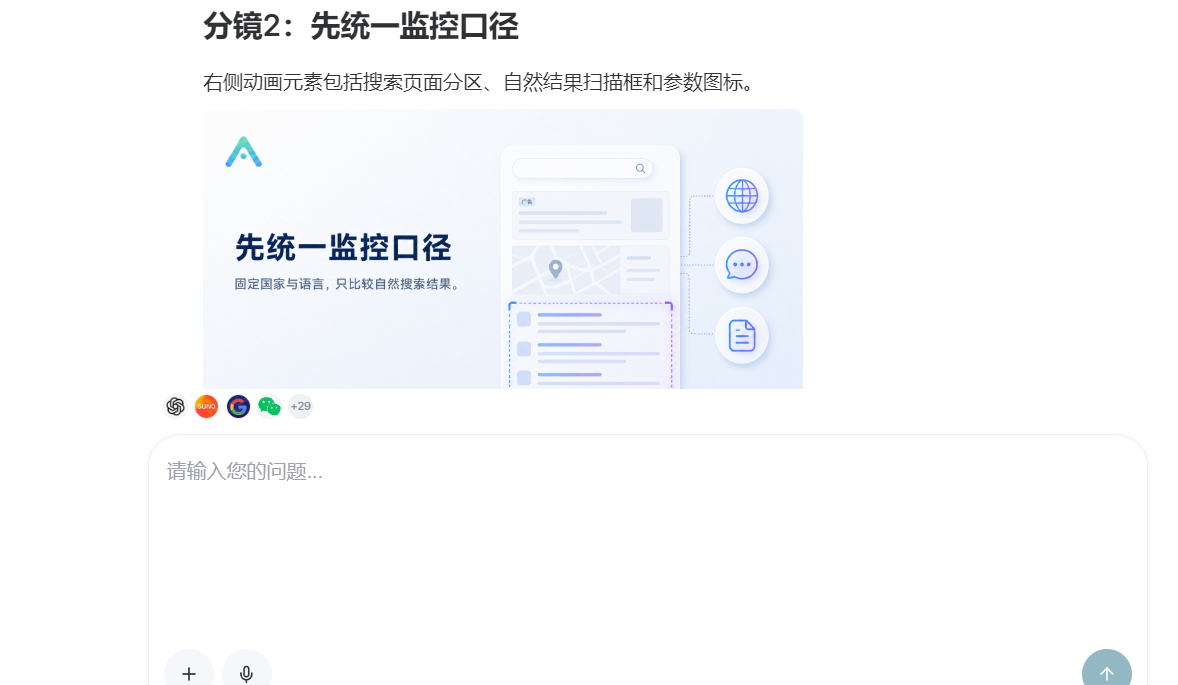
After confirming that the two sample images had no obvious issues, I then asked the Agent to complete the remaining content.
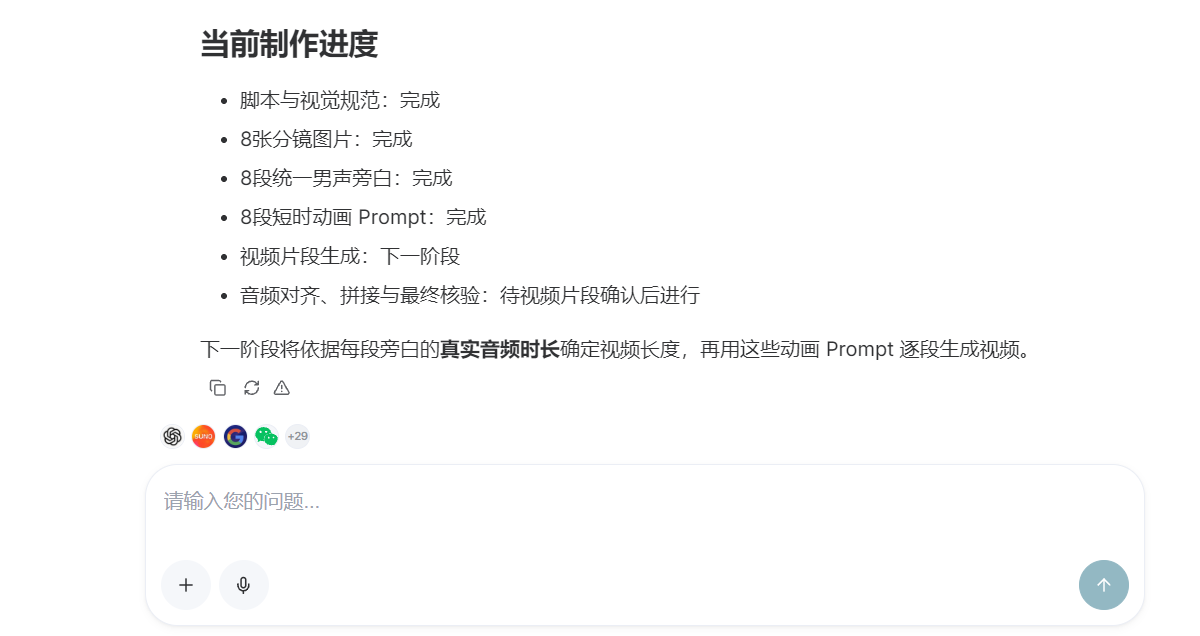
Finally, all the image and audio clips required for the eight chapters were generated. The next step was to check the visuals and narration one by one.
When checking, do not only look at whether an individual image looks good. You should also evaluate the images together with the narration. The content expressed by the image should match the narration, the same character or interface should not suddenly change noticeably, important information mentioned in the narration should preferably be reflected in the visuals, and the style and color tone of adjacent chapters should be kept as consistent as possible.
¶ Define the video generation method in advance
After the images and audio were ready, it was time to start creating the video clips.
However, in order to avoid detours, I did not directly let the Agent improvise freely. Instead, I first added some rules, including which chapter each video corresponds to, which image to use as the starting frame, how the video duration should match the narration, as well as camera movement range and style consistency.
Tutorial visuals should remain clear, without adding irrelevant elements or arbitrarily changing the brands, interfaces, and subjects in the image. The style of adjacent videos should remain as consistent as possible, and a clip should be created first to check the results before formal batch generation.
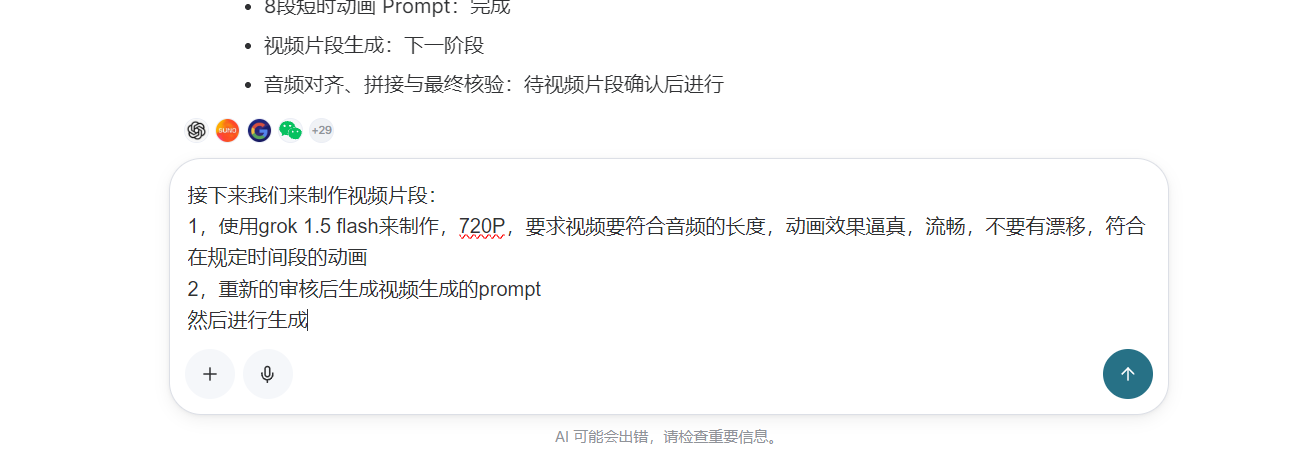
These constraints are not necessarily better the more there are, but key requirements should preferably be stated clearly in advance. If no constraints are imposed at all, each video may look good individually, but when combined, issues such as style inconsistency, excessively different camera movements, or inconsistent characters can easily appear.
¶ Create one video clip first
Just like generating images earlier, I still used the “create a sample first” approach.
First, generate the first clip and check the motion effects, camera movement, visual stability, and overall style. If there is a problem with the first clip, it can be adjusted immediately without having to wait until all clips are completed.
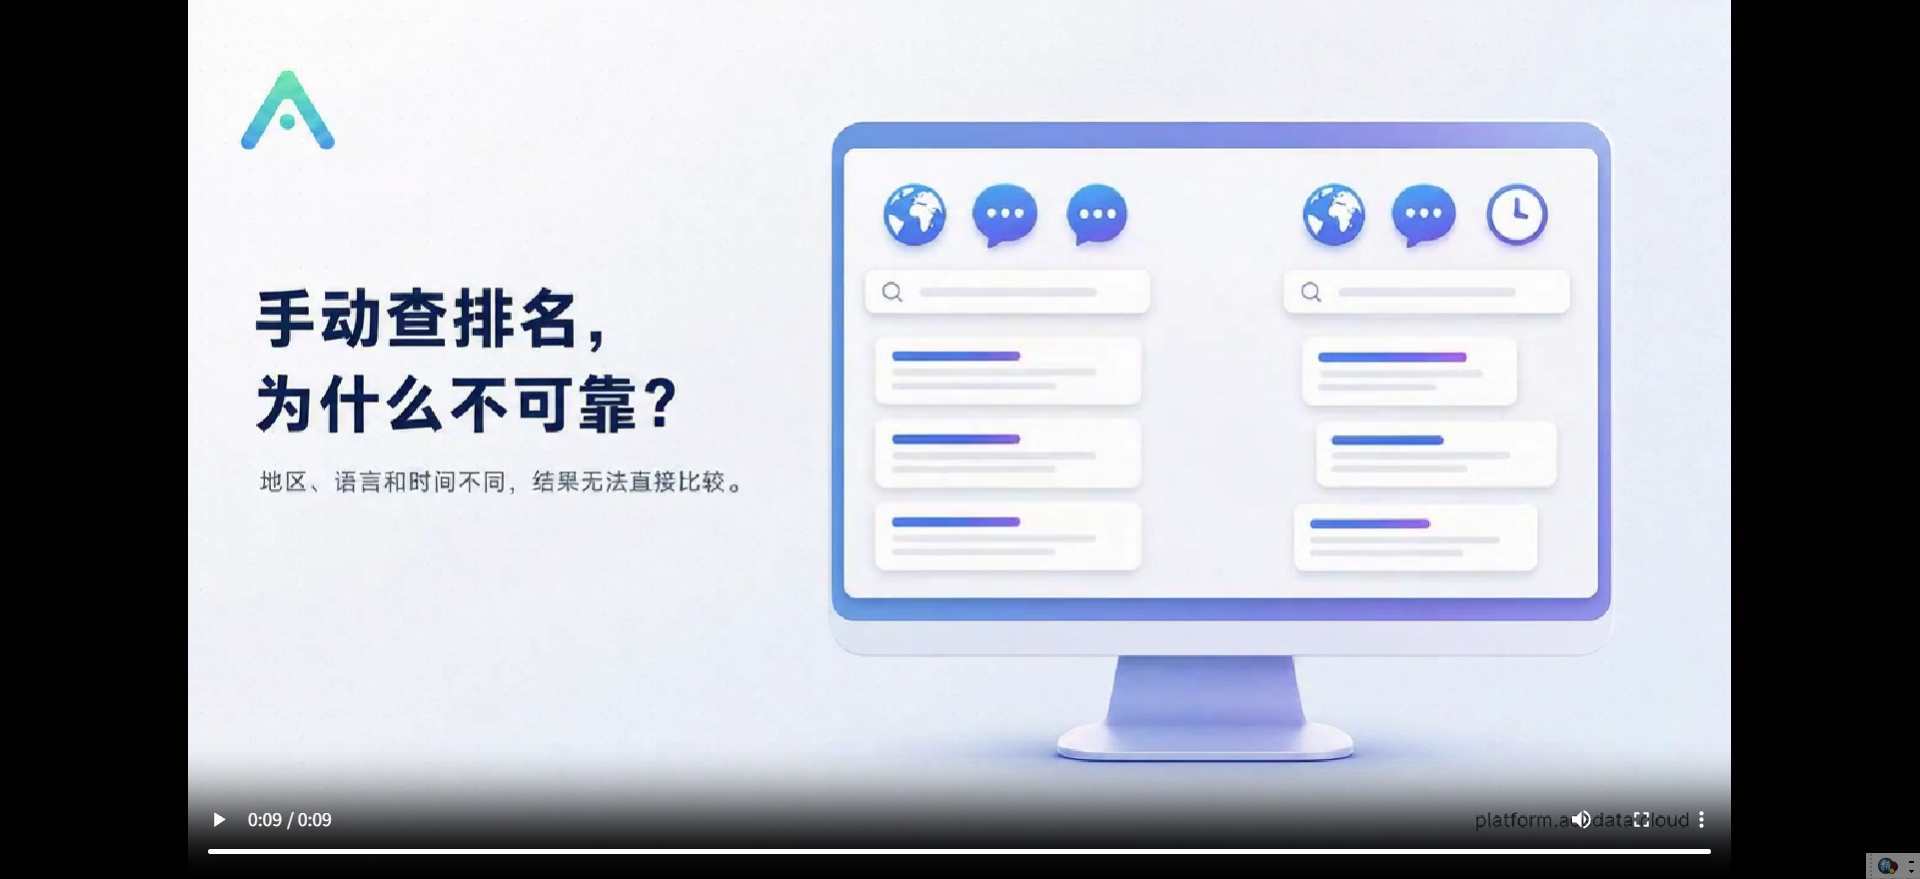
After the first clip was completed, I reviewed it once. The overall result was acceptable, with no obvious visual jitter, and the camera movement was relatively natural.
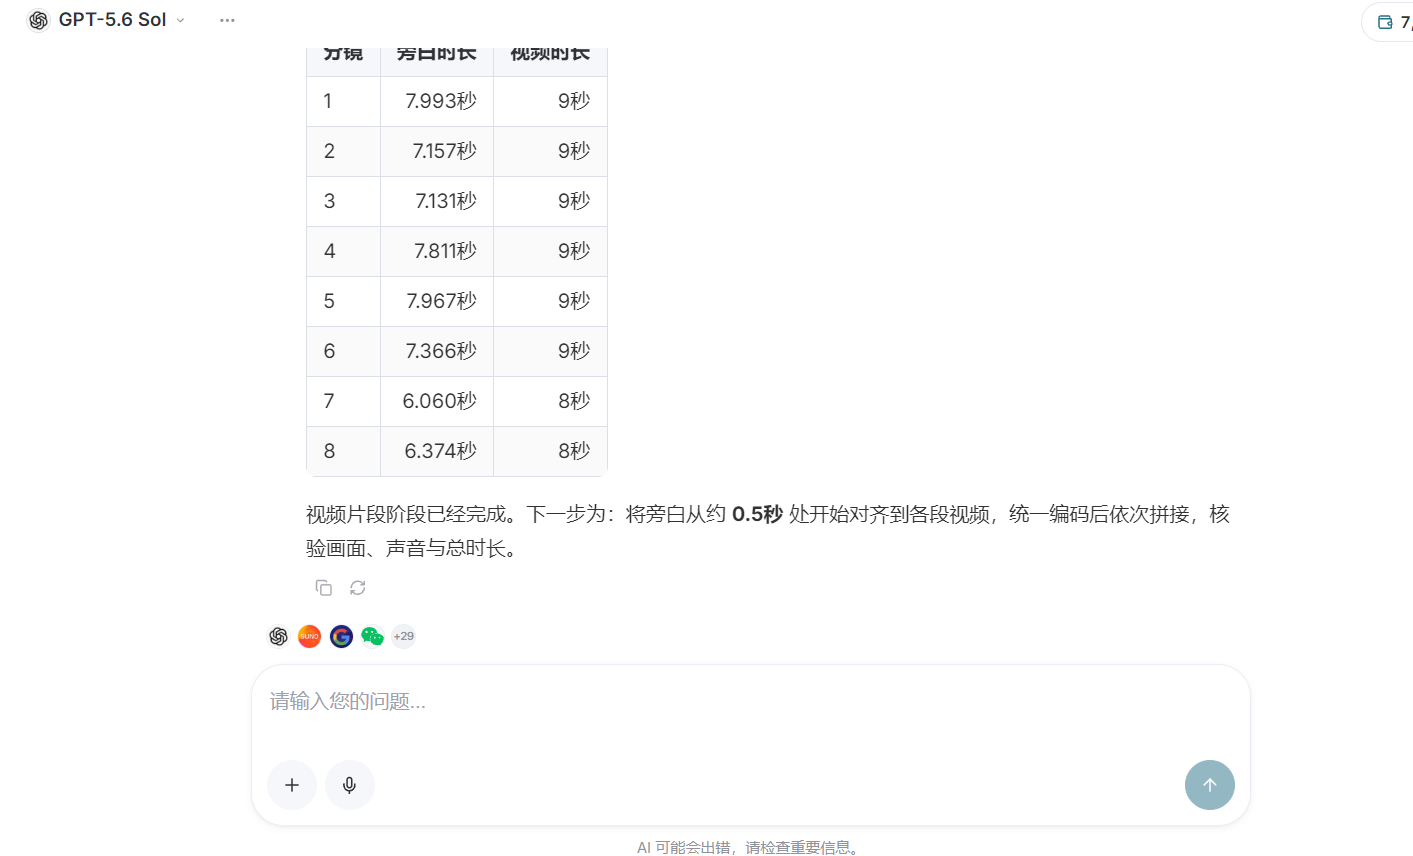
After confirming that the direction was correct, I then let the Agent continue generating the remaining video clips.
¶ Use FFmpeg to combine video and narration locally
After all video clips were generated, there was one final step left: combining the videos with their corresponding narration.
Studio can help complete the earlier creative work, but I am more accustomed to performing the final composition locally. This makes downloading and managing files more convenient, and also allows clear control over each audio and video segment. The script can be run repeatedly after modification, and problems are also easier to locate when they occur.
My approach was to have the Agent generate a Bash script, and then use locally installed FFmpeg to execute it.
#!/usr/bin/env bash
set -euo pipefail

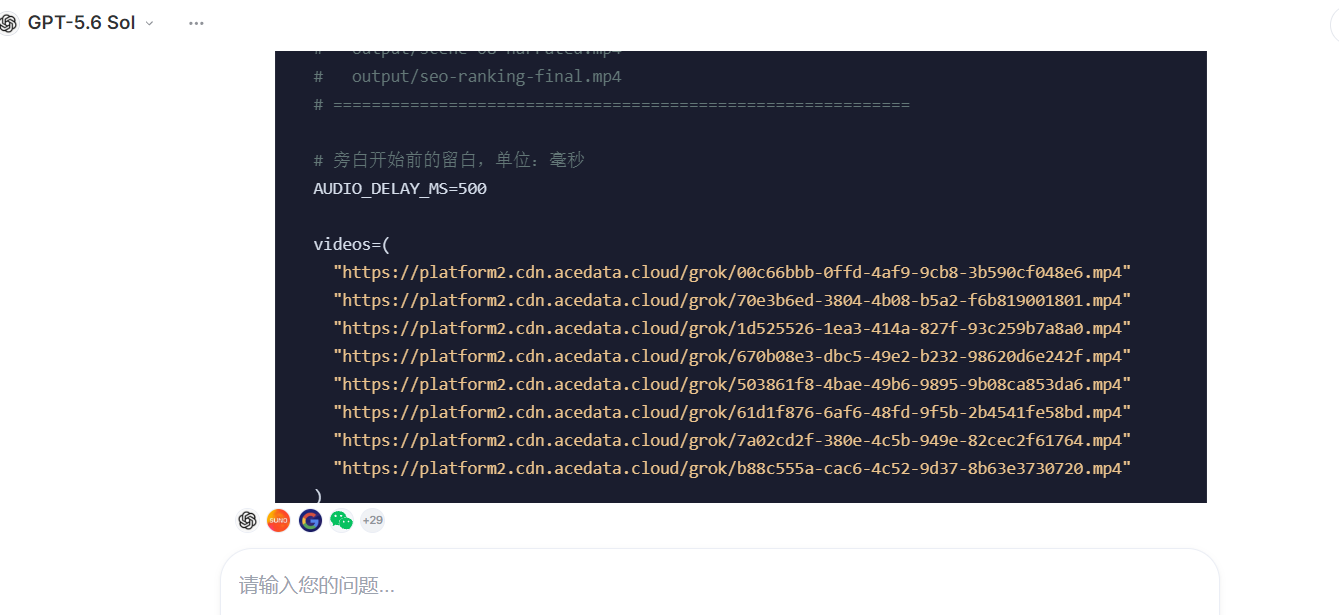
videos=(
  "https://platform2.cdn.acedata.cloud/grok/0d91b61a-5c15-412d-9eb3-ed3ba3c2b289.mp4"
  "https://platform2.cdn.acedata.cloud/grok/24c98593-2d2c-41da-82ff-85101ef65564.mp4"
)

voices=(
  "https://platform2.cdn.acedata.cloud/fish/eef753c1-4b5b-400f-8fce-acedd2621ce9.mp3"
  "https://platform2.cdn.acedata.cloud/fish/52dd45d8-1e6d-4a67-8f02-0473c56d960f.mp3"
)

mkdir -p output

for i in "${!videos[@]}"; do
  n=$(printf "%02d" $((i + 1)))

  ffmpeg -y \
    -i "${videos[$i]}" \
    -i "${voices[$i]}" \
    -map 0:v:0 \
    -map 1:a:0 \
    -c:v copy \
    -c:a aac \
    -b:a 192k \
    -ar 48000 \
    -ac 2 \
    -af "apad" \
    -shortest \
    -movflags +faststart \
    "output/scene-${n}-narrated.mp4"
done
This script combines each video clip with its corresponding narration according to the order in the arrays.
-map 0:v:0 is used to select the video track from the first input, while -map 1:a:0 selects the audio track from the second input. -c:v copy directly copies the video without re-encoding it; -c:a aac converts the narration into AAC audio with better compatibility.
-af "apad" adds silence when the audio is insufficient, -shortest makes the output stop when the shorter audio or video track ends, and -movflags +faststart makes the MP4 more suitable for online playback.
For actual use, simply complete the videos and voices arrays and ensure that the video and audio order corresponds one by one.
¶ Handing the Script to Local Codex for Execution
After the script was generated, I did not continue to let the online Agent handle the downloading and compositing. Instead, I copied it directly to my local machine and handed it to Codex for execution.
You can let it check whether FFmpeg is already installed locally, create the project folder, save the Bash script, download the assets, and execute the compositing commands. After processing is complete, it can then check whether the output files are complete and organize the final clips in order.
The benefits of doing this are straightforward: downloading and compositing are completed locally, which can save quite a few Tokens, and the generated assets are also saved directly on the computer, making it more convenient to continue editing, add subtitles, or create backups later.
¶ Final Result
After all the clips were composited, the overall result was better than I expected.
The video has a relatively clear chapter structure, and the visual style also remained basically consistent. After the narration was shortened, it was no longer as dragging as it was initially, and the tutorial content sounded more compact.
More importantly, the entire process was not about handing the task to the model all at once and hoping for luck, but about breaking it down into multiple stages and confirming them step by step.
If the script was unsuitable, I would revise the script first; if the narration was too long, I would shorten the narration first; if the image style was incorrect, I would adjust the sample images first; if there was an issue with the video camera movement, I would modify the first clip first. By checking along the way like this, there were actually fewer places that needed rework in the end.
¶ Finally, Let’s Talk About My Thoughts This Time
After completing this, I think the most important thing is not to generate all the content right from the start. Whether it is images, voiceovers, or videos, make one or two samples first to see the result. If you find issues, you can adjust them immediately, rather than waiting until everything is complete before doing large-scale rework.
You should also not expect the entire task to be completed in one step. First organize the script, then revise the narration, and then prepare the images, audio, and video. Check after completing each stage. Although it may seem like there are several extra steps, it will actually save quite a bit of time.
There is also no need to continue completing the final video compositing in Studio. Leave the creative parts to Studio, and hand local downloading and compositing to FFmpeg. Let each do what it is best at; the workflow is smoother and can also reduce unnecessary consumption.
At the end of the day, the most convenient part of Ace Data Cloud Studio is not that it generates a finished video directly for us with the click of a button, but that it connects what were originally fragmented creative workflows. We only need to check and adjust at key points, while the remaining repetitive work can be handed over to the Agent to complete gradually.