
![[One-Click Connect to Wanwang] teaches you how to configure AceDataCloud's connector function, as well as method examples for using it.](https://cdn.acedata.cloud/uploads/bfd99791-c97a-42a7-9dd6-7466b1ff2154)
If I want to publish articles to Chinese platforms such as Zhihu, Juejin, CSDN, WeChat Official Accounts, Xiaohongshu with one click.
If I also have many English platforms, such as GitHub for technical marketing, publishing on Dev.to, publishing articles on Medium, posting on Reddit, tweeting on X, and so on.
I may even want AI to automatically obtain the latest information, then rewrite it according to my requirements and automatically publish it to various platforms.
Then Ace Data Cloud will be your best choice.
This article will introduce how to use connectors to connect to various platforms, and then demonstrate through a case how to publish articles to platforms.
¶ I. Introduction to Connectors
Connectors are tools that use certain technical means to connect to application platforms you authorize and perform operations.
Different platforms have different authorization methods. Common authorization acquisition methods include:
ACE Extension or Login Session
In a browser where you are already logged in to the target platform, use the ACE extension for authorization according to the instructions on the connection page. Applicable to some content platforms. You need to reconnect after the credentials expire.
Official OAuth
Redirect to the target platform authorization page, and return to Studio after confirming permissions. The authorization scope and validity period are determined by the target platform.
API Key or App Password
Generate dedicated credentials on the target platform, then fill them in according to the instructions on the connection page. The principle of least privilege should be used. Do not put credentials in articles, screenshots, or chat content.
¶ II. Connector Configuration
Click Connect to open Ace Data Cloud Connector Management
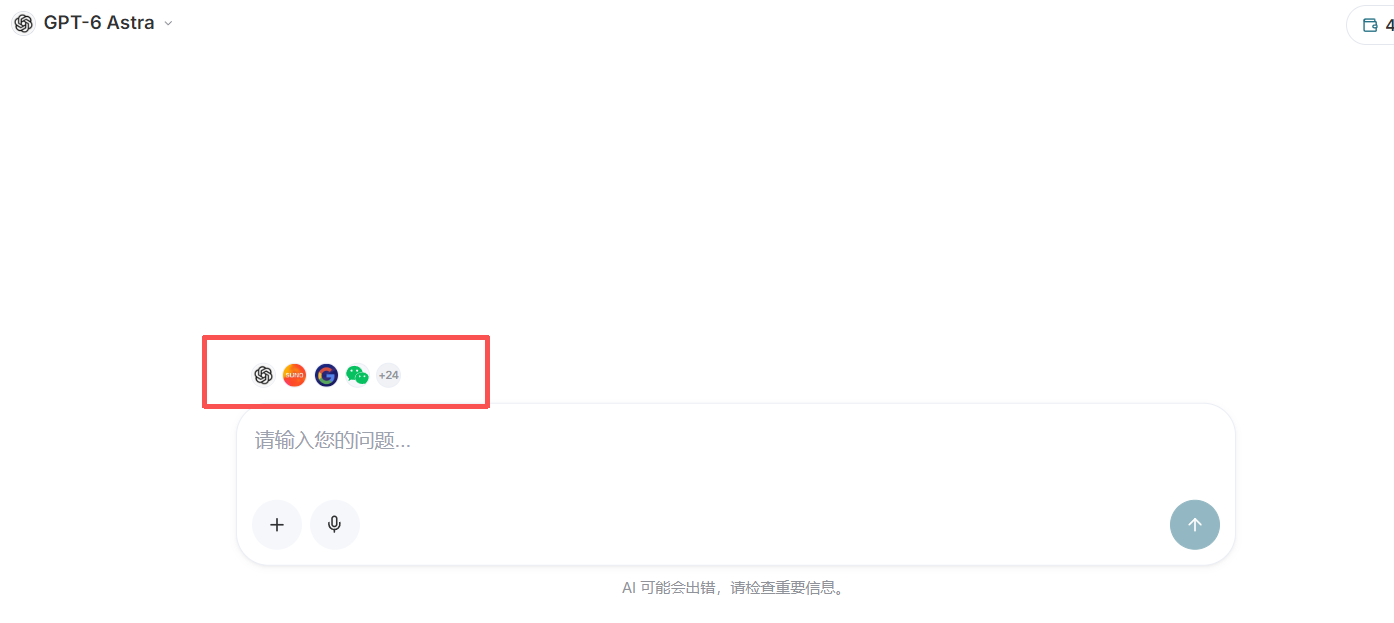
Or click the icon above the Studio conversation to enter
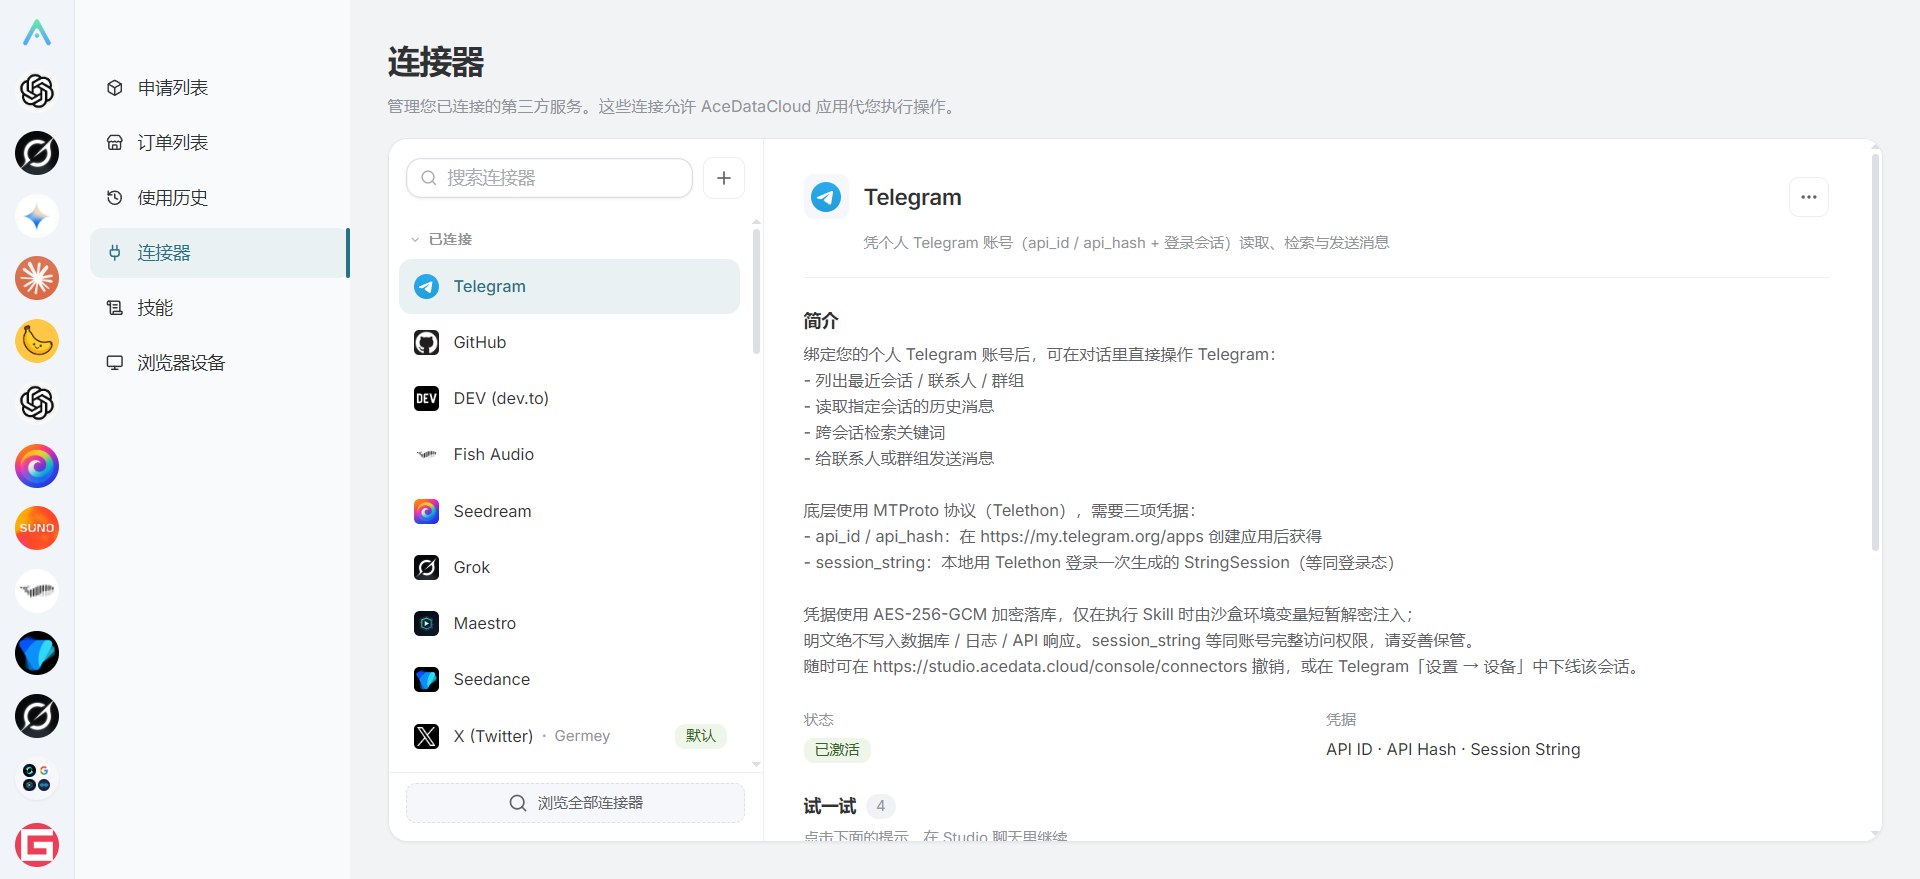
The connector management interface is as follows:
Click the add button to open the connector list
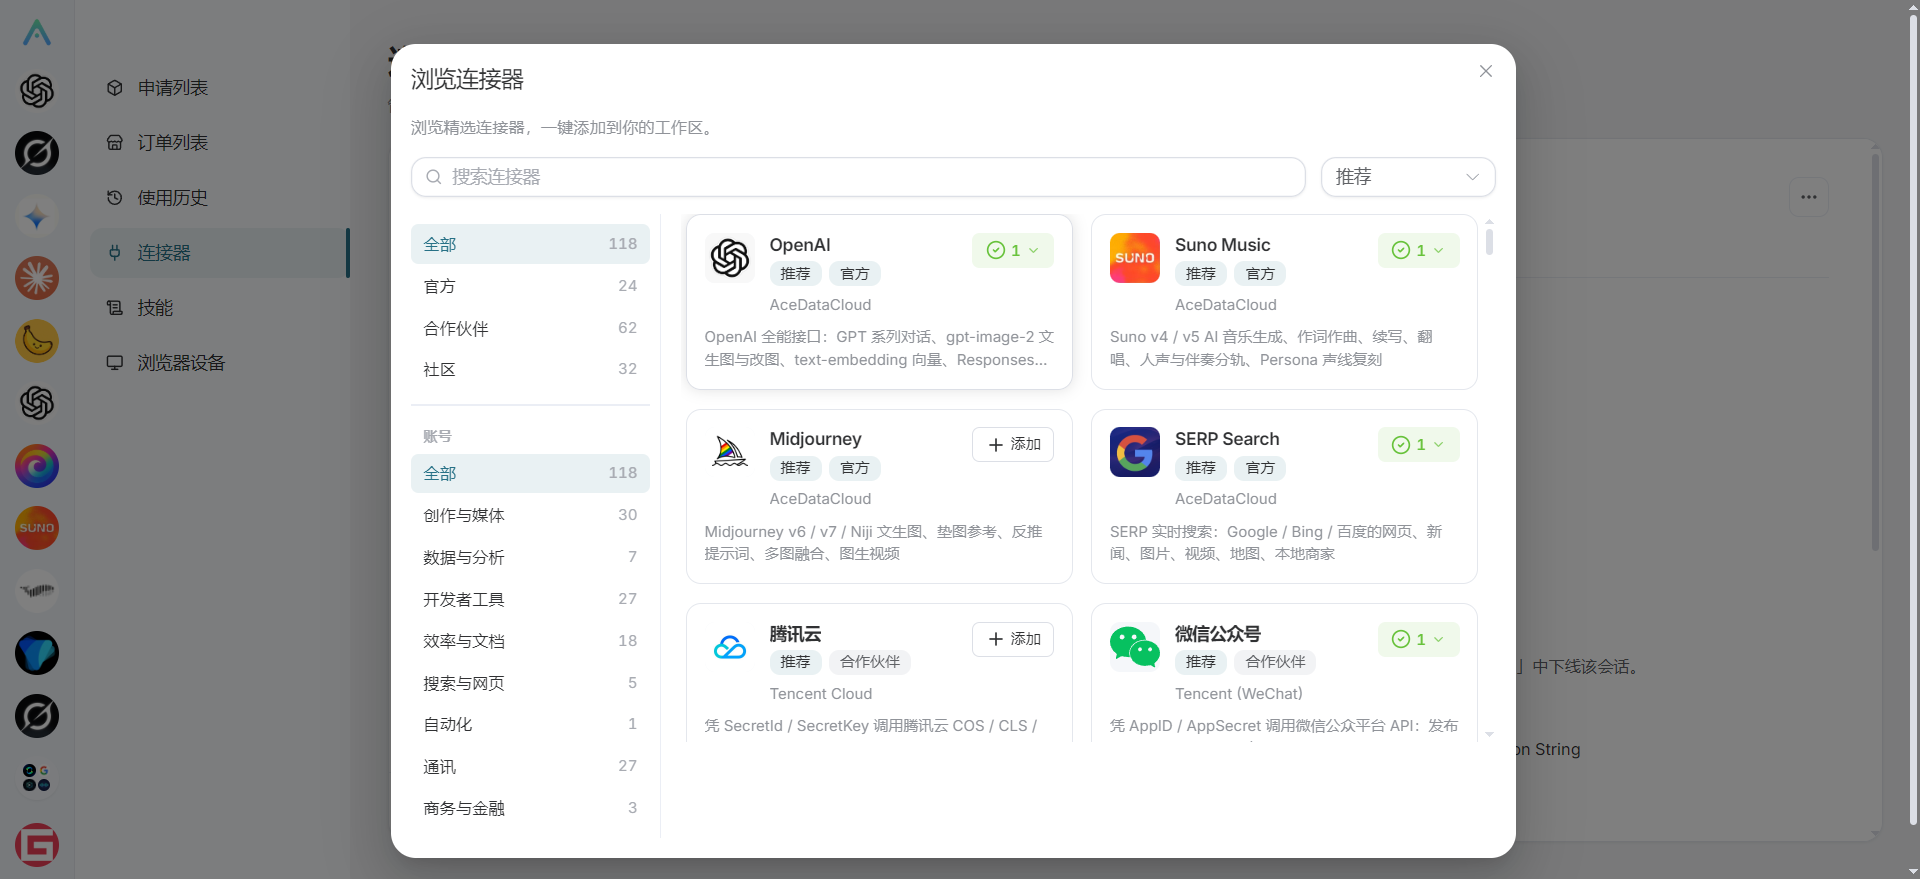
We have more than 100 connectors available for use. You can also add custom connectors through the customization feature.
¶ III. Connector Configuration and Login Usage
Next, we will demonstrate the use of connectors by connecting a Juejin account and Google Blogger.
¶ First, we need to install a Chrome extension
View the Ace Data Cloud Chrome Extension Installation Guide Click the installation guide to add the corresponding plugin. This plugin can obtain the cookies of platform logins. Through the corresponding MCP service, the connector can use your authorization to manage publishing information.
How to Download and Install the Extension Plugin
Click Chrome Browser Extensions to access Chrome's extension management interface.
Click Chrome Extension Plugin Download Address After the download is complete, click the top right corner to enable Developer mode, then unzip the archive, click Load unpacked below Extensions, and select the unzipped folder.
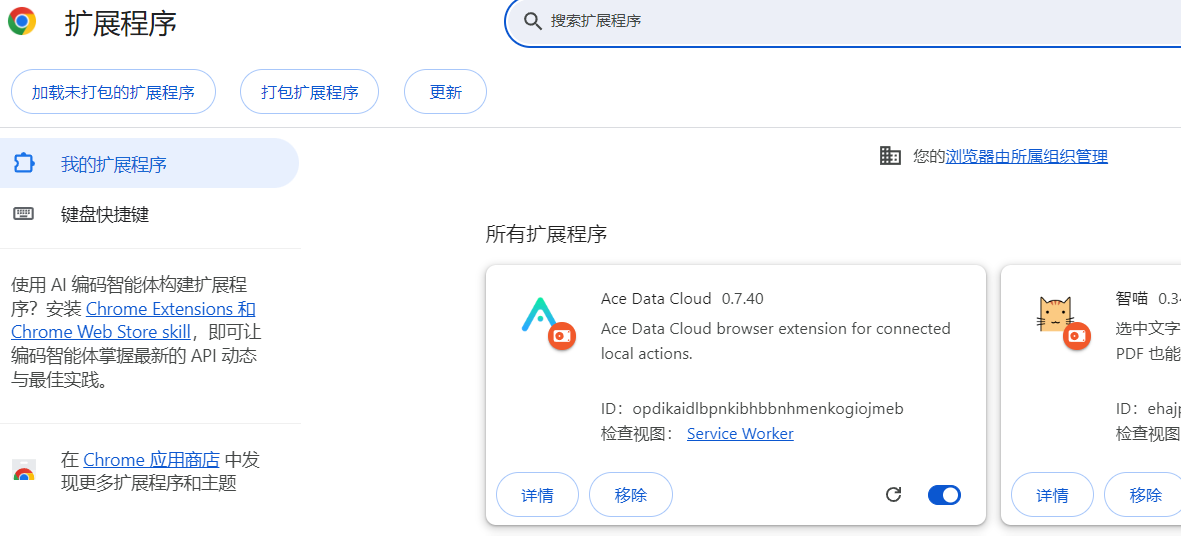
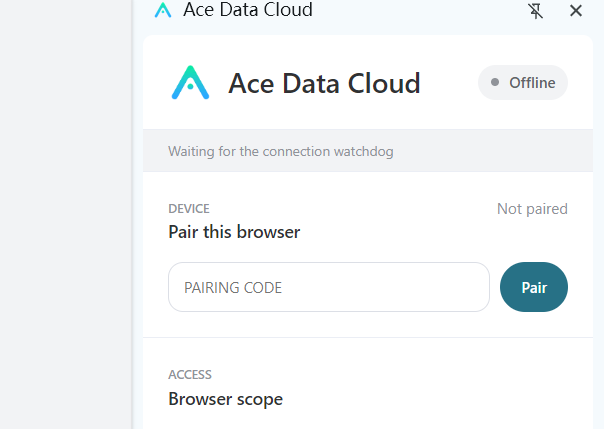
After enabling the extension, the extension icon will be displayed in the top right corner. Click the icon as shown in the image below
¶ Add a Connector
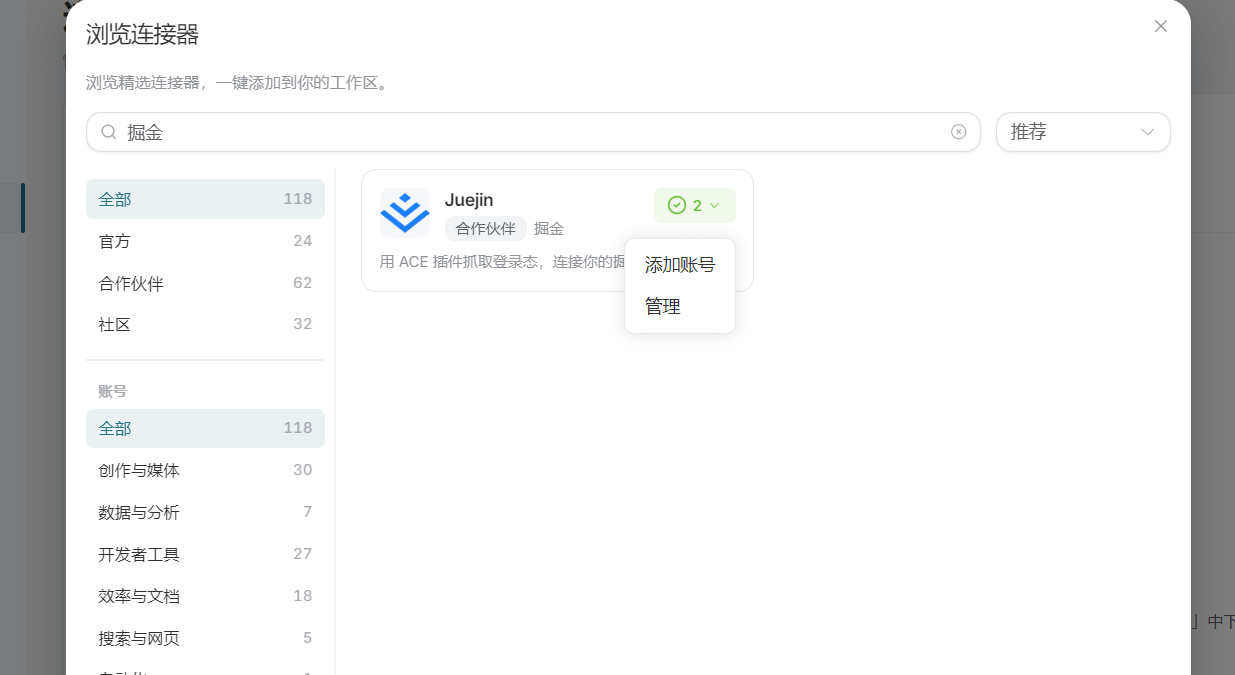
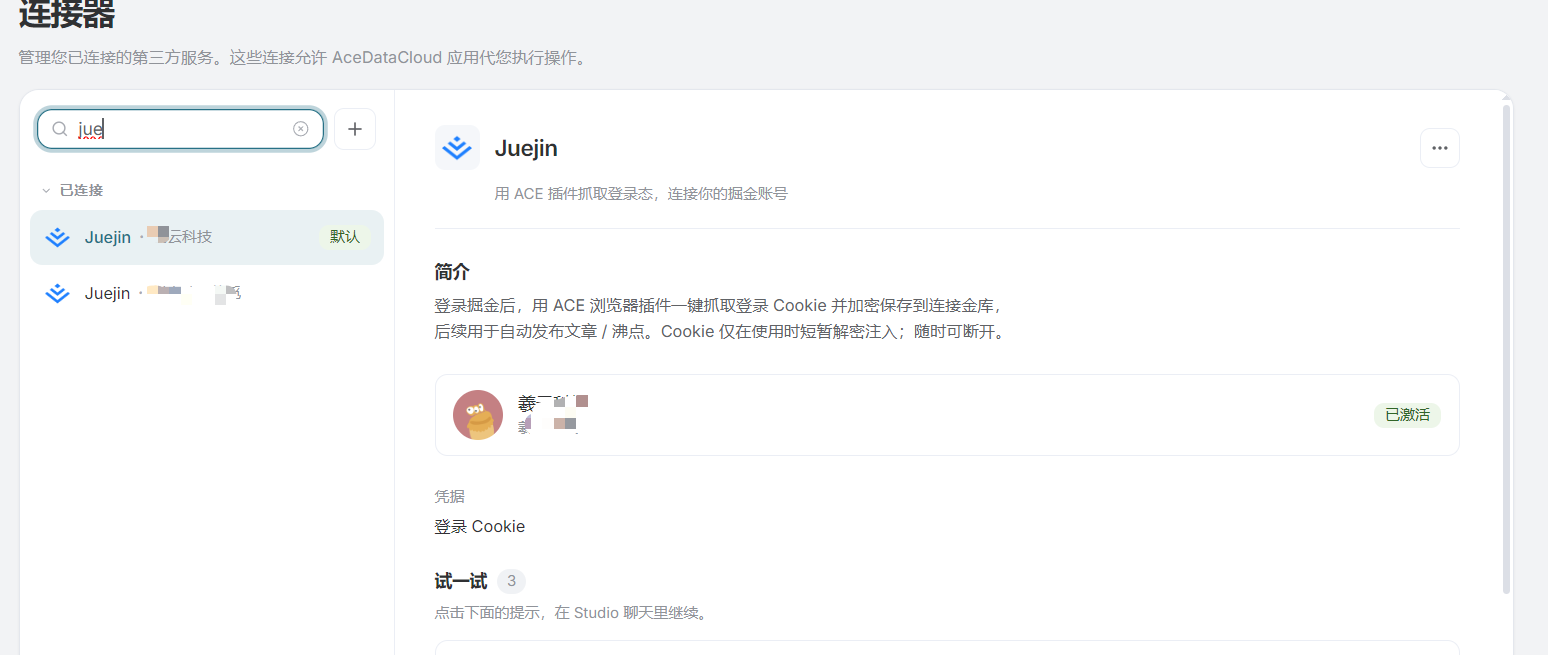
We can now search for the Juejin connector, then click Add Account.
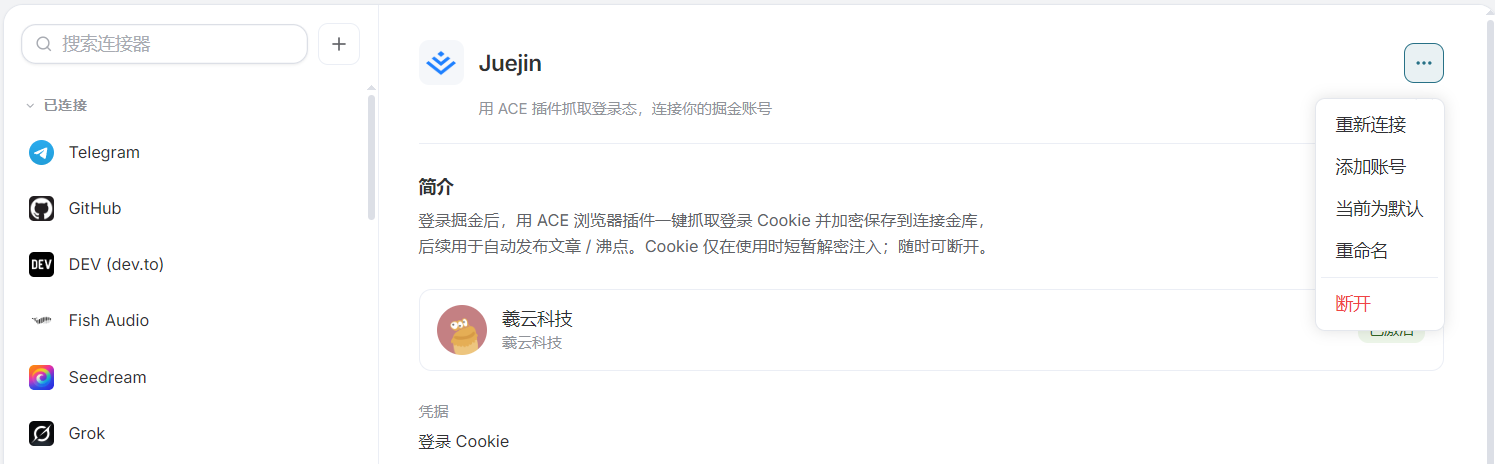
You can also add it in the manage accounts interface
After opening Add Account, a pop-up window appears:
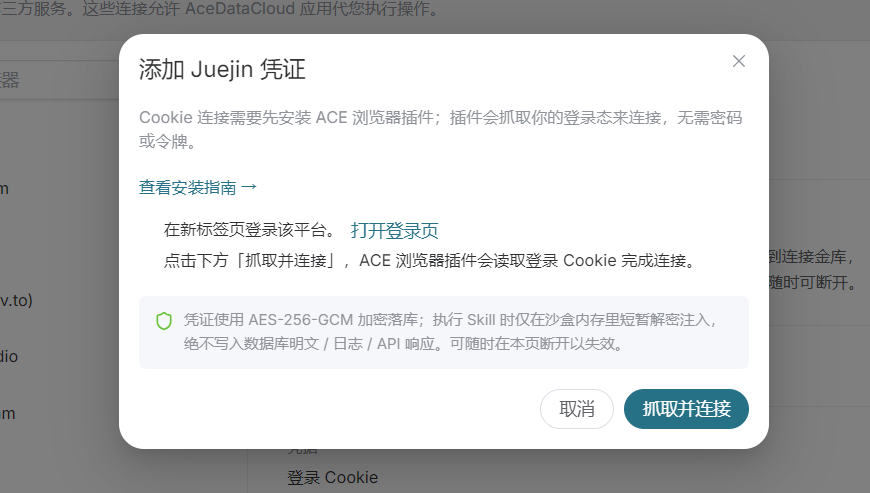
The requirement is to first open the Juejin page where you are already logged into your account. If you have not registered an account, you can register, log in, and refresh.
Click the "Capture Connection" button to obtain the connection for the Juejin account.
You can add multiple accounts. When publishing articles, you can publish to a specified account.
¶ Blogger Connection
Next, we will demonstrate connecting to Blogger:
Click Add Account, and the Blogger connection authorization information window will pop up.
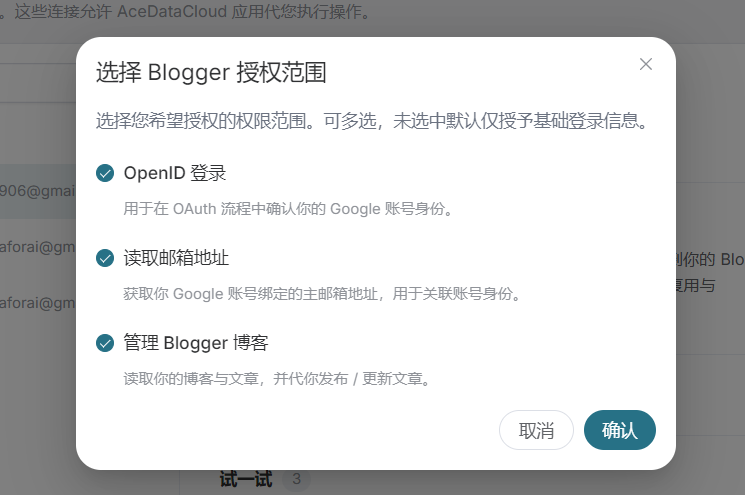
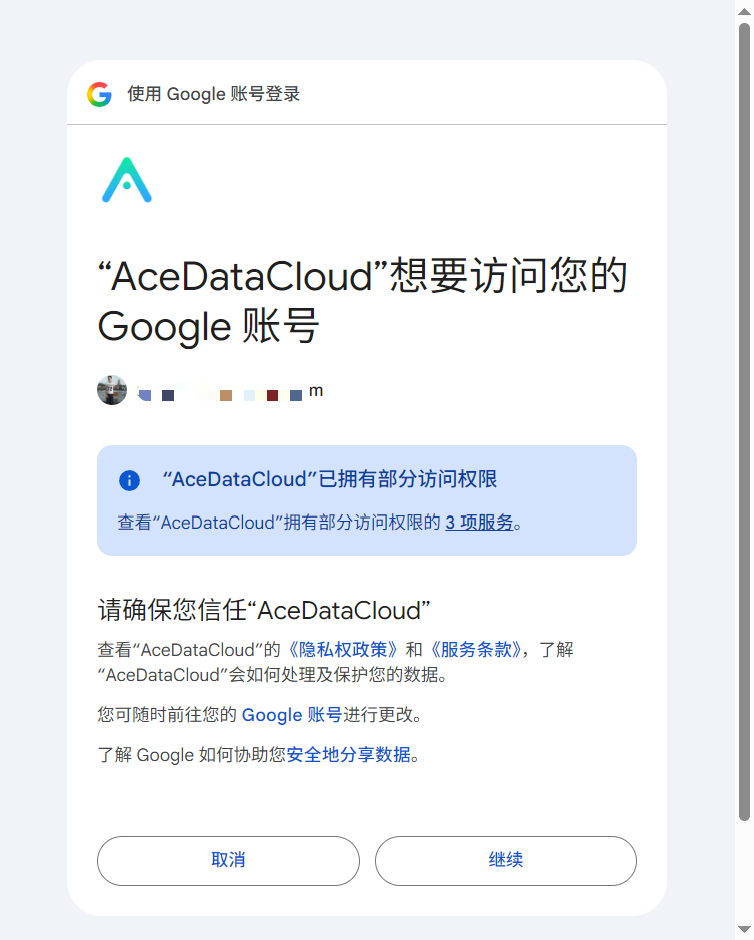
After Confirming, Google's login and authorization window will pop up.
After logging in to your Google account, confirm the authorization.
¶ WeChat Official Account
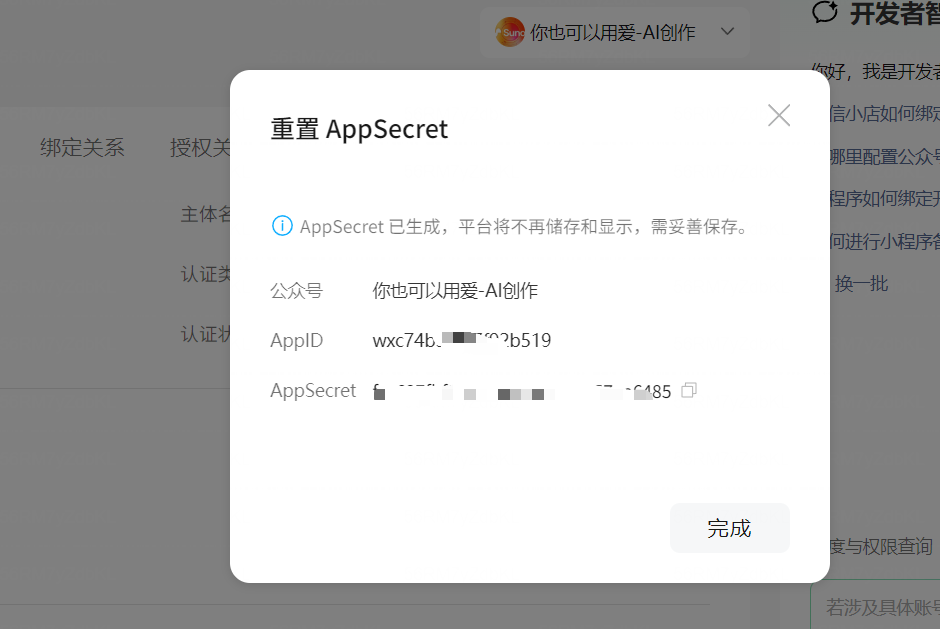
Currently, authorization for WeChat Official Accounts requires obtaining the AppID and AppSecret from the WeChat development platform, Click to enter the WeChat Developer Platform.
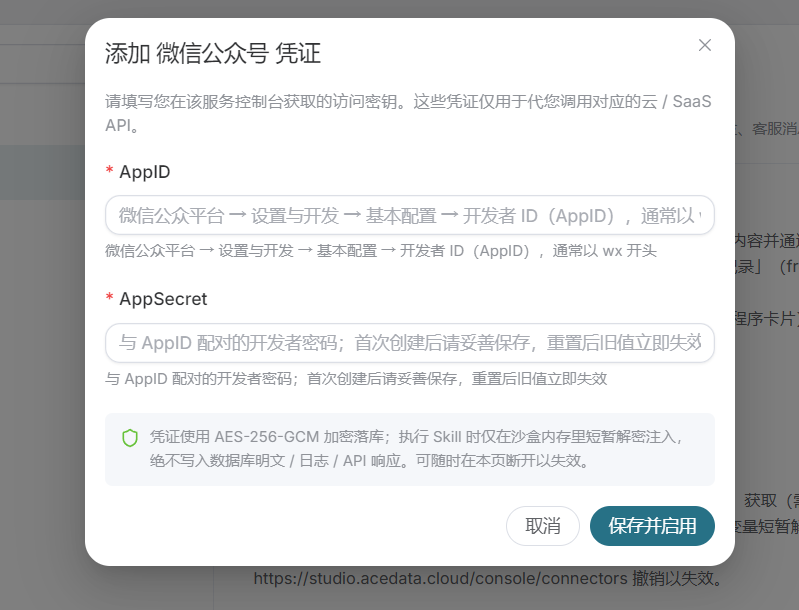
Click Get or Reset, then copy and paste the AppID and AppSecret into the input fields to complete the configuration.
¶ IV. How to Use Connectors and Publish Articles in Studio
We have completed the connector configuration above. Next, I will use AI in Studio to write an article and then publish it to Juejin. You can use the same method for other platforms.
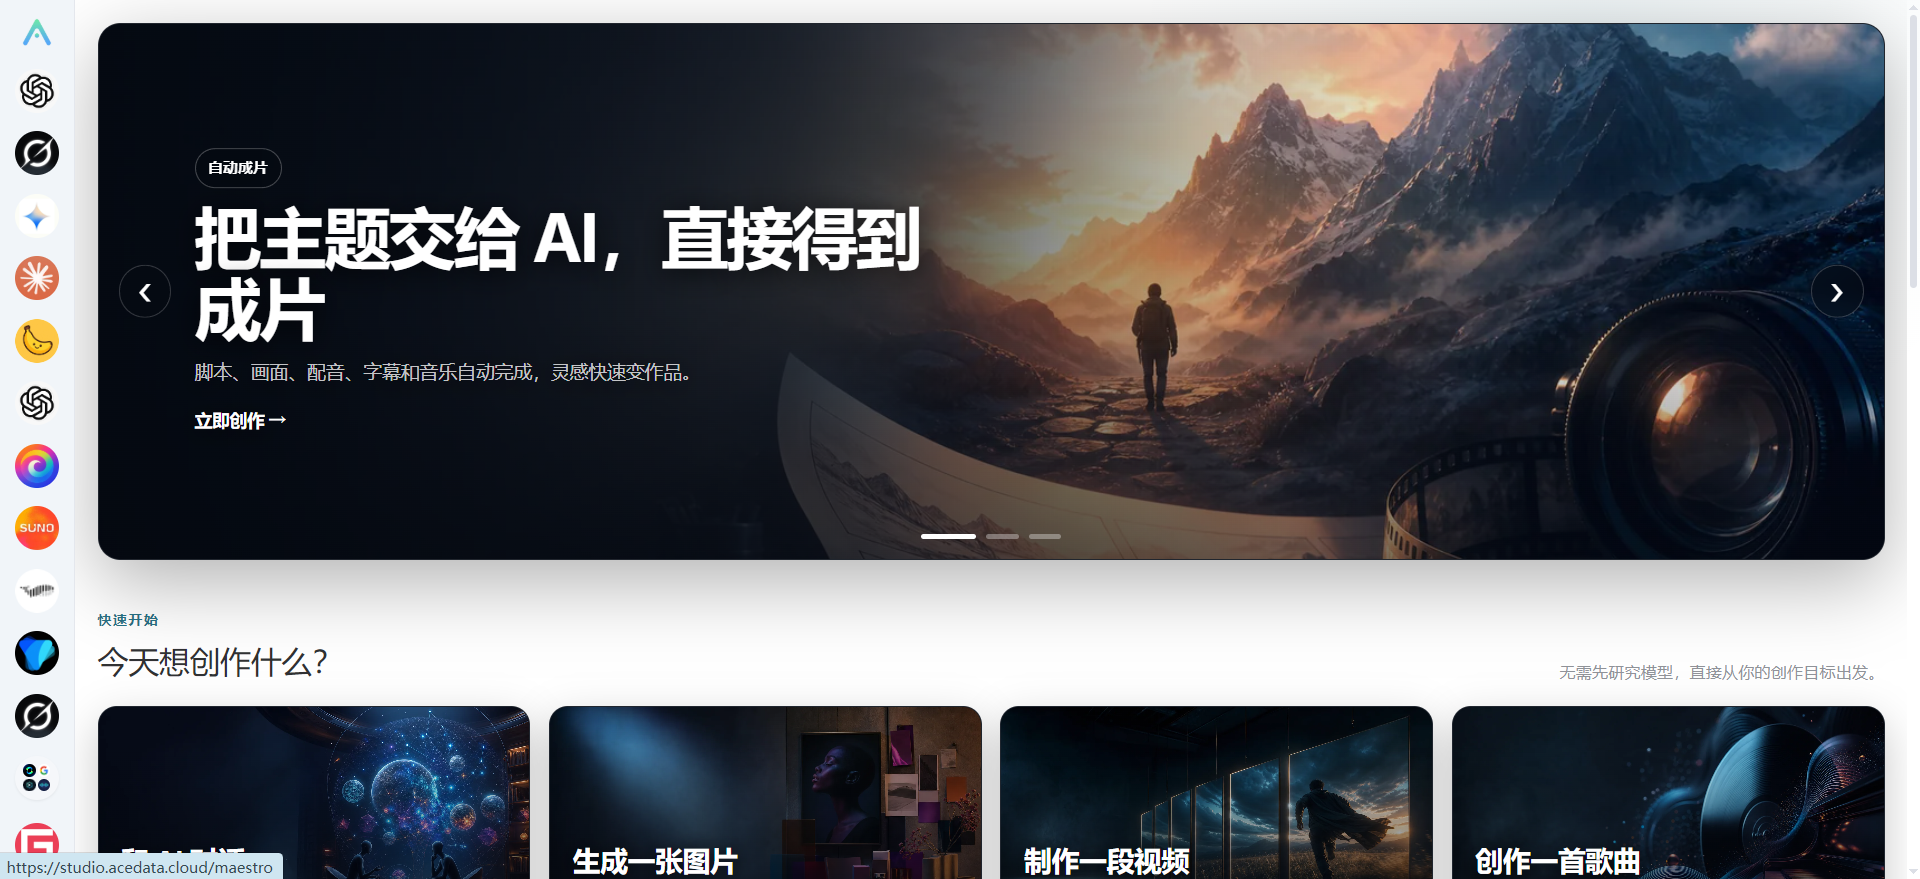
Select the model you want to create with on the left. Ace Data Cloud supports all mainstream domestic and international models, definitely allowing you to achieve twice the result with half the effort.
- Enter a query for the latest and hottest AI articles
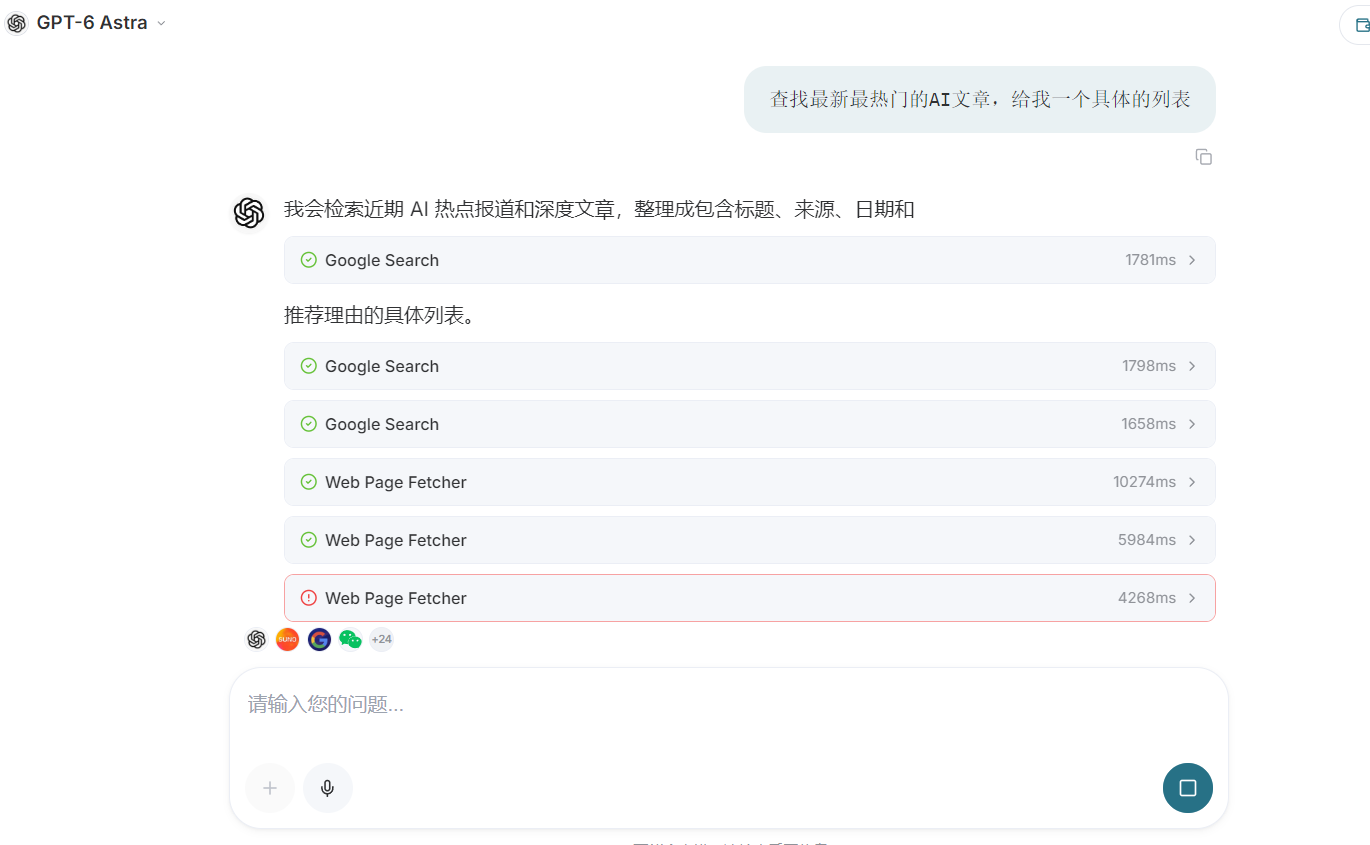
After the Agent completes execution, it returns the article outline.
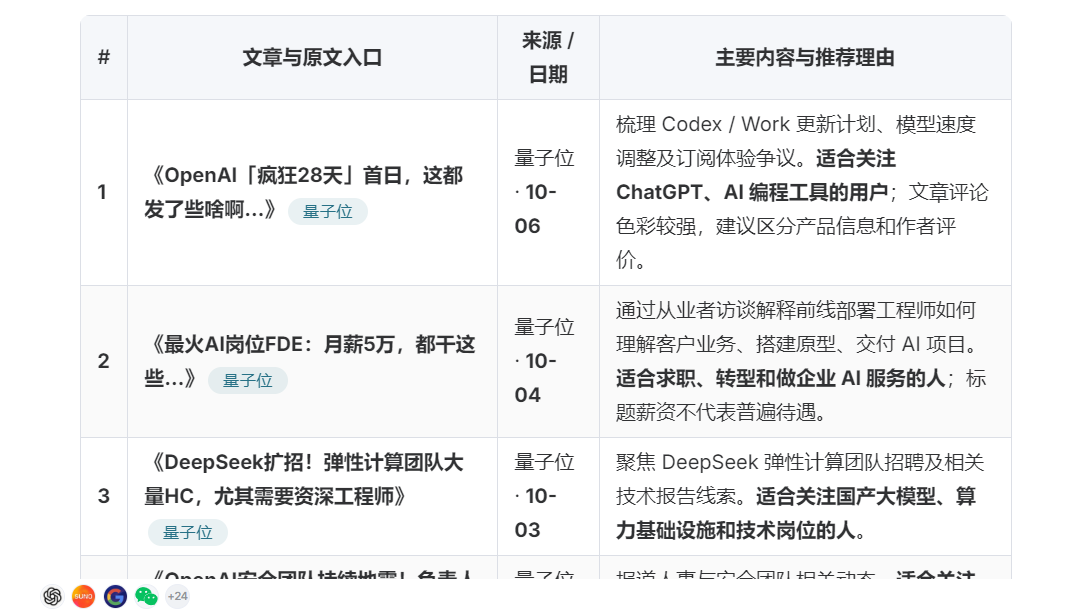
- Enter the detailed requirements to be created
Generate the article according to the requirements. Because I configured the relevant OpenAI connectors, illustrations and posters can be automatically generated, making your article absolutely unique.
You can also enter more detailed requirements so that the generated article is fully personalized.
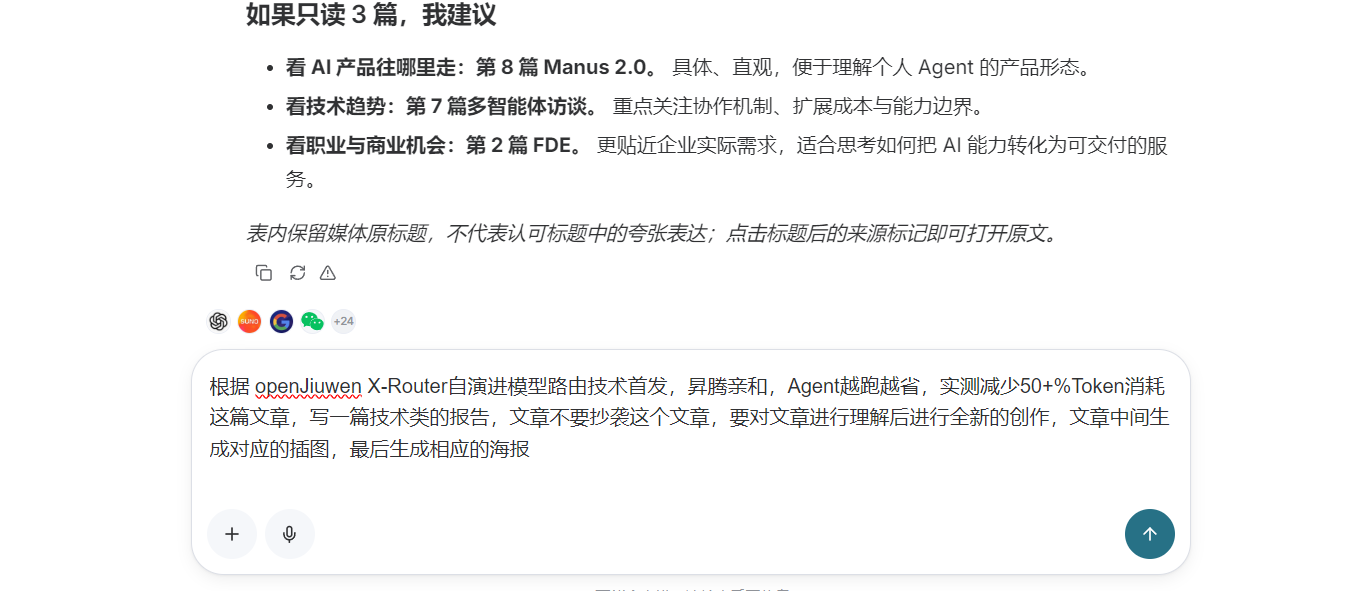
The article generation is completed, and the article, accompanying images, and poster have been generated.
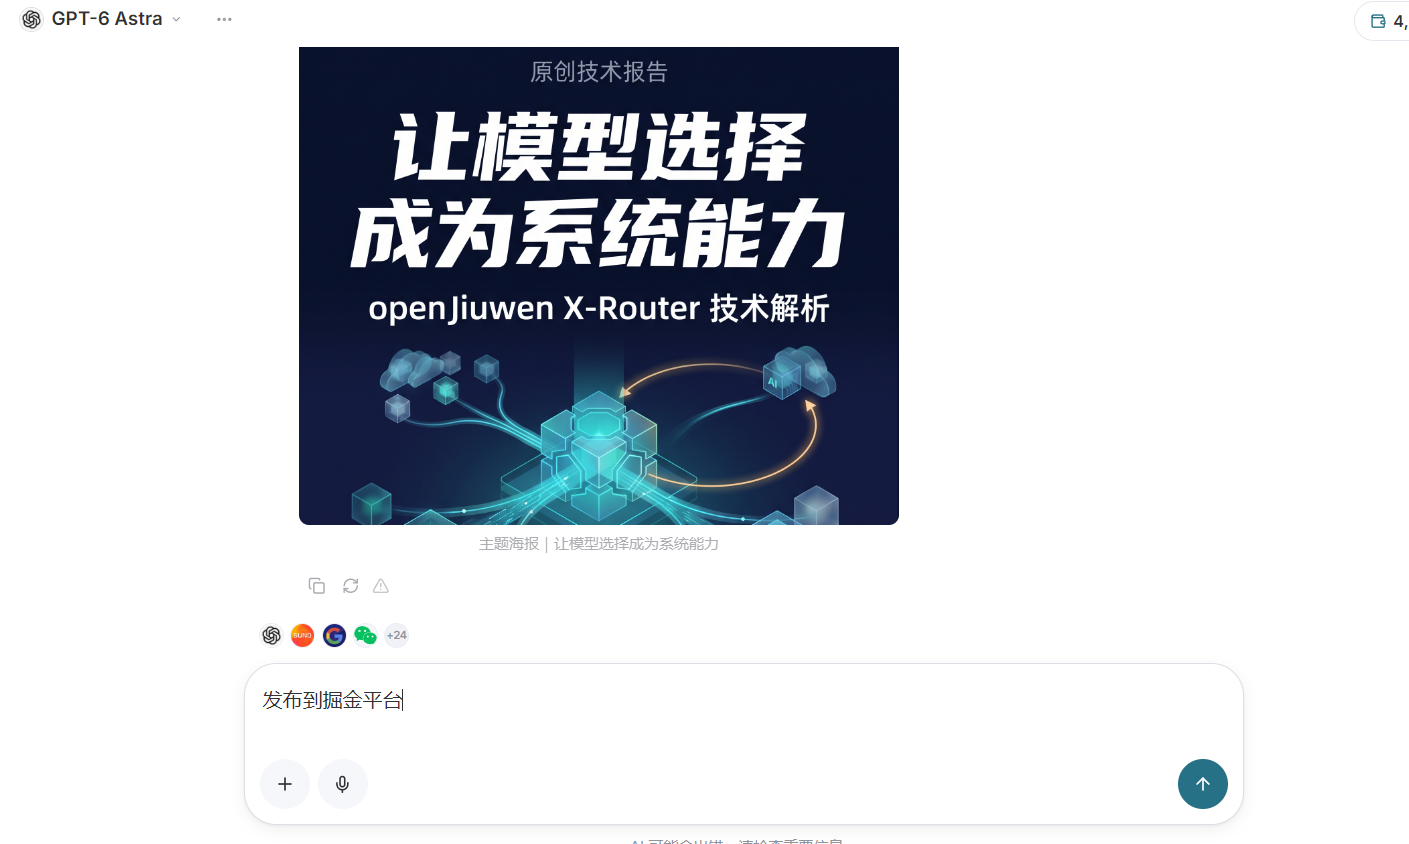
- Confirm publishing to the corresponding platform
Now we only need to enter publish to Juejin in the input box, and the program will call the connector to publish the article to the corresponding platform.
Finally, enter confirm publishing to complete the publication.
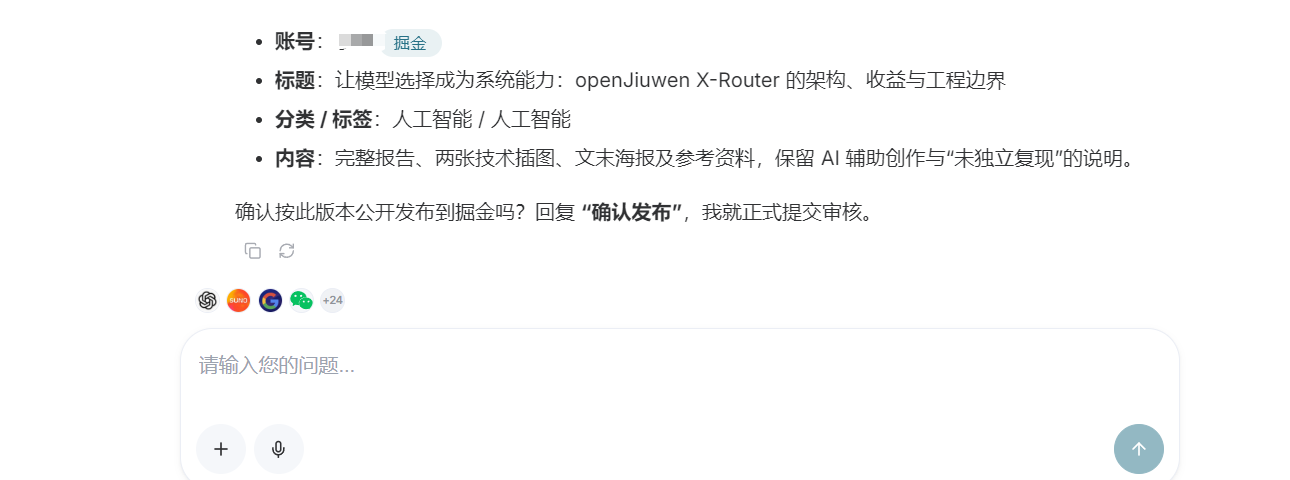
Tip: In the case of automated tasks, the requirement to confirm publishing will not appear.
Next, we wait for the publication to be completed, and then go to the backend of the Juejin platform to check whether the article has been successfully published.
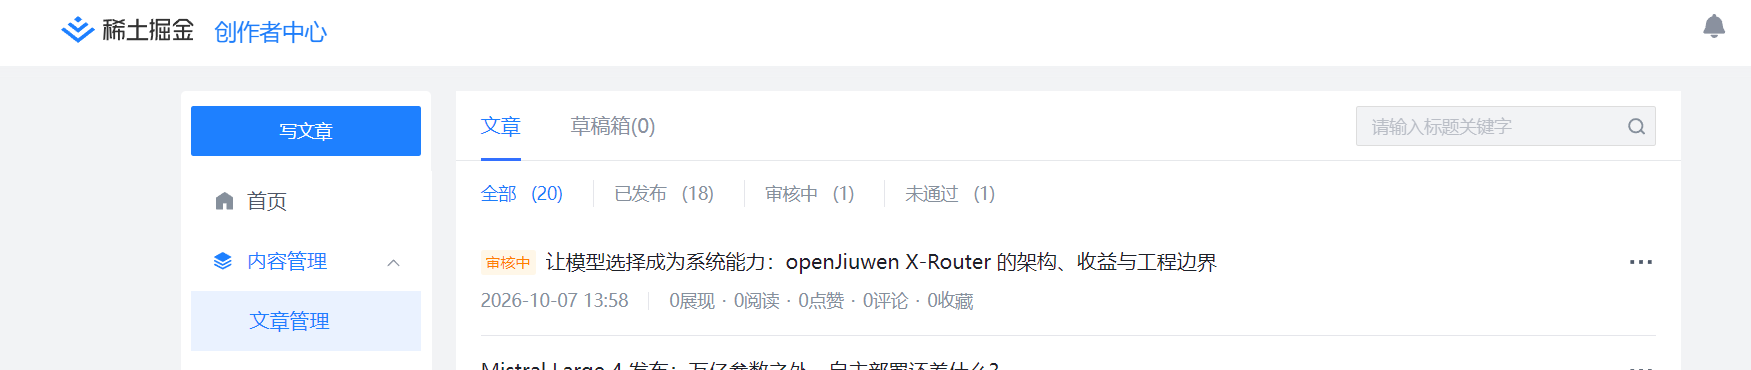
The article was successfully published and has entered the successful review status.
If you want to publish to other platforms, simply enter the platform you want to publish to in the input box.
¶ V. Summary
Today, we completed the connector configuration and the initial publication of the article. Ace Data Cloud's connectors allow you to complete operations such as obtaining materials, generating articles, and publishing articles without switching between platforms.
If you want to automatically obtain articles, generate articles, and publish them, you can learn about our scheduled tasks feature.
Below are links to Ace Data Cloud-related websites: