
If I need to manage publishing across a large number of platforms, such as Juejin, CSDN, as well as overseas X and Medium publishing, and even GitHub reply feedback and YouTube video creation and publishing, all of these require a large amount of time and manpower.
Ace Data Cloud's Scheduled Tasks feature may be able to help you easily solve the above troubles.
Next, I will help you understand this process by configuring a scheduled task and completing one task execution.
¶ I. Understanding Scheduled Tasks
¶ II. Testing and Publishing Scheduled Tasks
Above, we have introduced how to create and manage scheduled tasks. Next, we can test the execution of tasks and view their execution process.
¶ 1. Test Tasks
Click the run button to test the created task.
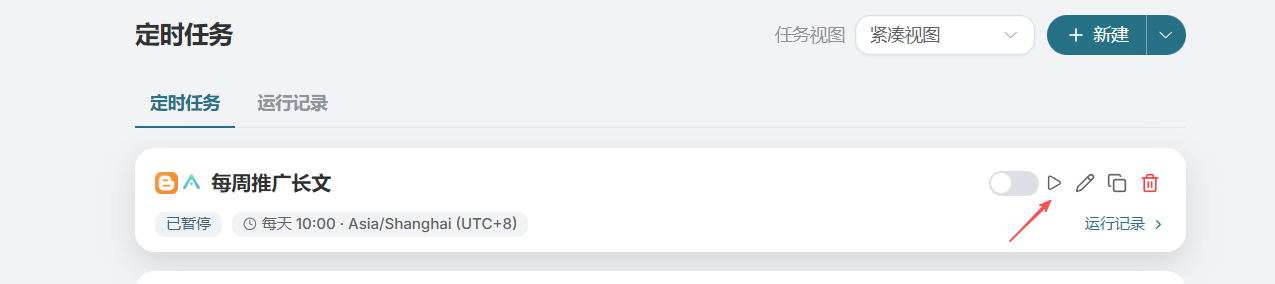
Click the scheduled task card to open the details page. The top shows the details of the scheduled task, and the bottom shows the execution status of the task.
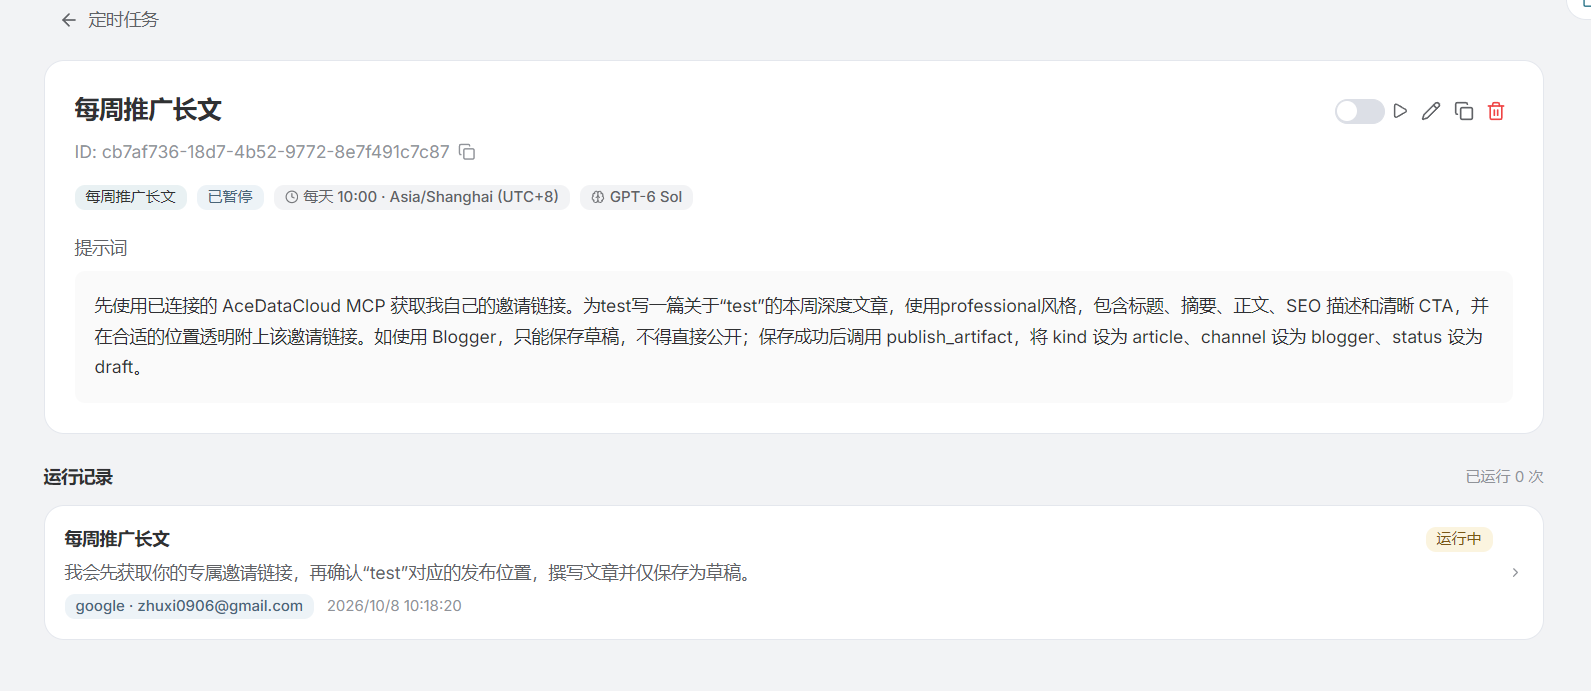
Wait for the task execution to complete. Let me explain the core logic of scheduled tasks:
A scheduled task is actually opening Ace Data Studio at a specified time to execute the configured prompt. Although many Agents currently have similar features, if continuous long-term execution is required, you need to purchase a server. Ace Data Cloud does not require any additional expenses and allows you to have the ability to manage and execute scheduled tasks.

Because automatic confirmation for publishing was not written in the prompt, the blog has been published but has not been made public.
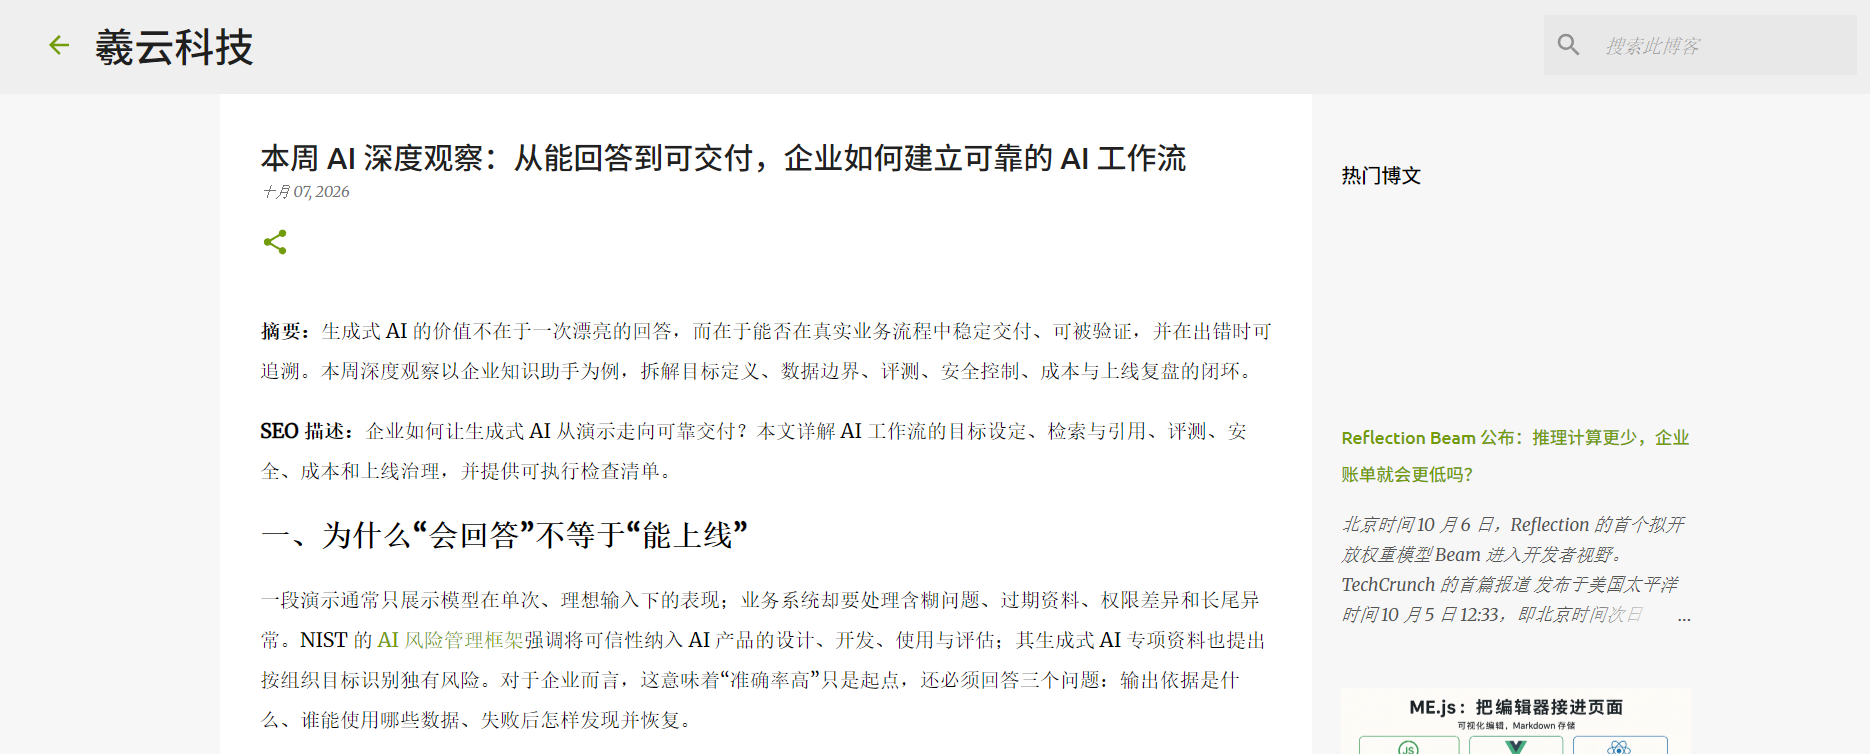
Regarding the blog article submitted above, because this task only obtains an article, adds a promotional link, and then publishes it, there are not too many tasks. We can write more suitable prompts to make the task richer and meet your publishing needs.
Next, I will introduce some application scopes and methods of this scheduled task.
¶ III. Exploring the Applications of Scheduled Tasks and Our Features
¶ 1. Automatically Obtain News Sources and Publish on Platforms
Suppose you operate multiple public accounts, blogs, and other publishing platforms involving different fields. Then, the entire process from article acquisition - rewriting/image generation - publishing can be completed through automated tasks. Our Agent can generate articles with completely different requirements.
¶ 2. Automatically Obtain and Organize Online Information
Because our platform is an online platform, you do not need to purchase a server or run an Agent locally to execute automated tasks, obtain news sources or Emails, then organize them and provide feedback to your designated account.
¶ 3. Schedule WeChat Group Messages
This is our special feature. You can automatically publish information to designated WeChat groups.
Learn about the WeChat automation bot
¶ IV. Summary
This article introduced some information about scheduled tasks and their configuration, and then provided a basic understanding of the execution process of scheduled tasks through a simple execution case.
If you have any questions during use, you can contact the staff of Ace Data Cloud to learn more information.
Related links:
Ace Data Cloud Scheduled Tasks Entry
¶ 1. How to Open the Scheduled Task Manager
Click here to enter Ace Data Studio 。

Select any AI conversation model in the upper-left corner, and we can enter the Studio page.
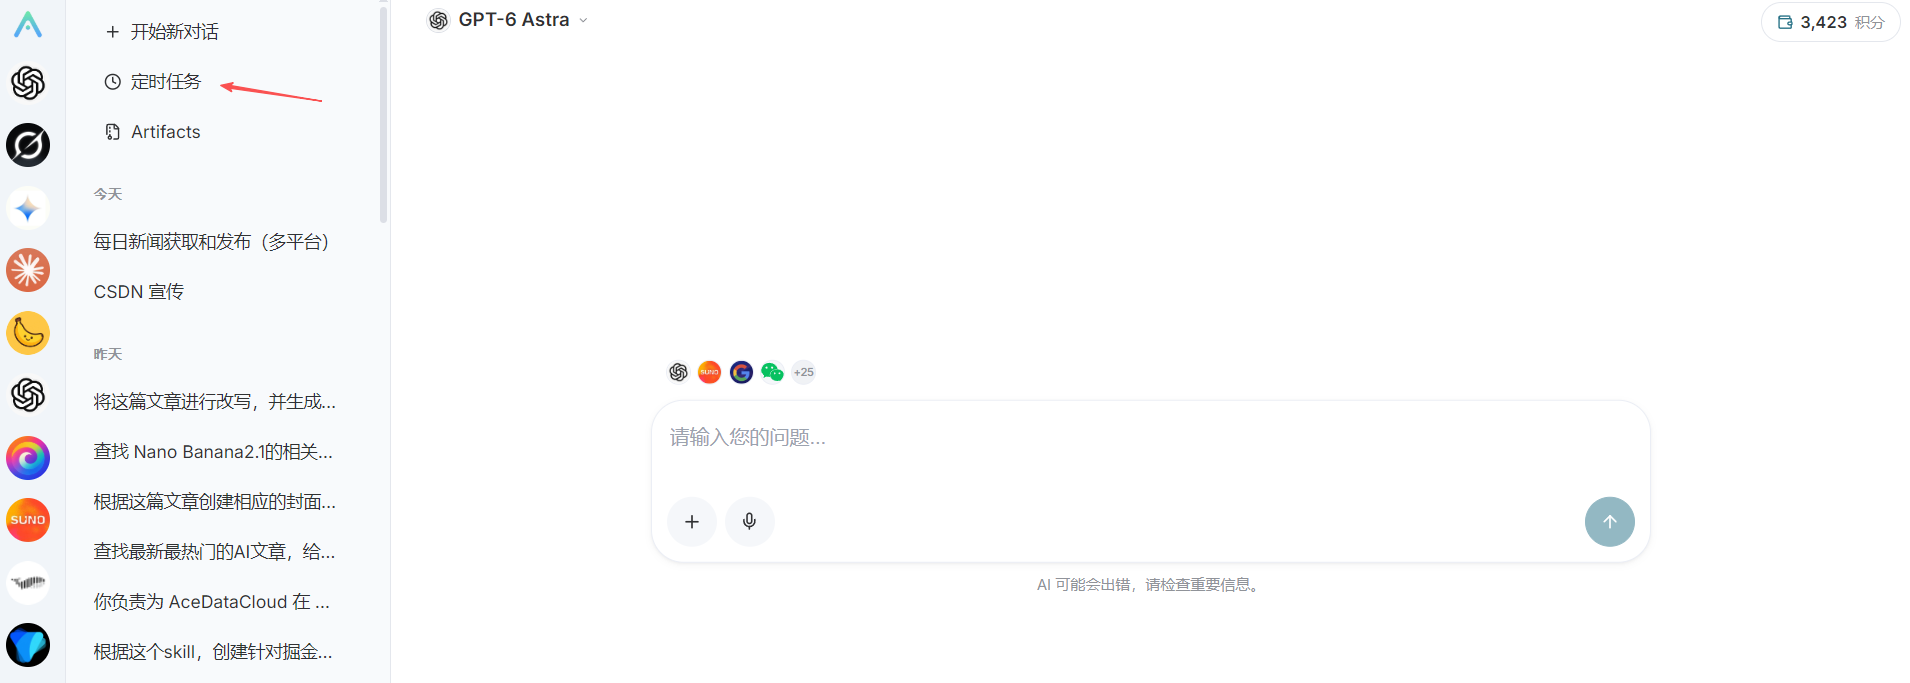
Click Scheduled Tasks in the menu selection in the upper-left corner to open the entry for scheduled tasks.
Click to go directly to Scheduled Tasks
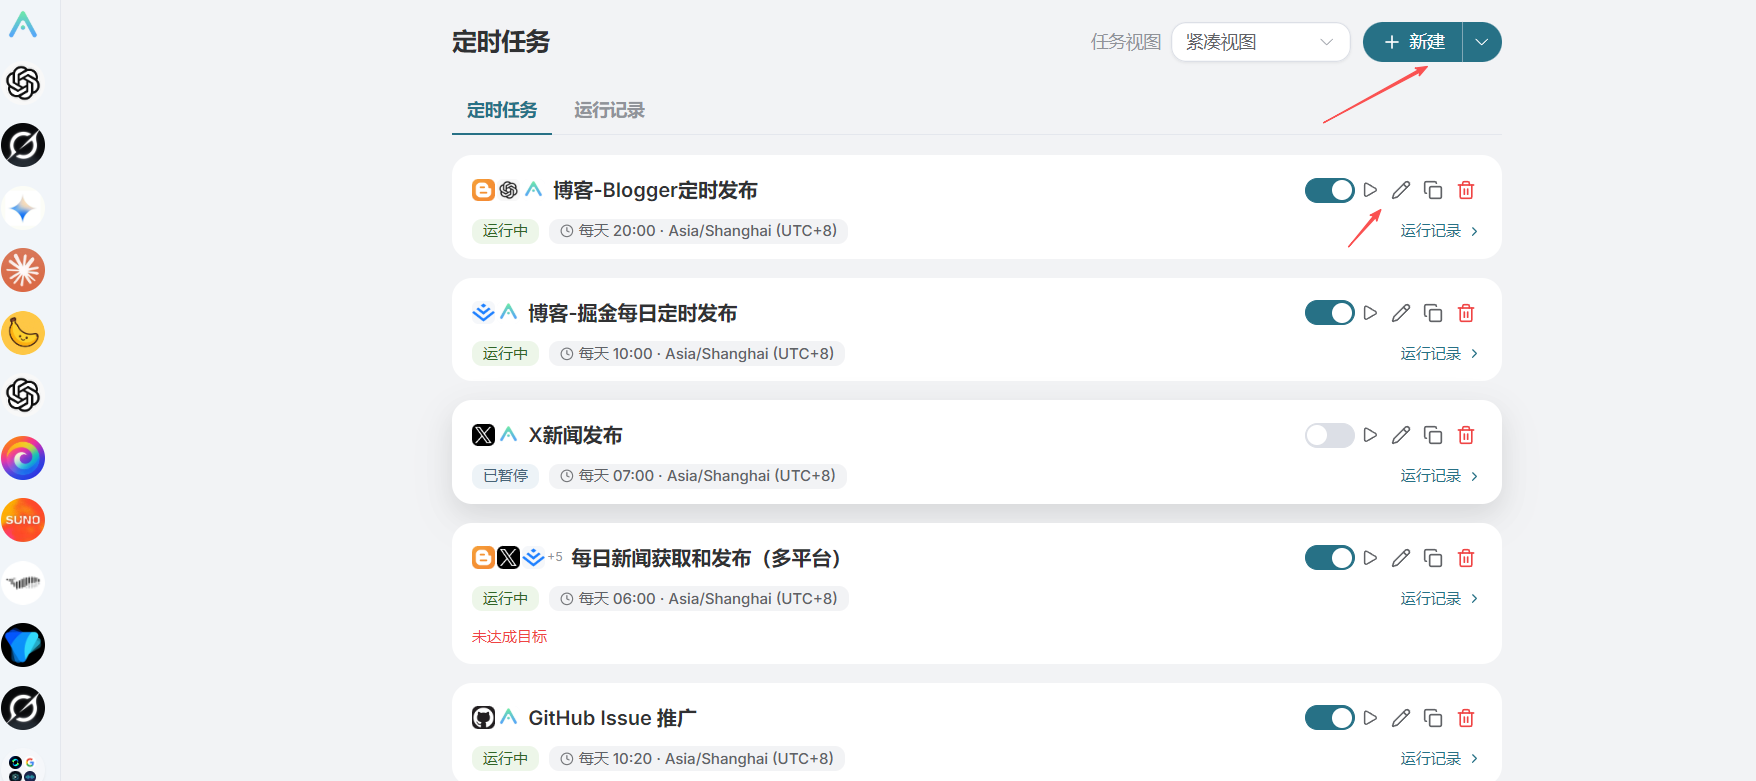
Here, the tasks we need to execute will be displayed and managed.
¶ 2. Introduction to Related Settings of Scheduled Tasks
Click the New button to open the drop-down menu, where you can create from a template or customize a scheduled task.
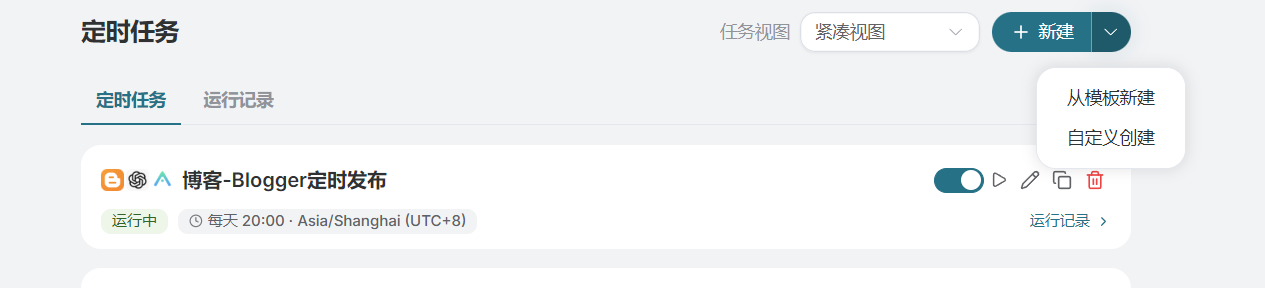
First, we choose to create from a template. You can use the templates we have already created to create custom tasks.
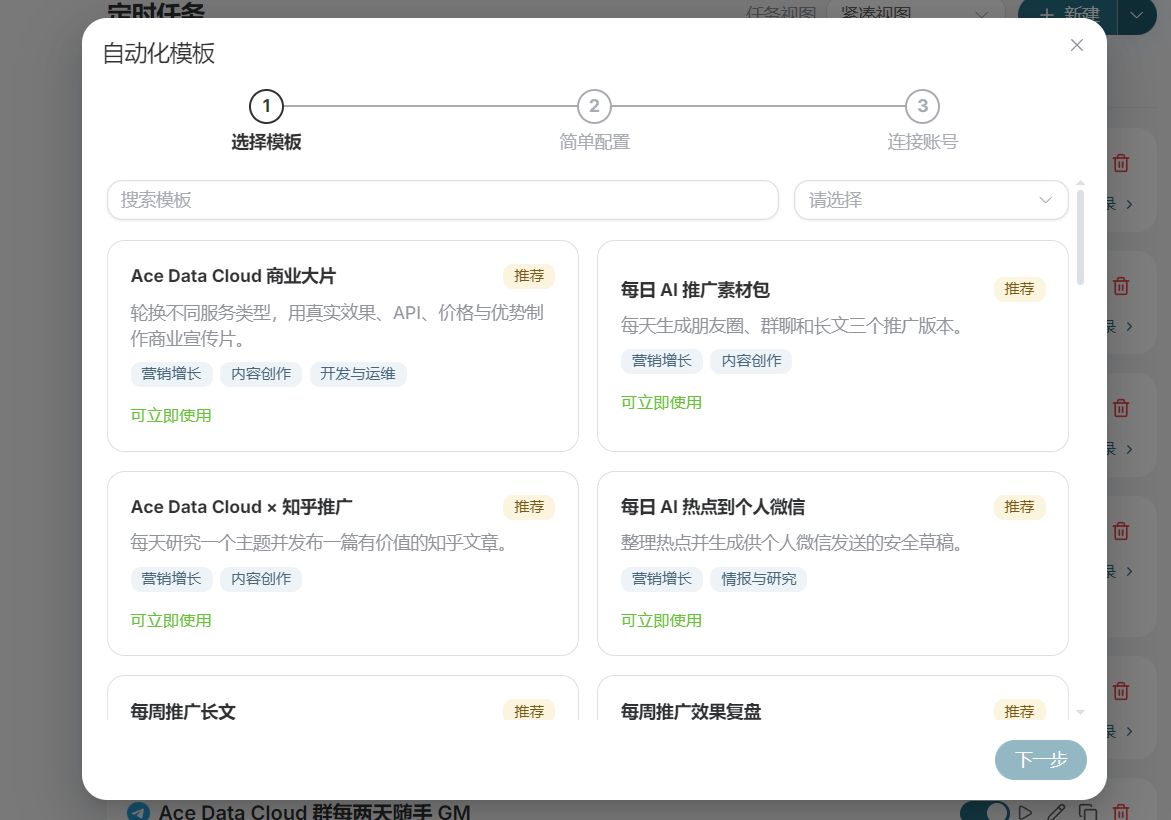
Next, select a scheduled task template and click Next.
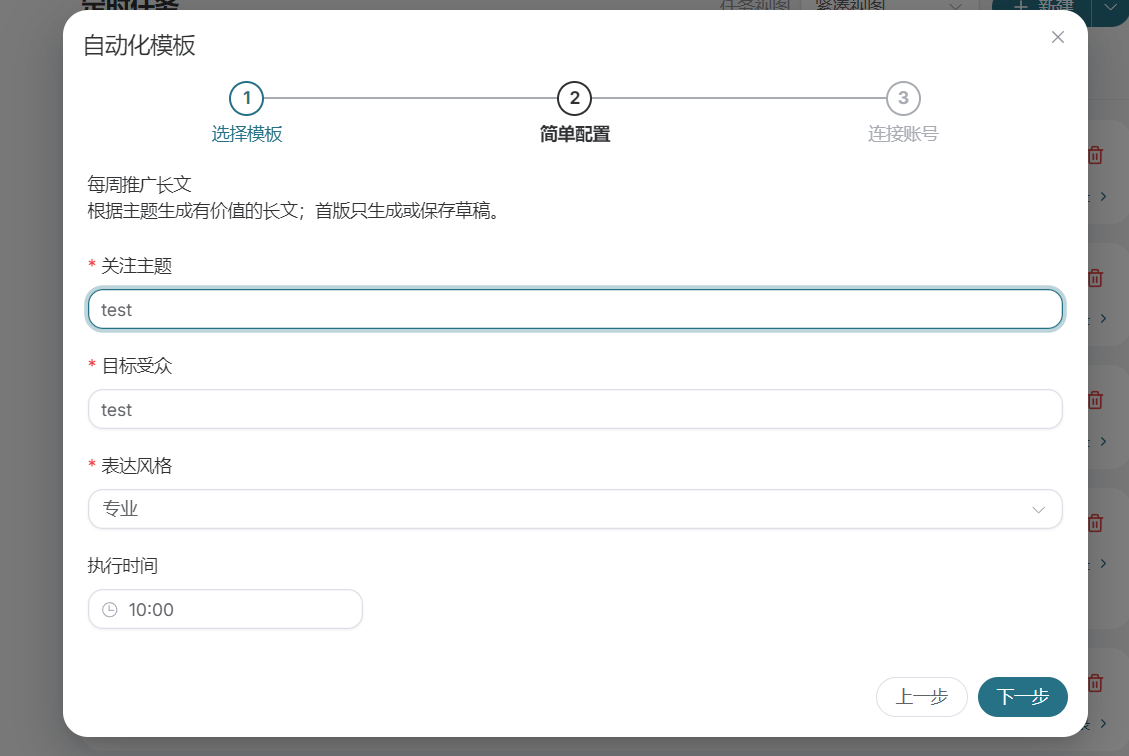
We can simply configure the scheduled task, including the topic and audience, as well as the scheduled execution time.
Click Next to reach the account connection settings.
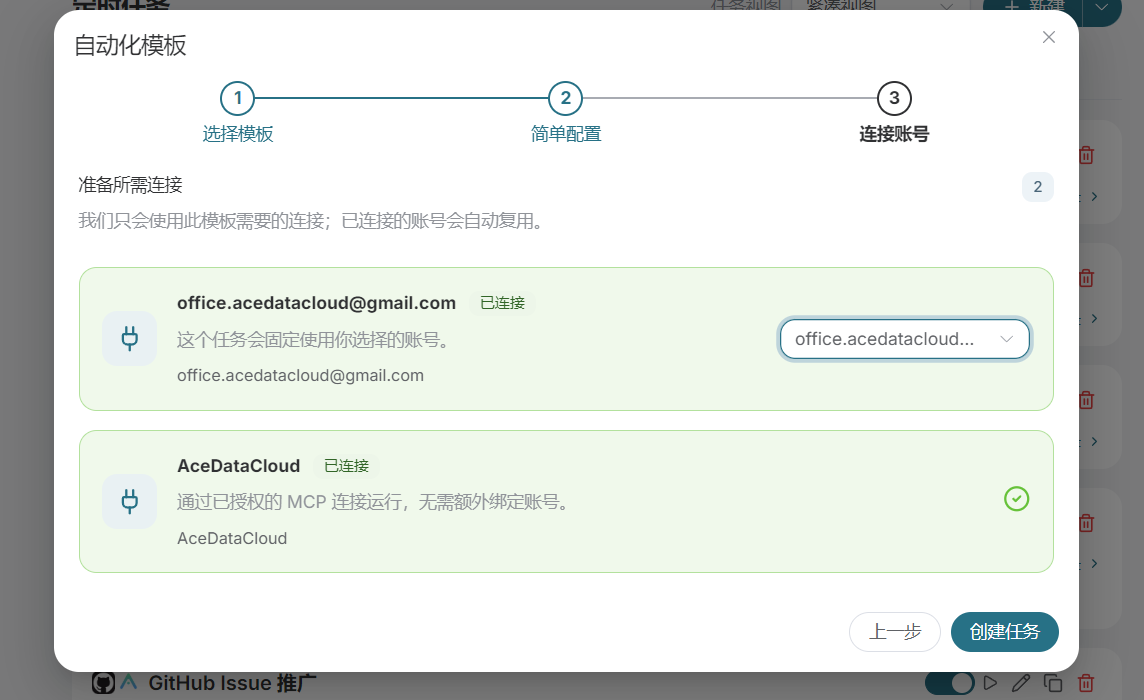
Select the default here, then click Create Task. The scheduled task is created, and this is the scheduled task we just created.
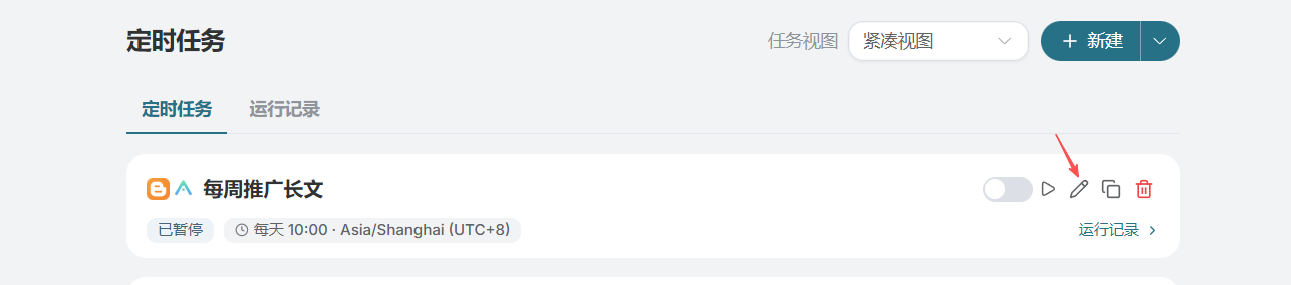
Click the edit button to open the interface for viewing and editing the scheduled task.
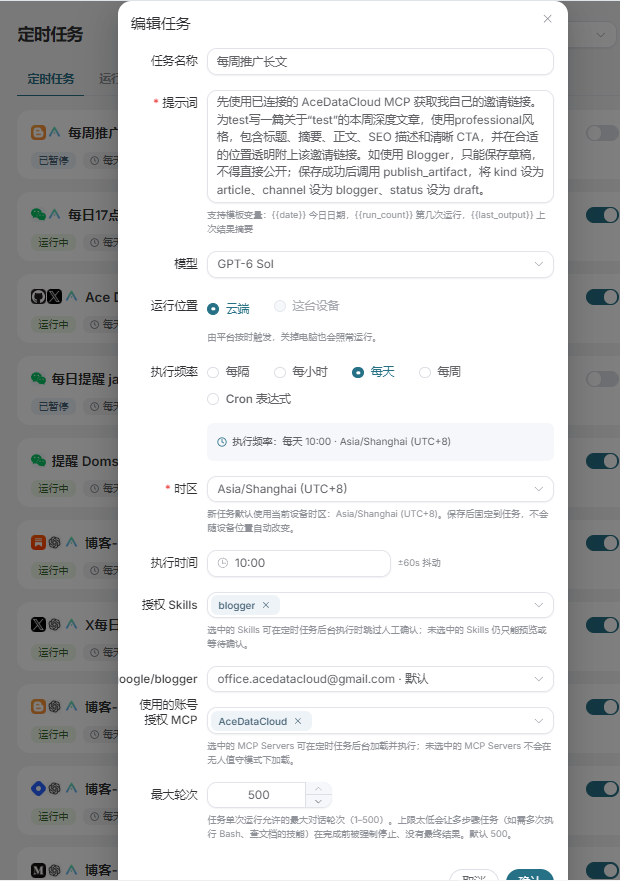
Let me briefly introduce the parameter-related information here.
Prompt: The prompt submitted to the Agent during task execution.
Model: You can select different models to execute this task.
Time Settings: You can set the polling interval, time zone, and time.
Authorized Skill: You can select connected connectors. Some connectors will display an account selection option, allowing you to select different accounts for publishing.
Authorized MCP for the account used: By default, select AceDataCloud. If you need to create images, you can select options such as OpenAI. Multiple selections are supported. When executing tasks, the corresponding functional modules will be called as needed.
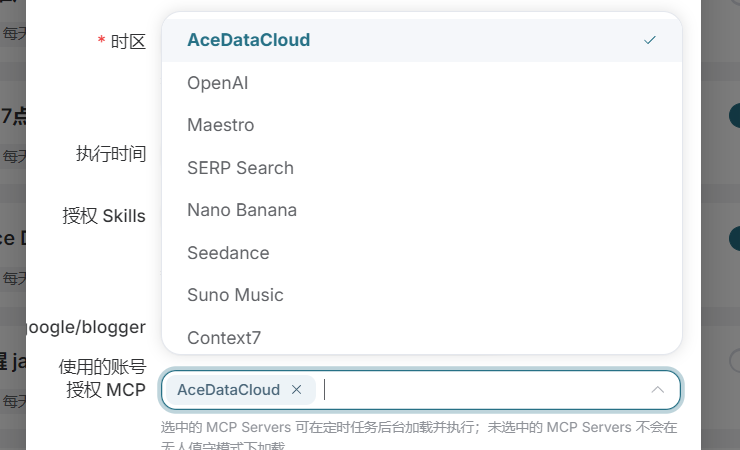
You mainly need to enter the required prompt and select the corresponding account for publishing to publish.
¶ 3. Custom Mode
Custom mode refers to the content in the settings interface. Enter the corresponding prompt yourself and select an account; this will not be elaborated on further here.